- Images for non LTS version can be downloaded here
extraargs="ipv6.disable=1" to /boot/armbianEnv.txt

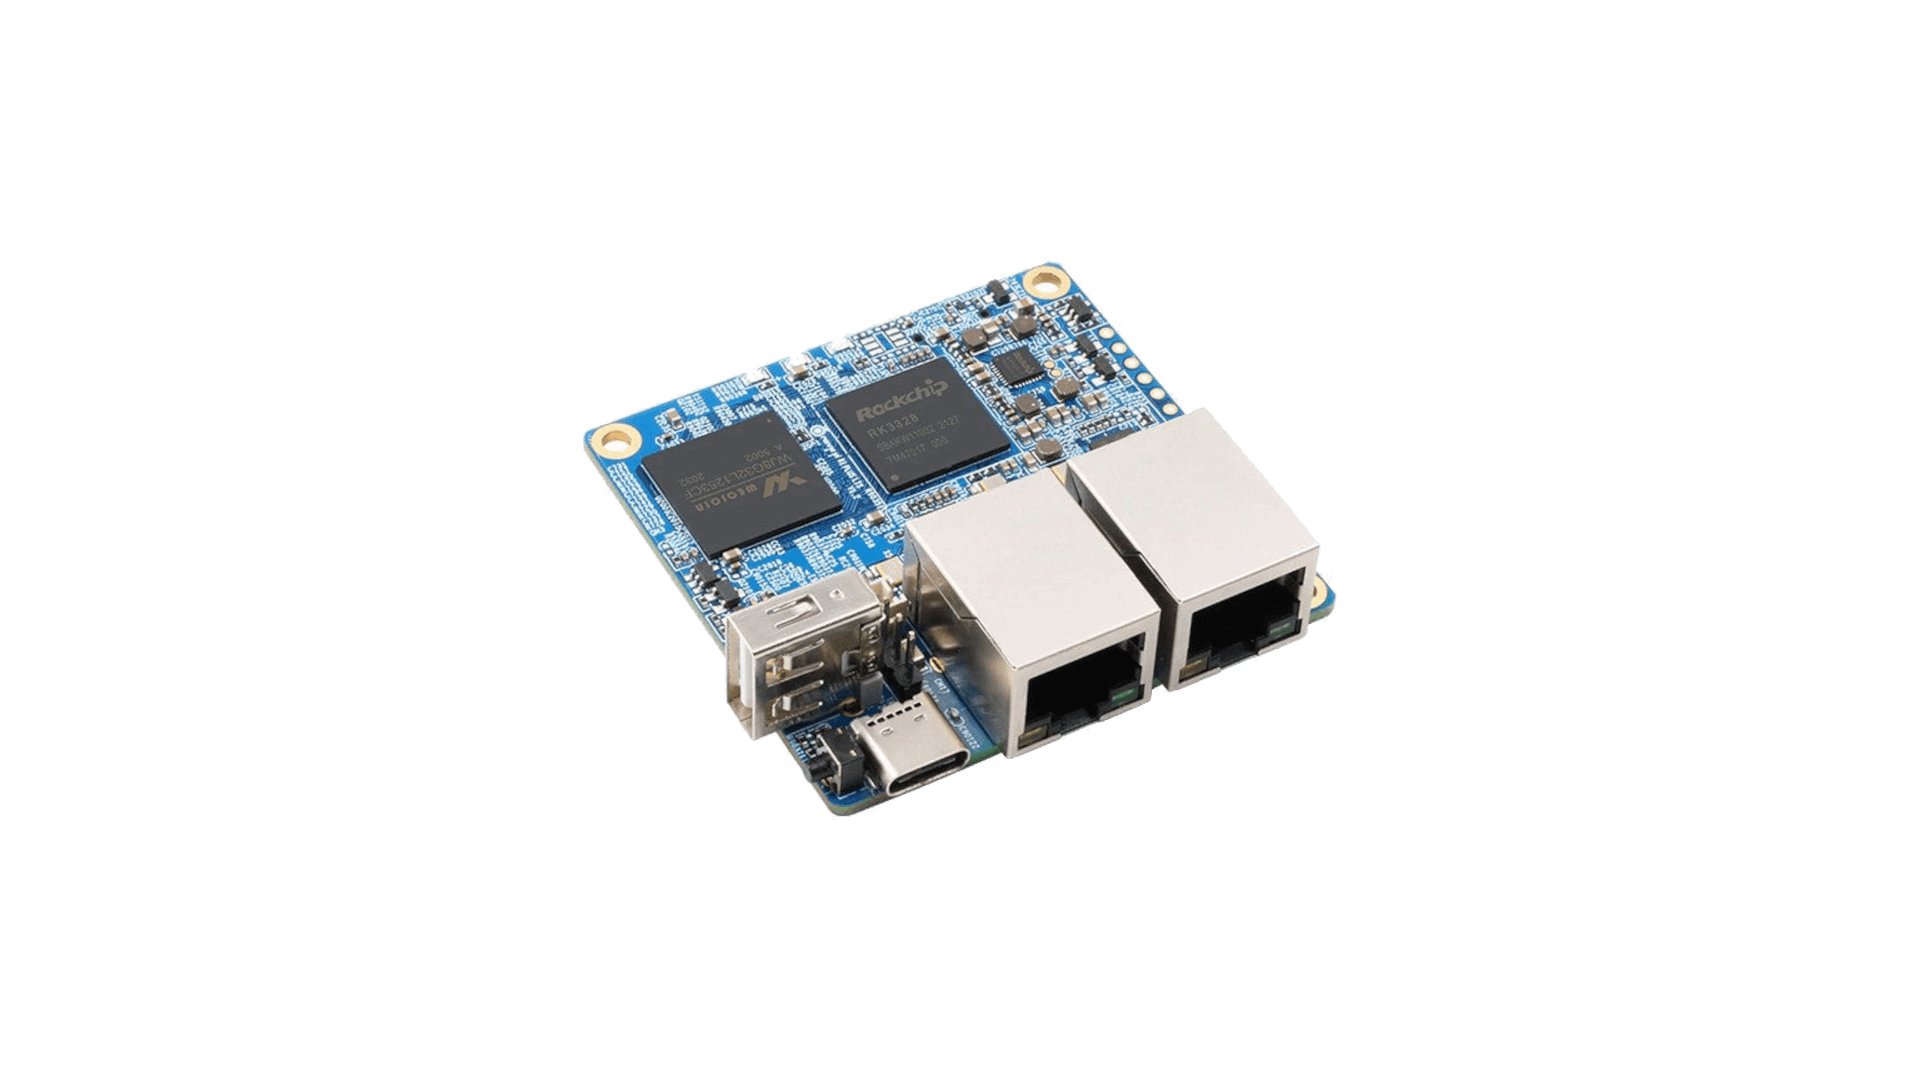
In order to boot Armbian from JetHub H1 with pre-flashed OS on eMMC you need USB-USB cable and do:
More instructions on https://wiki.jethome.ru/en/jethub_h1#controller_firmware
Now you can boot Armbian from eMMC.
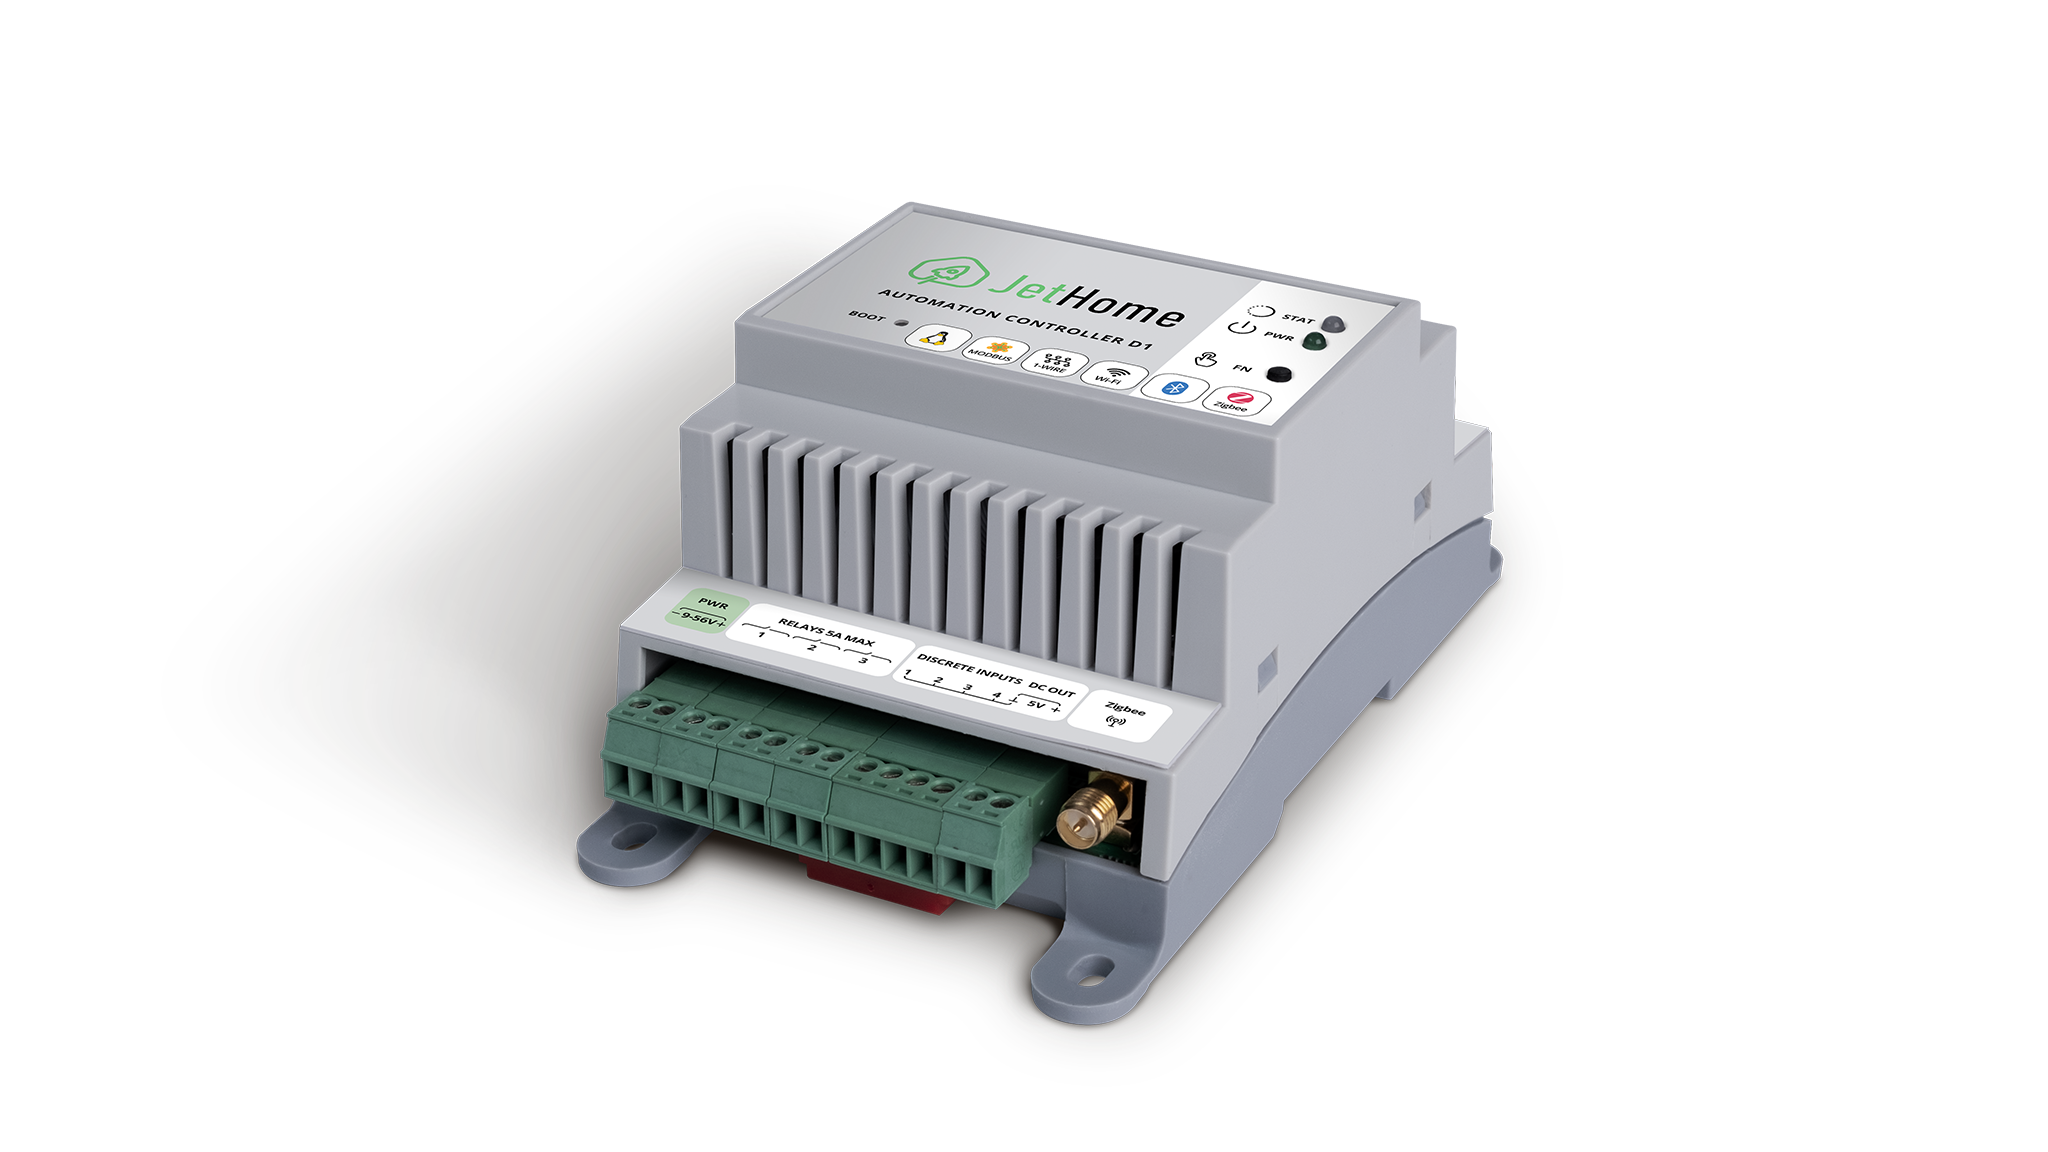
In order to boot Armbian from JetHub D1/D1+ with pre-flashed OS on eMMC you need USB-USB cable and do:
More instructions on https://docs.jethome.com/controllers/linux/din_rail/index.html
Now you can boot Armbian from eMMC.