To get started, burn the image to a USB stick using BalenaEtcher. Install all firmware updates in Windows and the Lenovo utility.
In Lenovo x13s’s BIOS config, disable Secure Boot (this will create problems with Windows Bitlocker, unless you disable that first.)
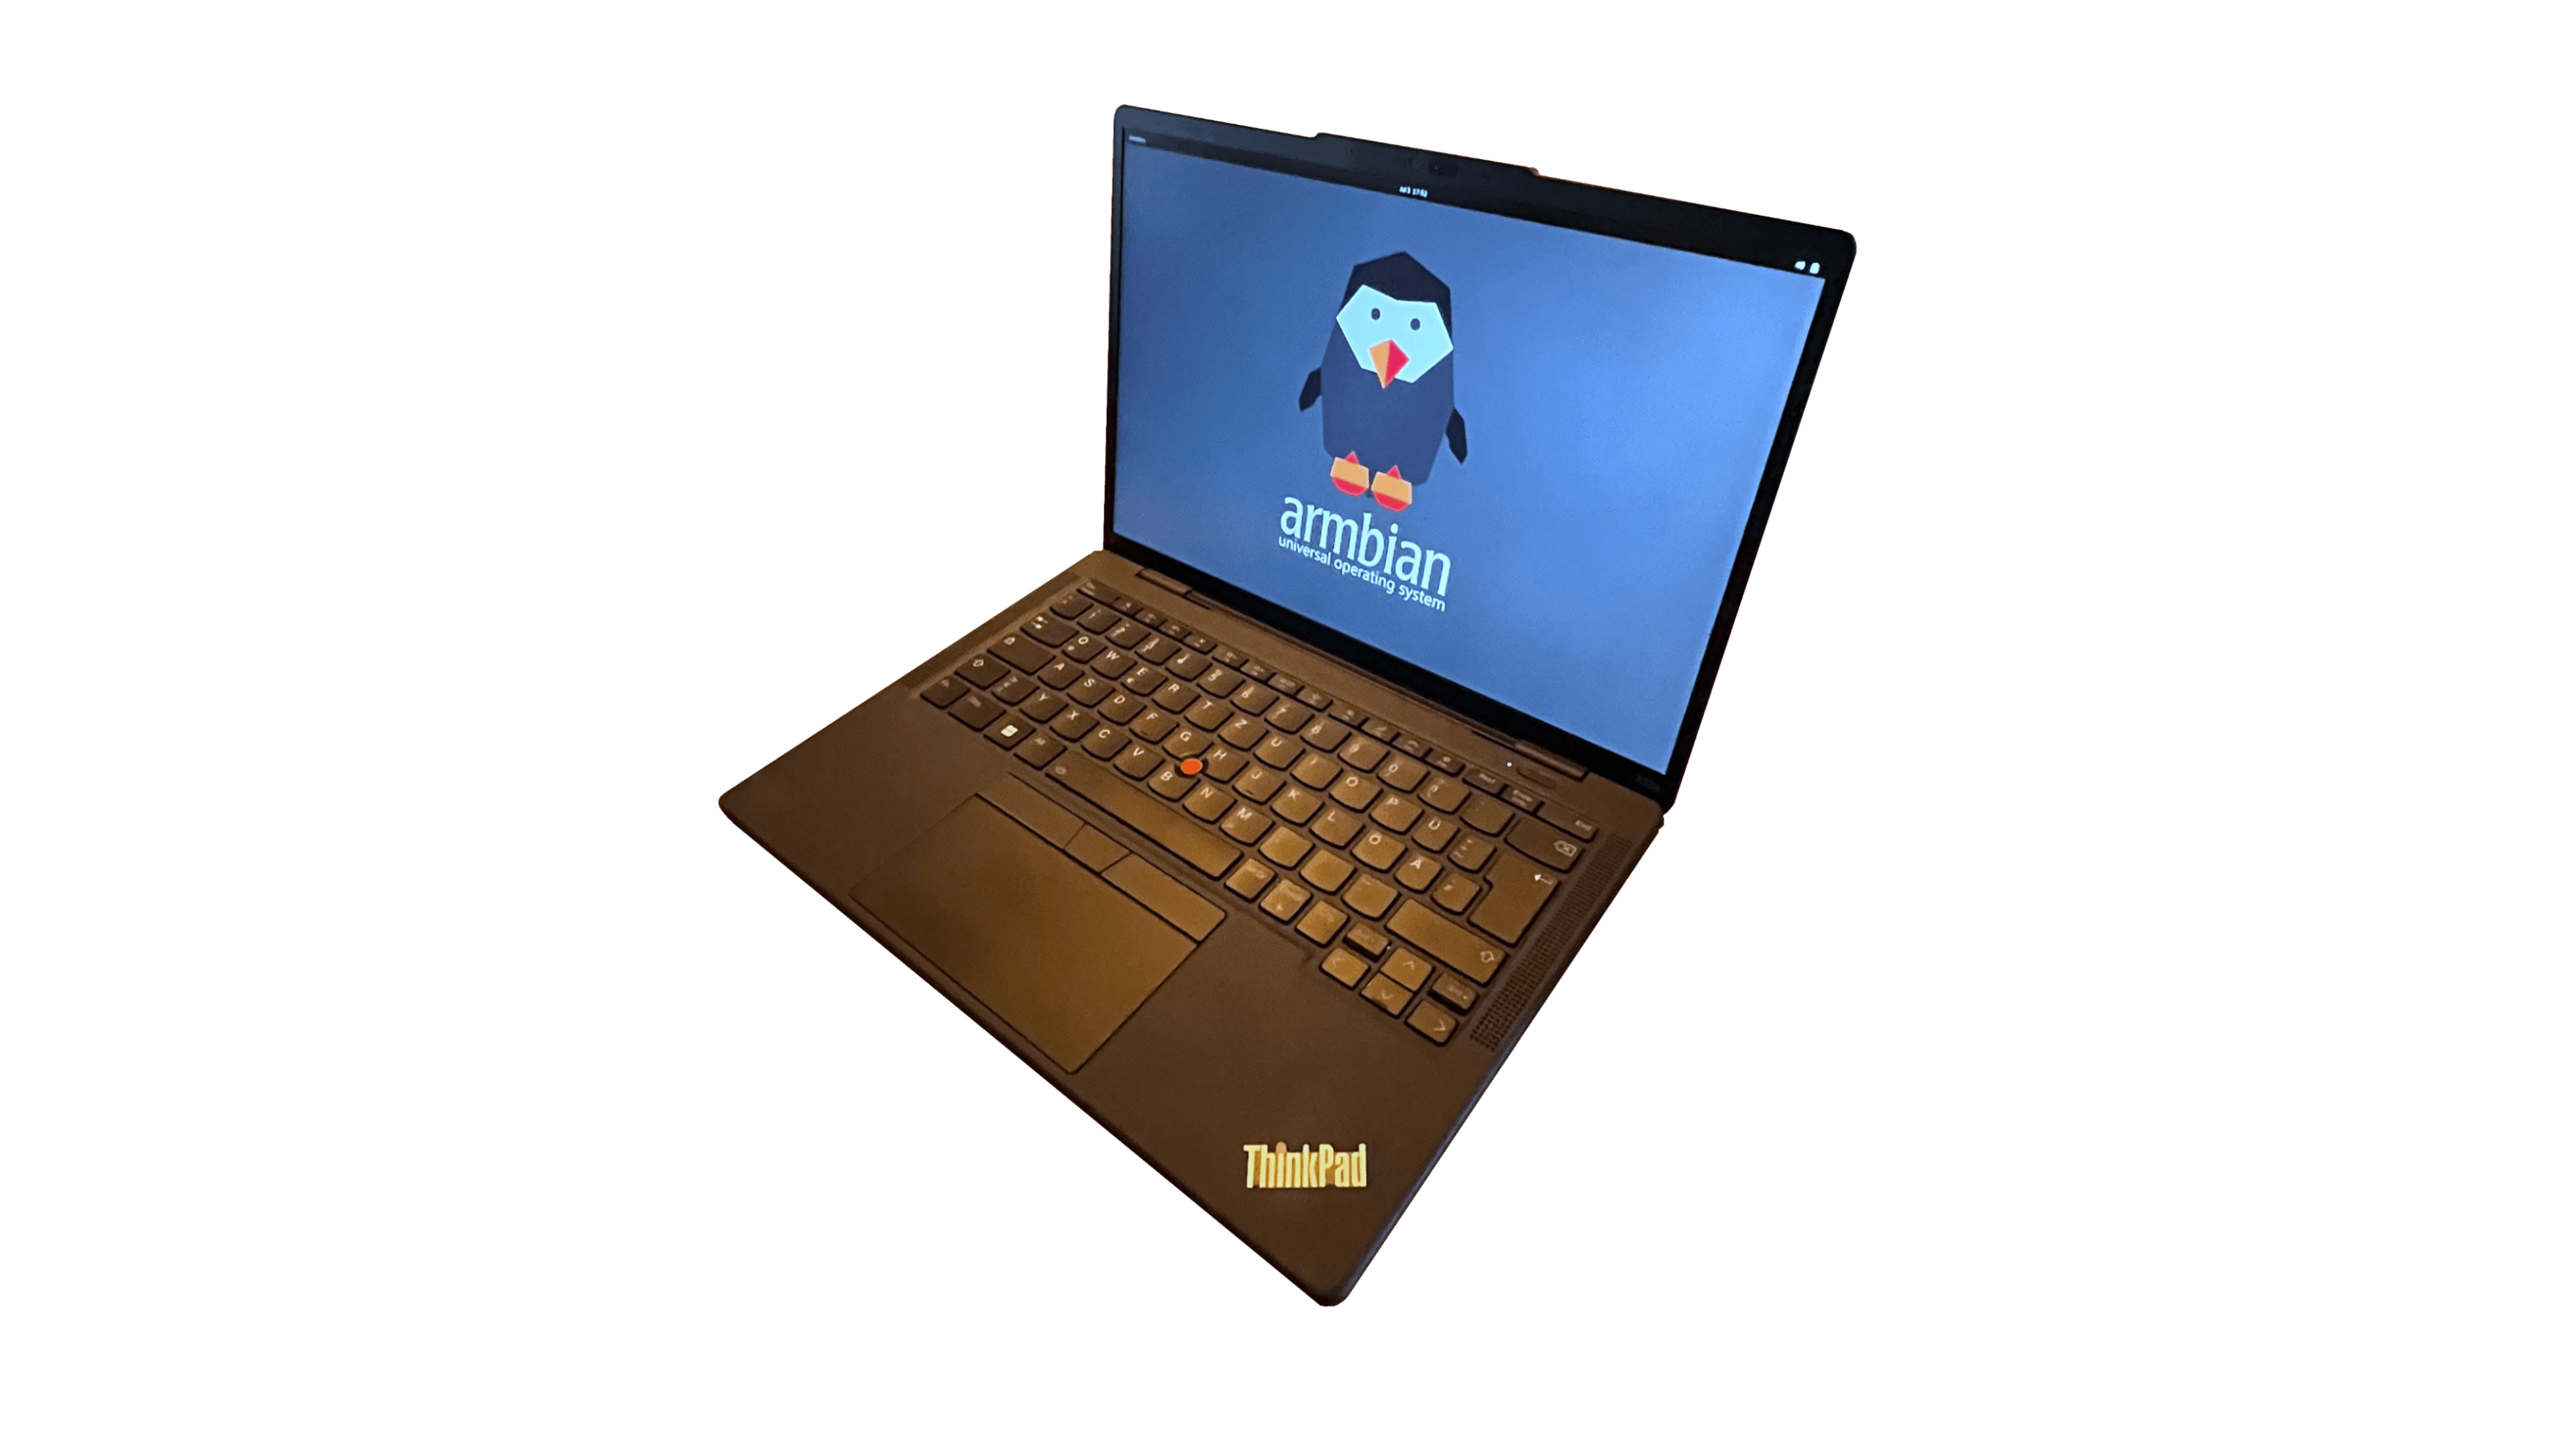
Insert USB and press F12 during boot to select it. Be patient during first boot during filesystem resize; it might take multiple minutes depending on the disk.
It is recommended to create Lenovo’s Windows USB recovery disk before wiping your Windows install. You might require it to deploy firmware updates. Windows ARM64 on this machine is Lenovo-specific and the generic Win ARM64 images won’t work.
For now, only Ubuntu Lunar (via Concept x13s PPA) has the userspace required for working audio and battery charging support, and a patched mesa for accelerated graphics.
Debian Trixie/Sid and Ubuntu Mantic have a more recent mesa that does not need patching, but no working battery charge nor audio.