


If you have variant with LCD display – here you can download driver.
Important: To be able to boot clean Armbian mainline based u-boot / kernel experiences, you need to remove incompatible Petitboot loader that is shipped with the board.
Attach the device to a display and keyboard. Power on. Petitboot will load
From the Petitboot menu, go for “Exit to shell” and these commands to remove the Petitboot:
# flash_eraseall /dev/mtd0
# flash_eraseall /dev/mtd1
# flash_eraseall /dev/mtd2
# flash_eraseall /dev/mtd3
These commands can also be executed via a serial console, if you have an Odroid UART cable
This will make your SPI flash memory empty and would start from SD on next boot.
In case you want to put Petitboot back to the board, user these instructions.
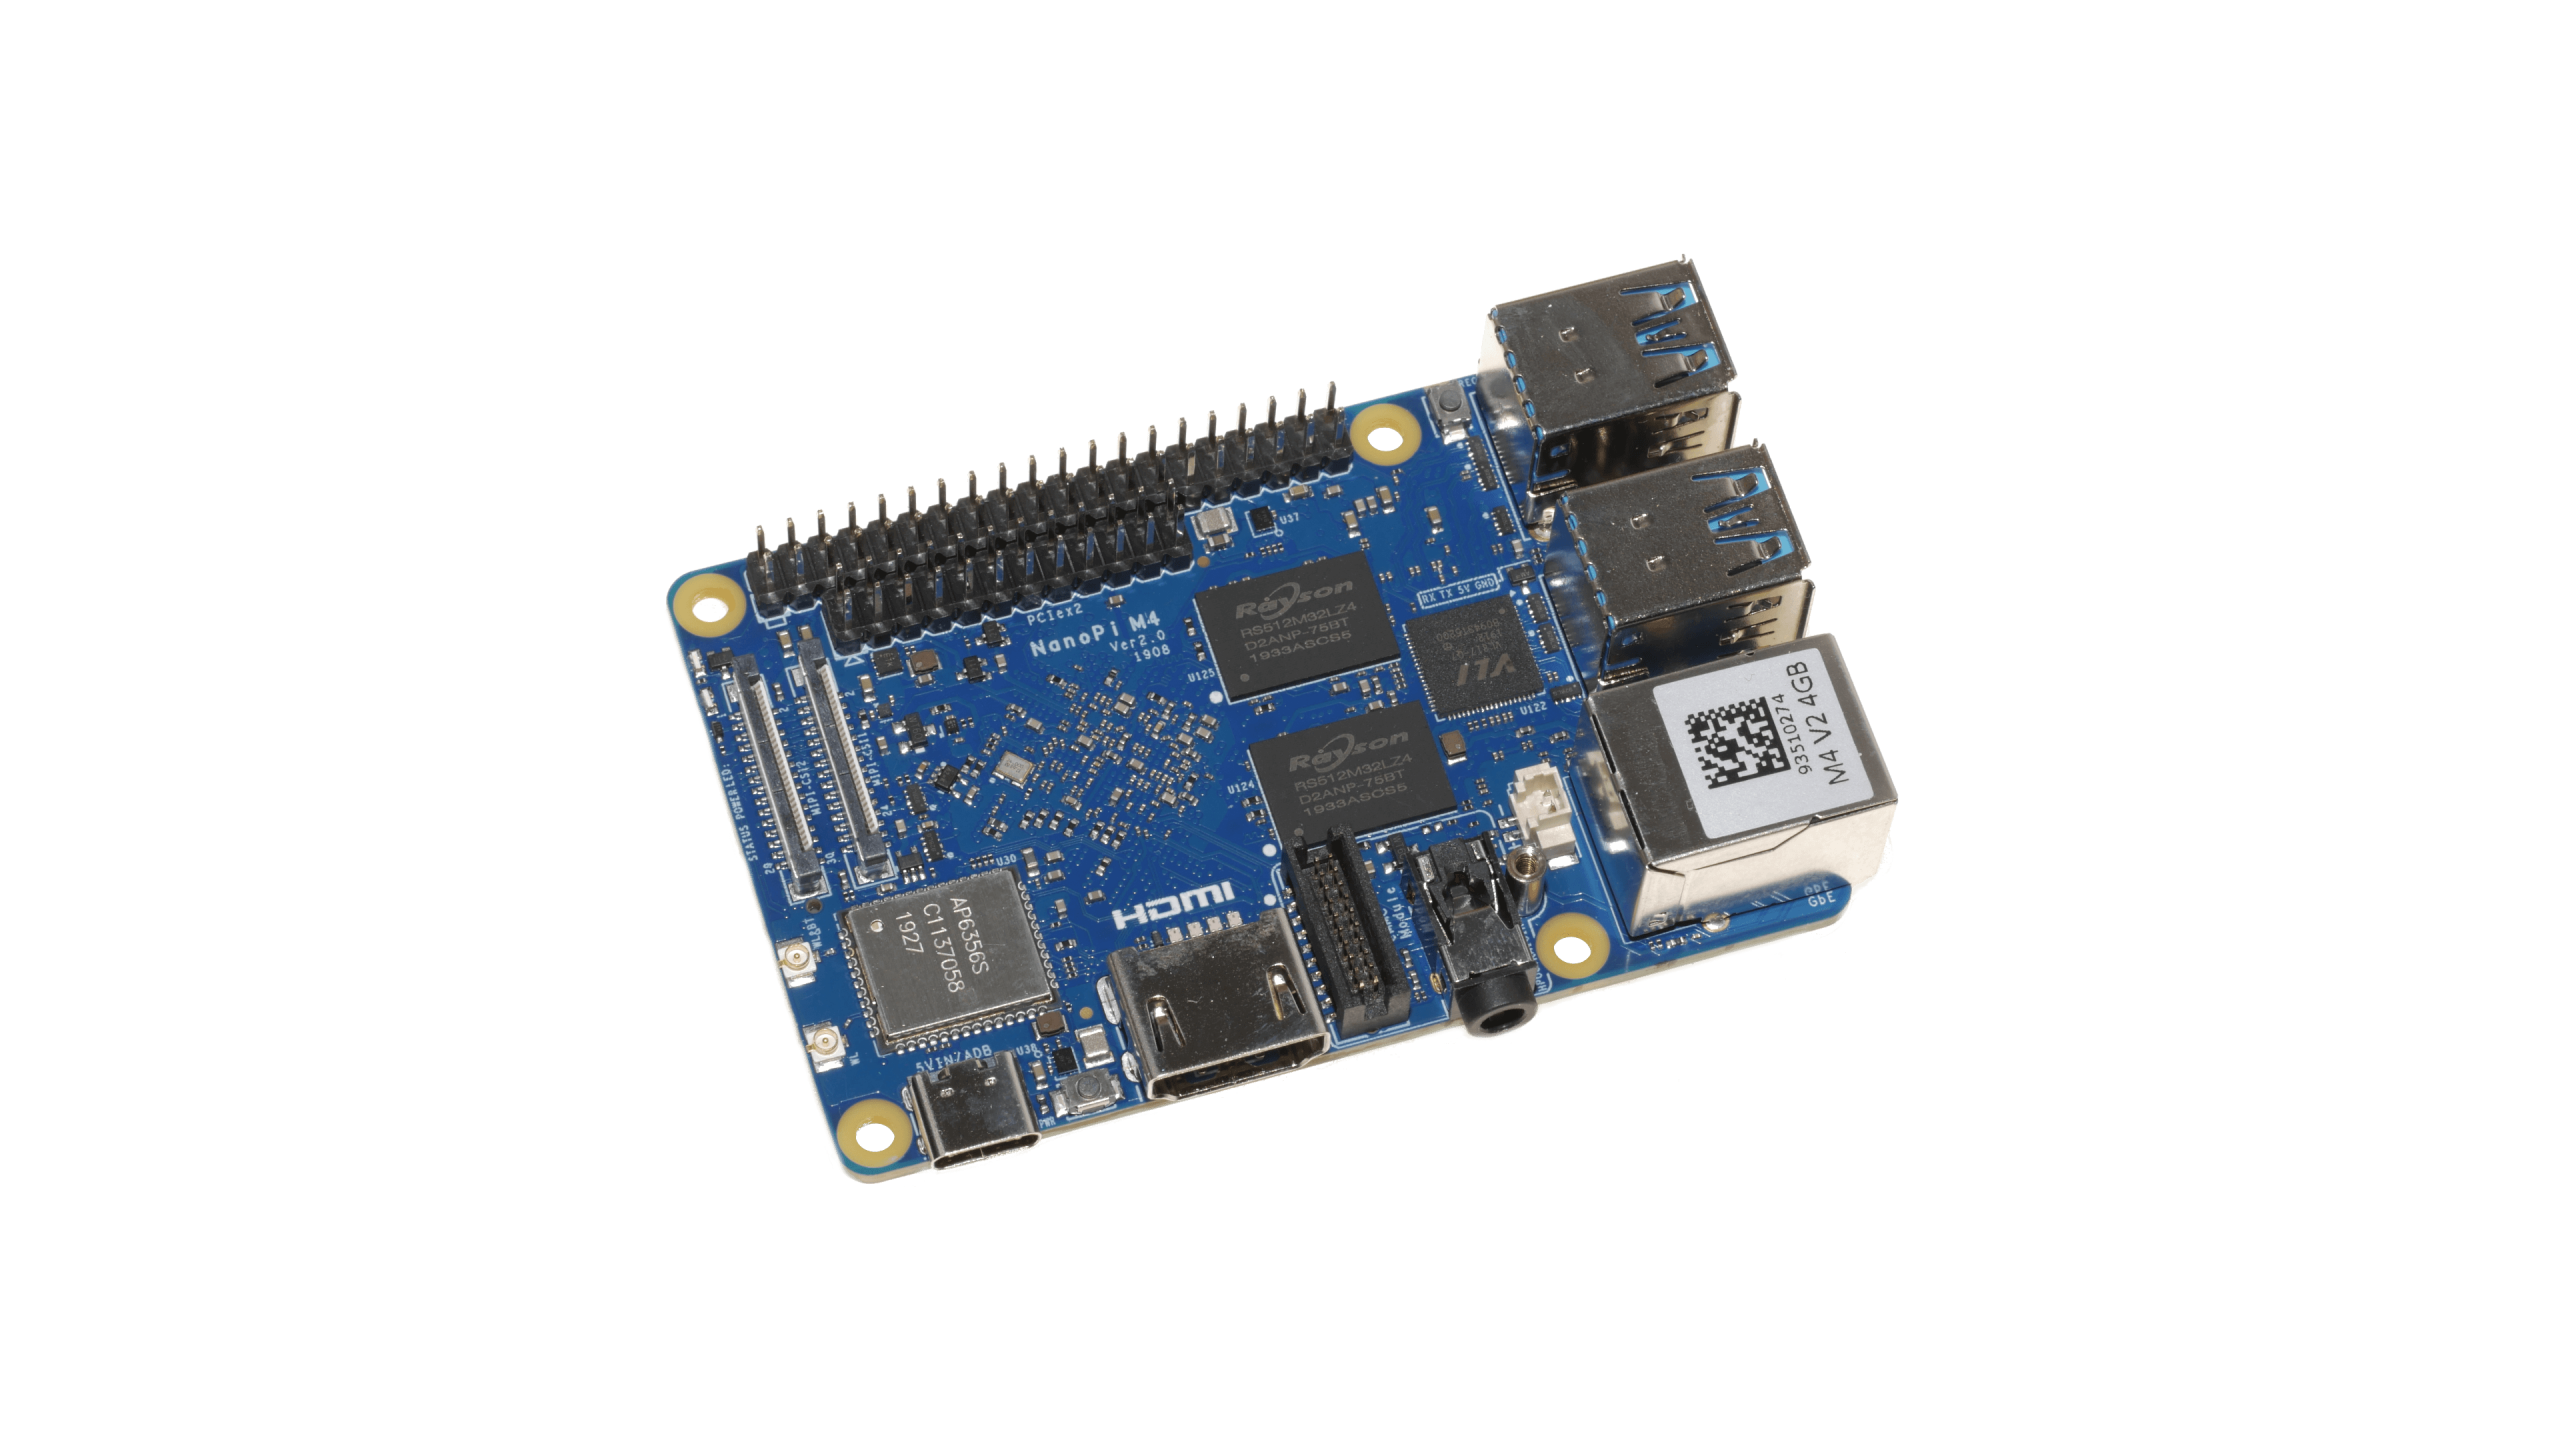
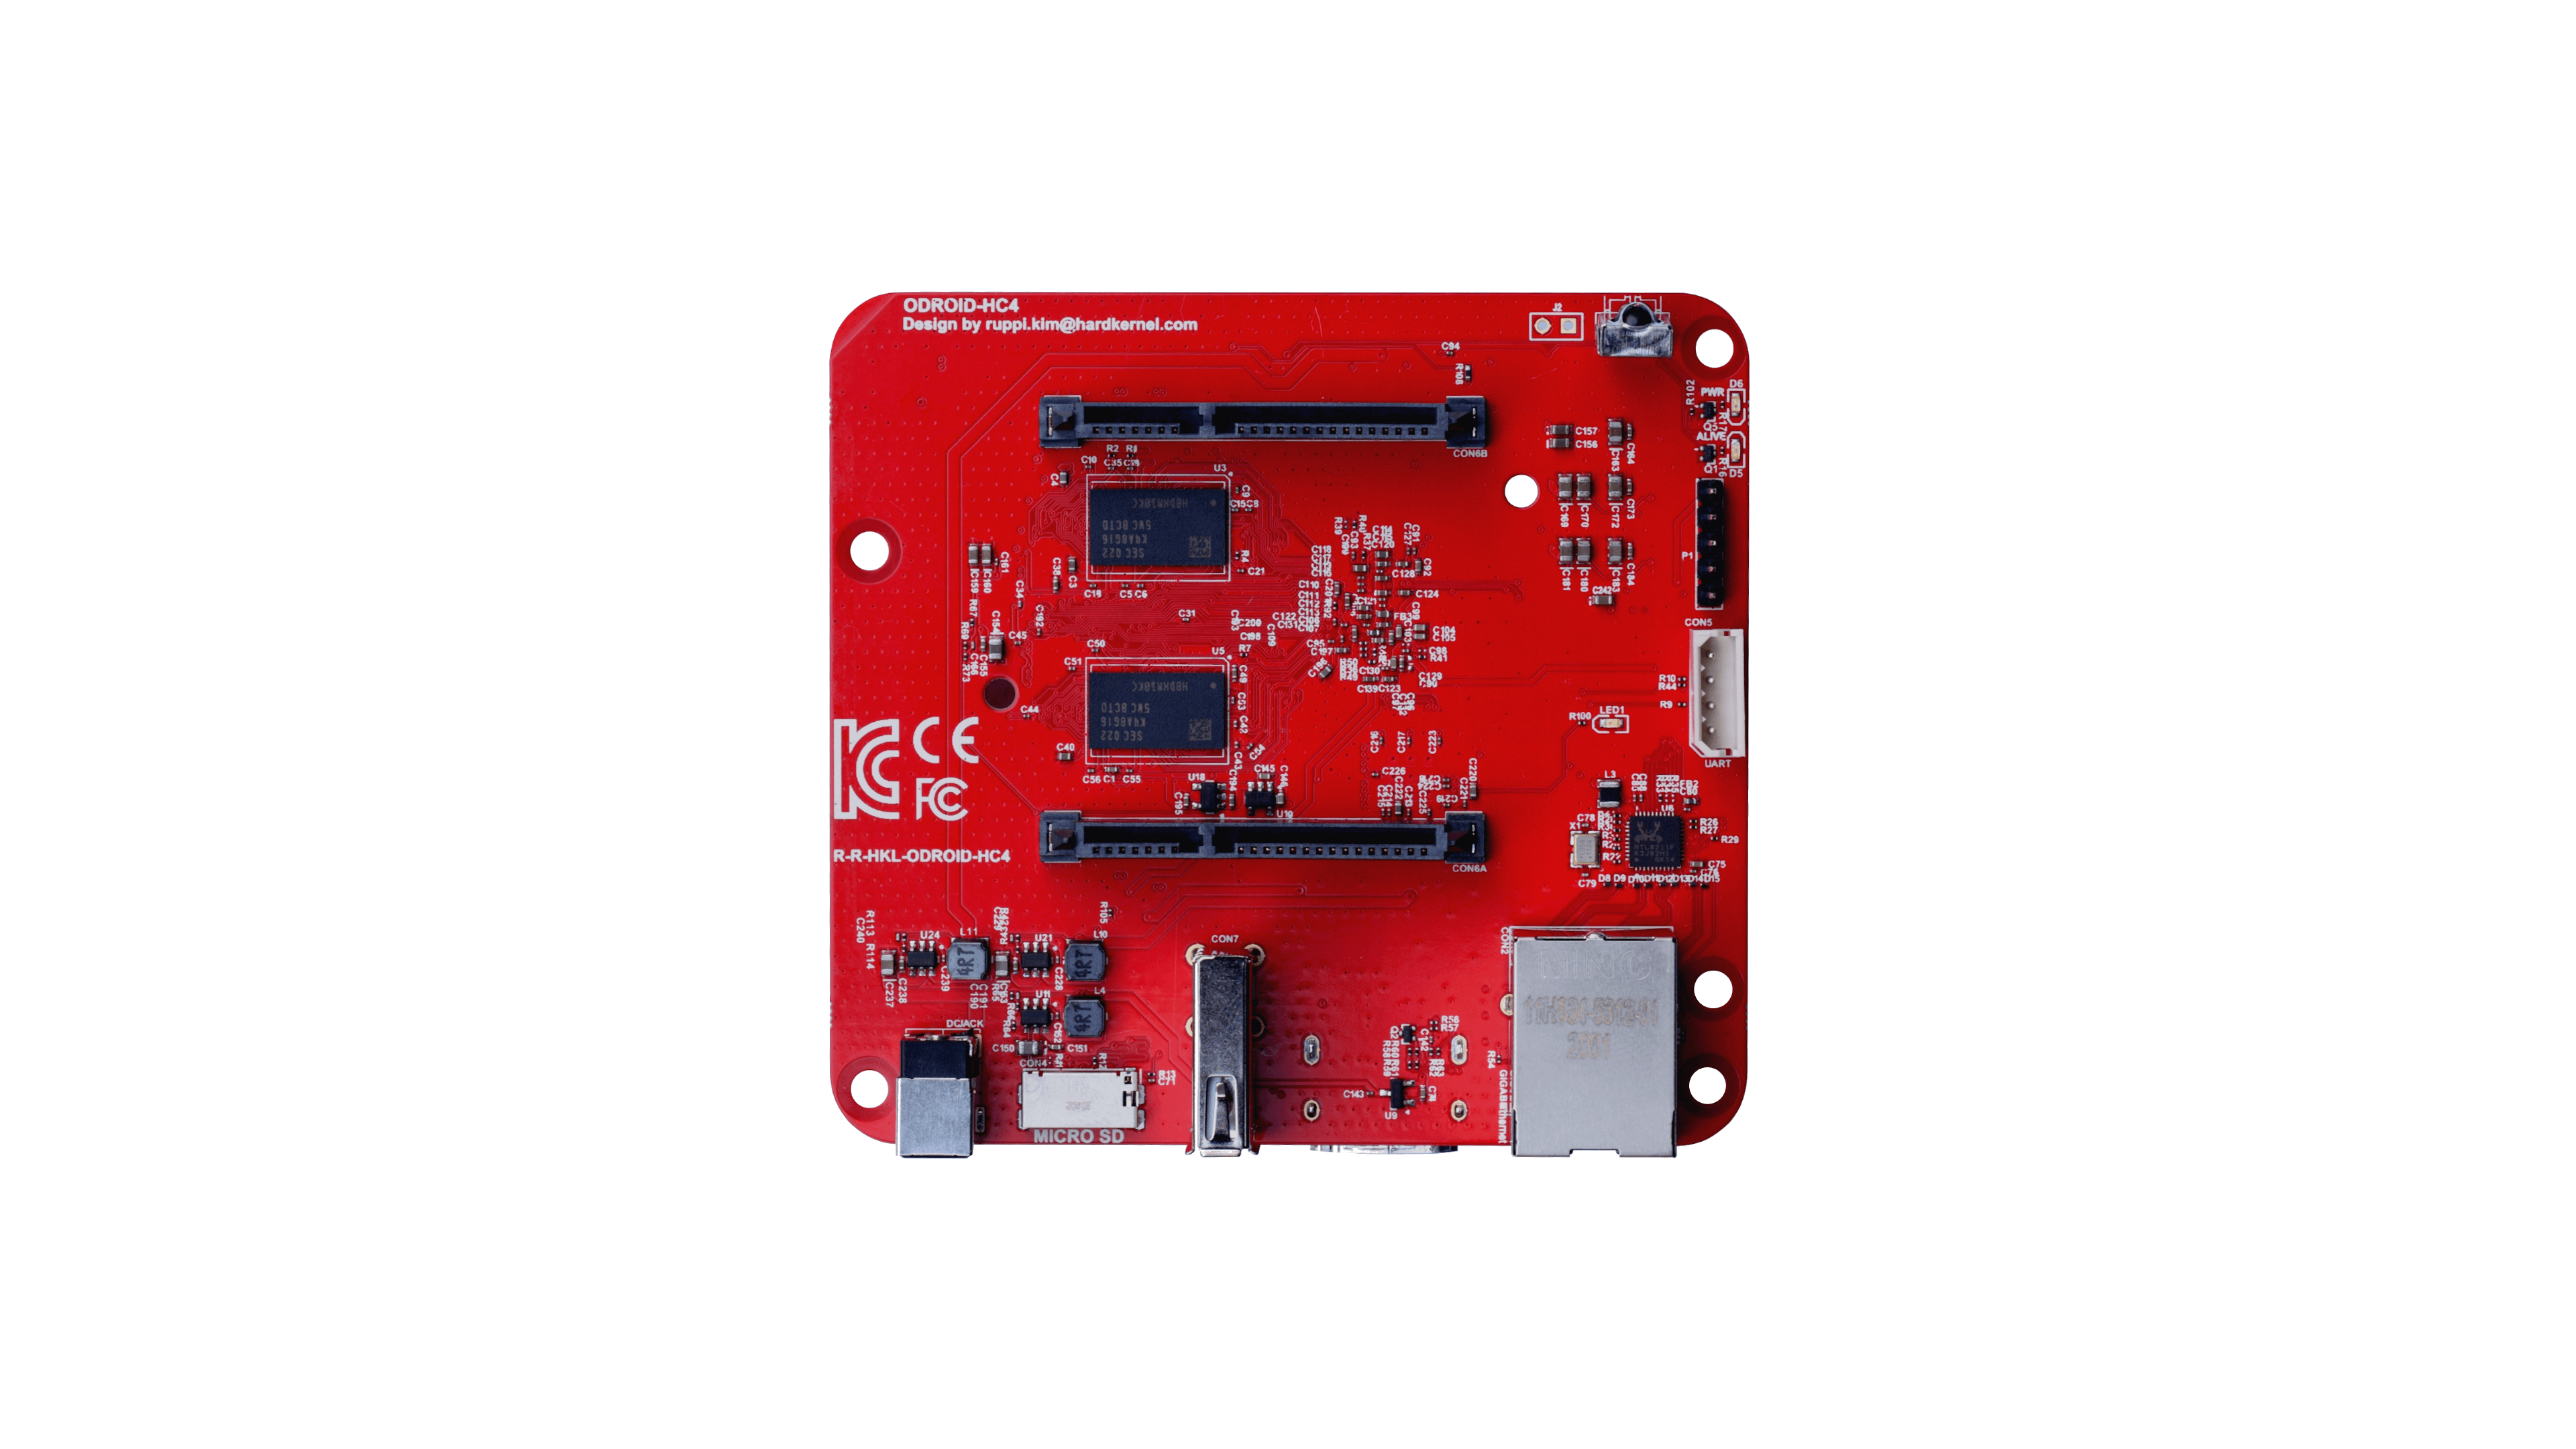
- UART is accessible on a standard connector but with unusual speed: 1500000
- If you don’t have USB Type-C PSU, you can power the board via pins 4 (5V) and 6 (GND) of the 40-pin GPIO1 header
- Powering related troubles are possible since USB Type-C is not PD-compliant. In fact you have to use dumb 5V PSU or device won’t boot up.
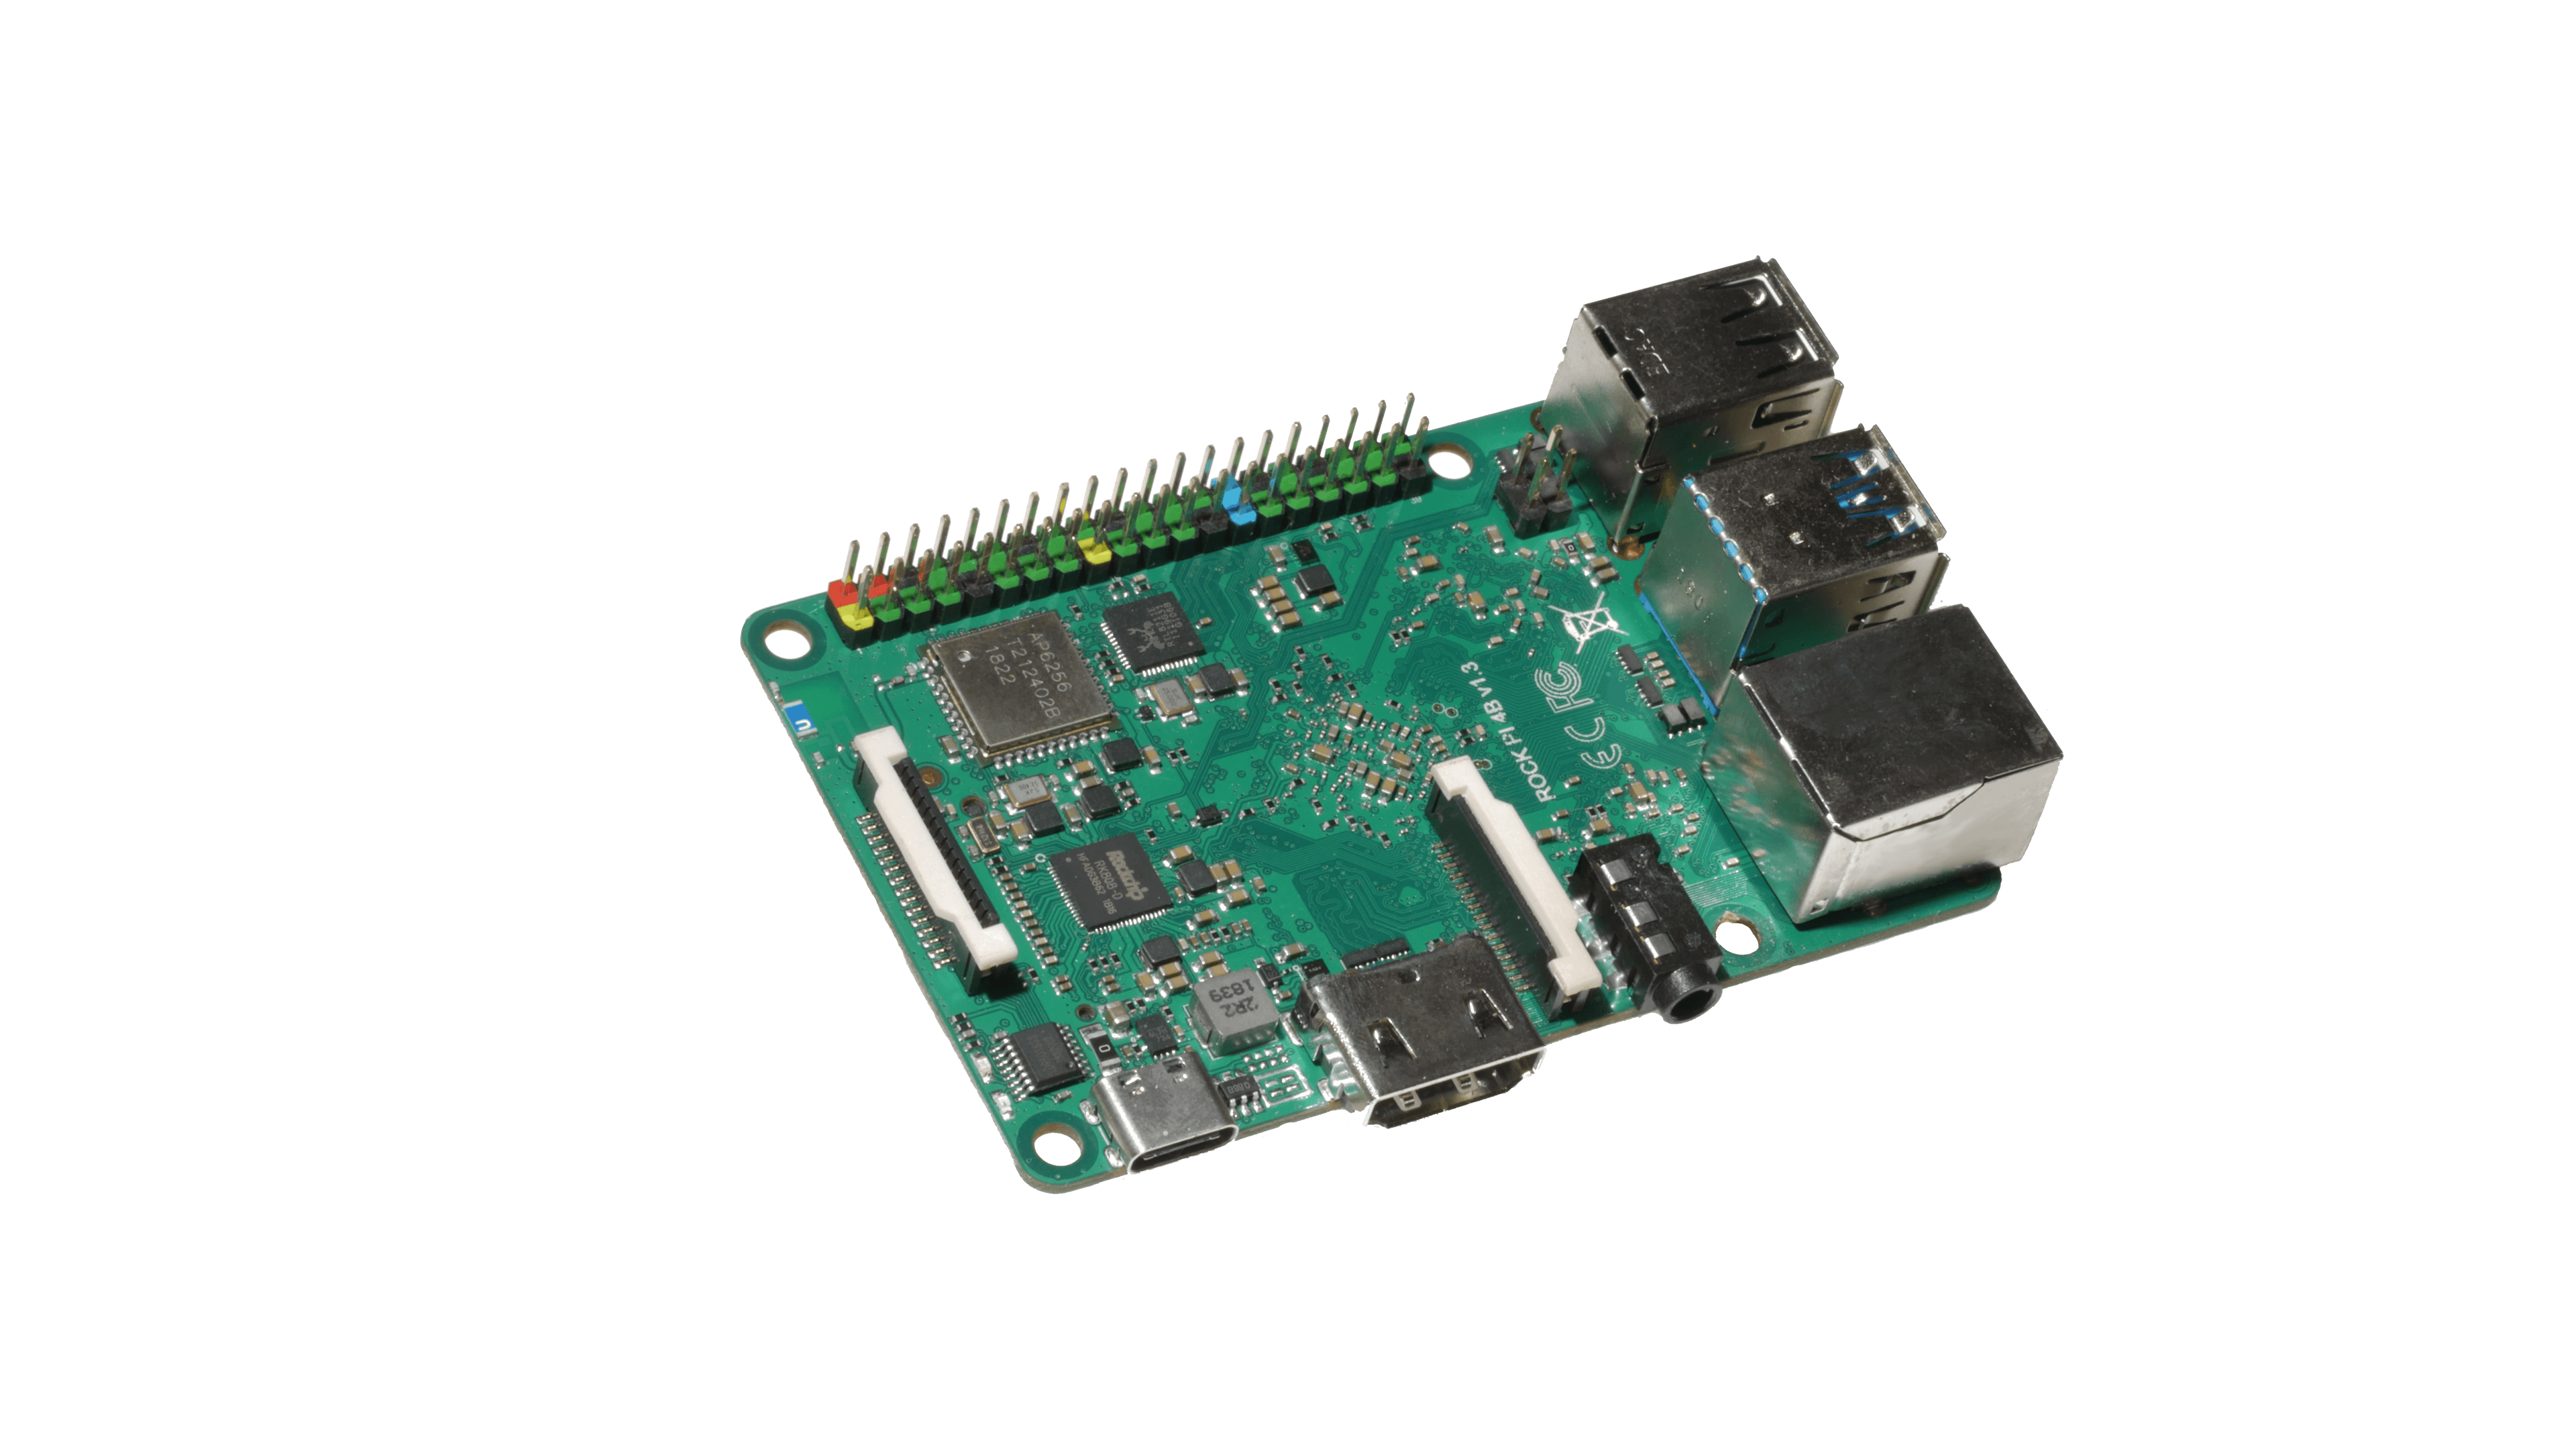
- UART has unusual speed: 1500000
- boot from SD card is possible by shorting TP50265 to the ground and powering the board. After Armbian boots up, you can overwrite eMMC. You need to do this procedure only once or in case you totally brick your system.
- once you have Armbian booting from eMMC, you can boot SD card in more simple manner: stop booting from UART console and execute those commands:
setenv devnum 1followed byrun mmc_boot - you need to use
EXPERT="yes"to build kernel or images.
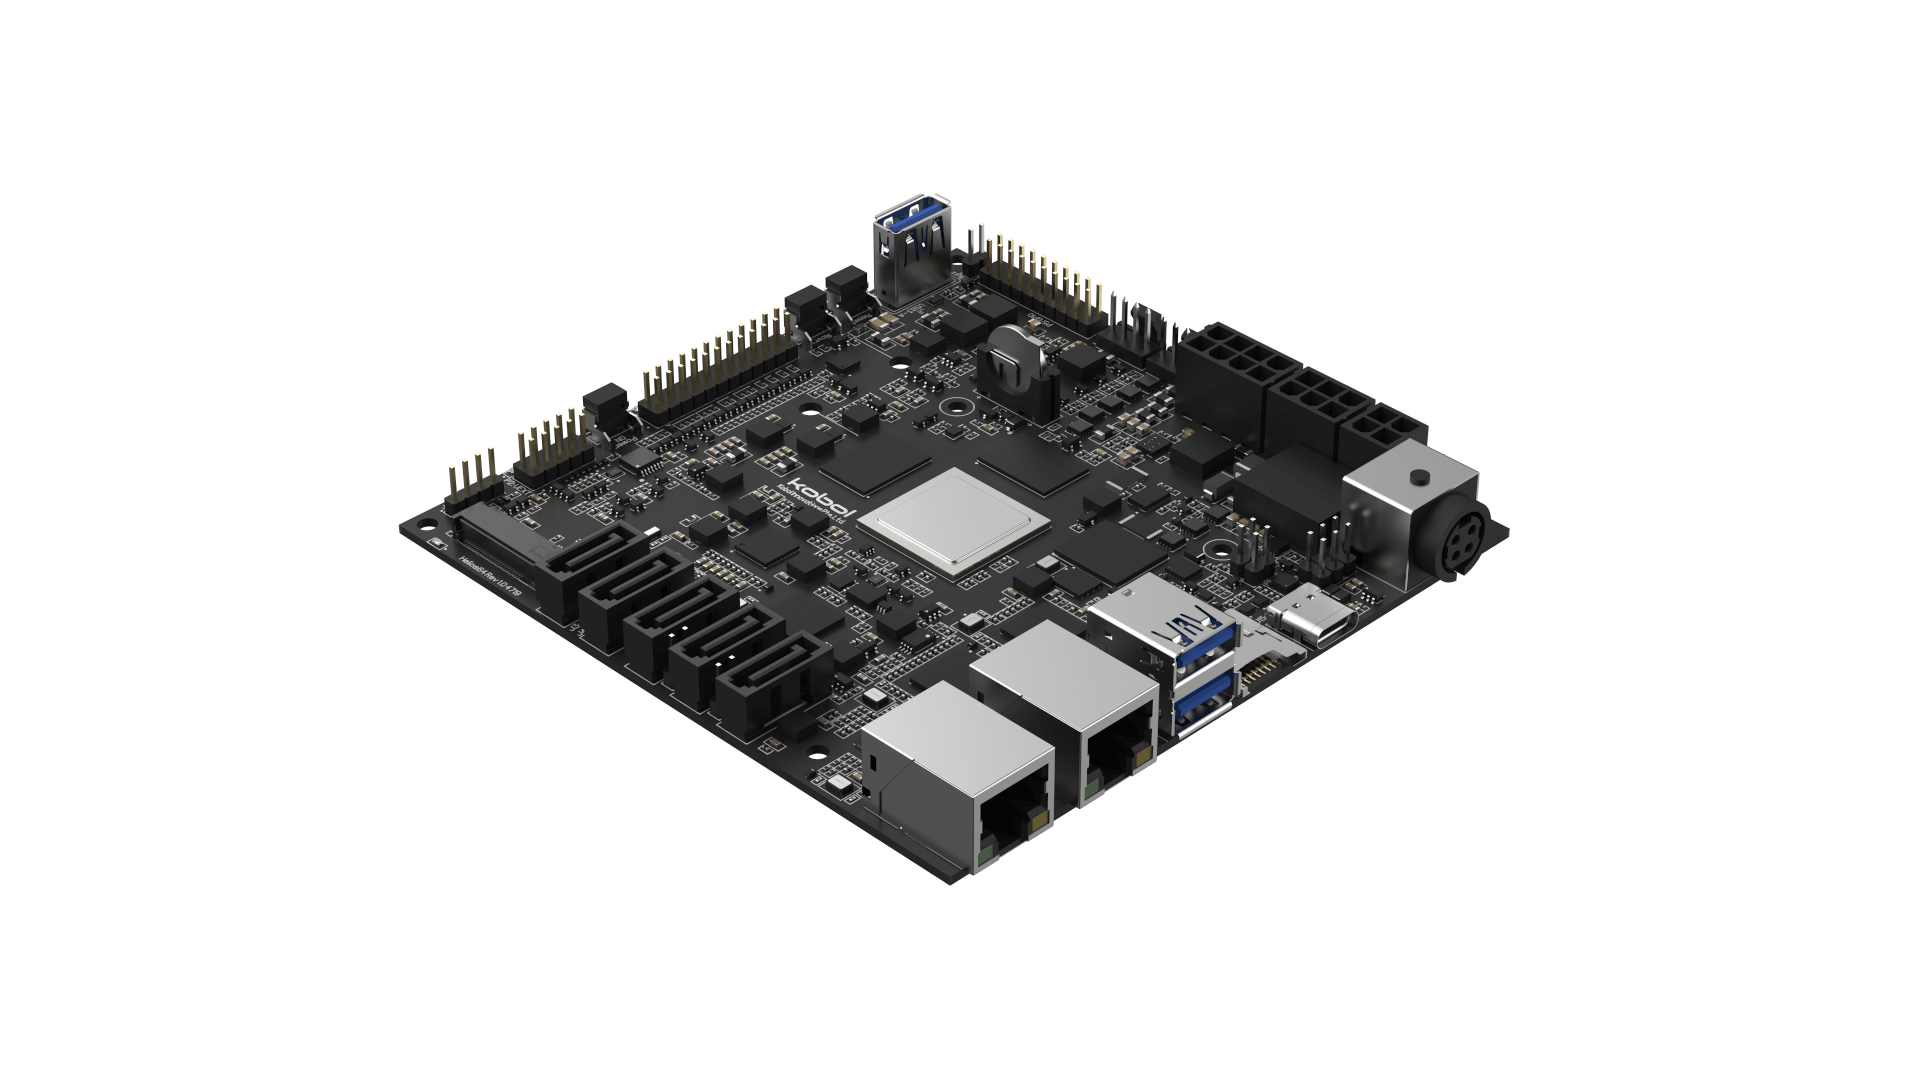
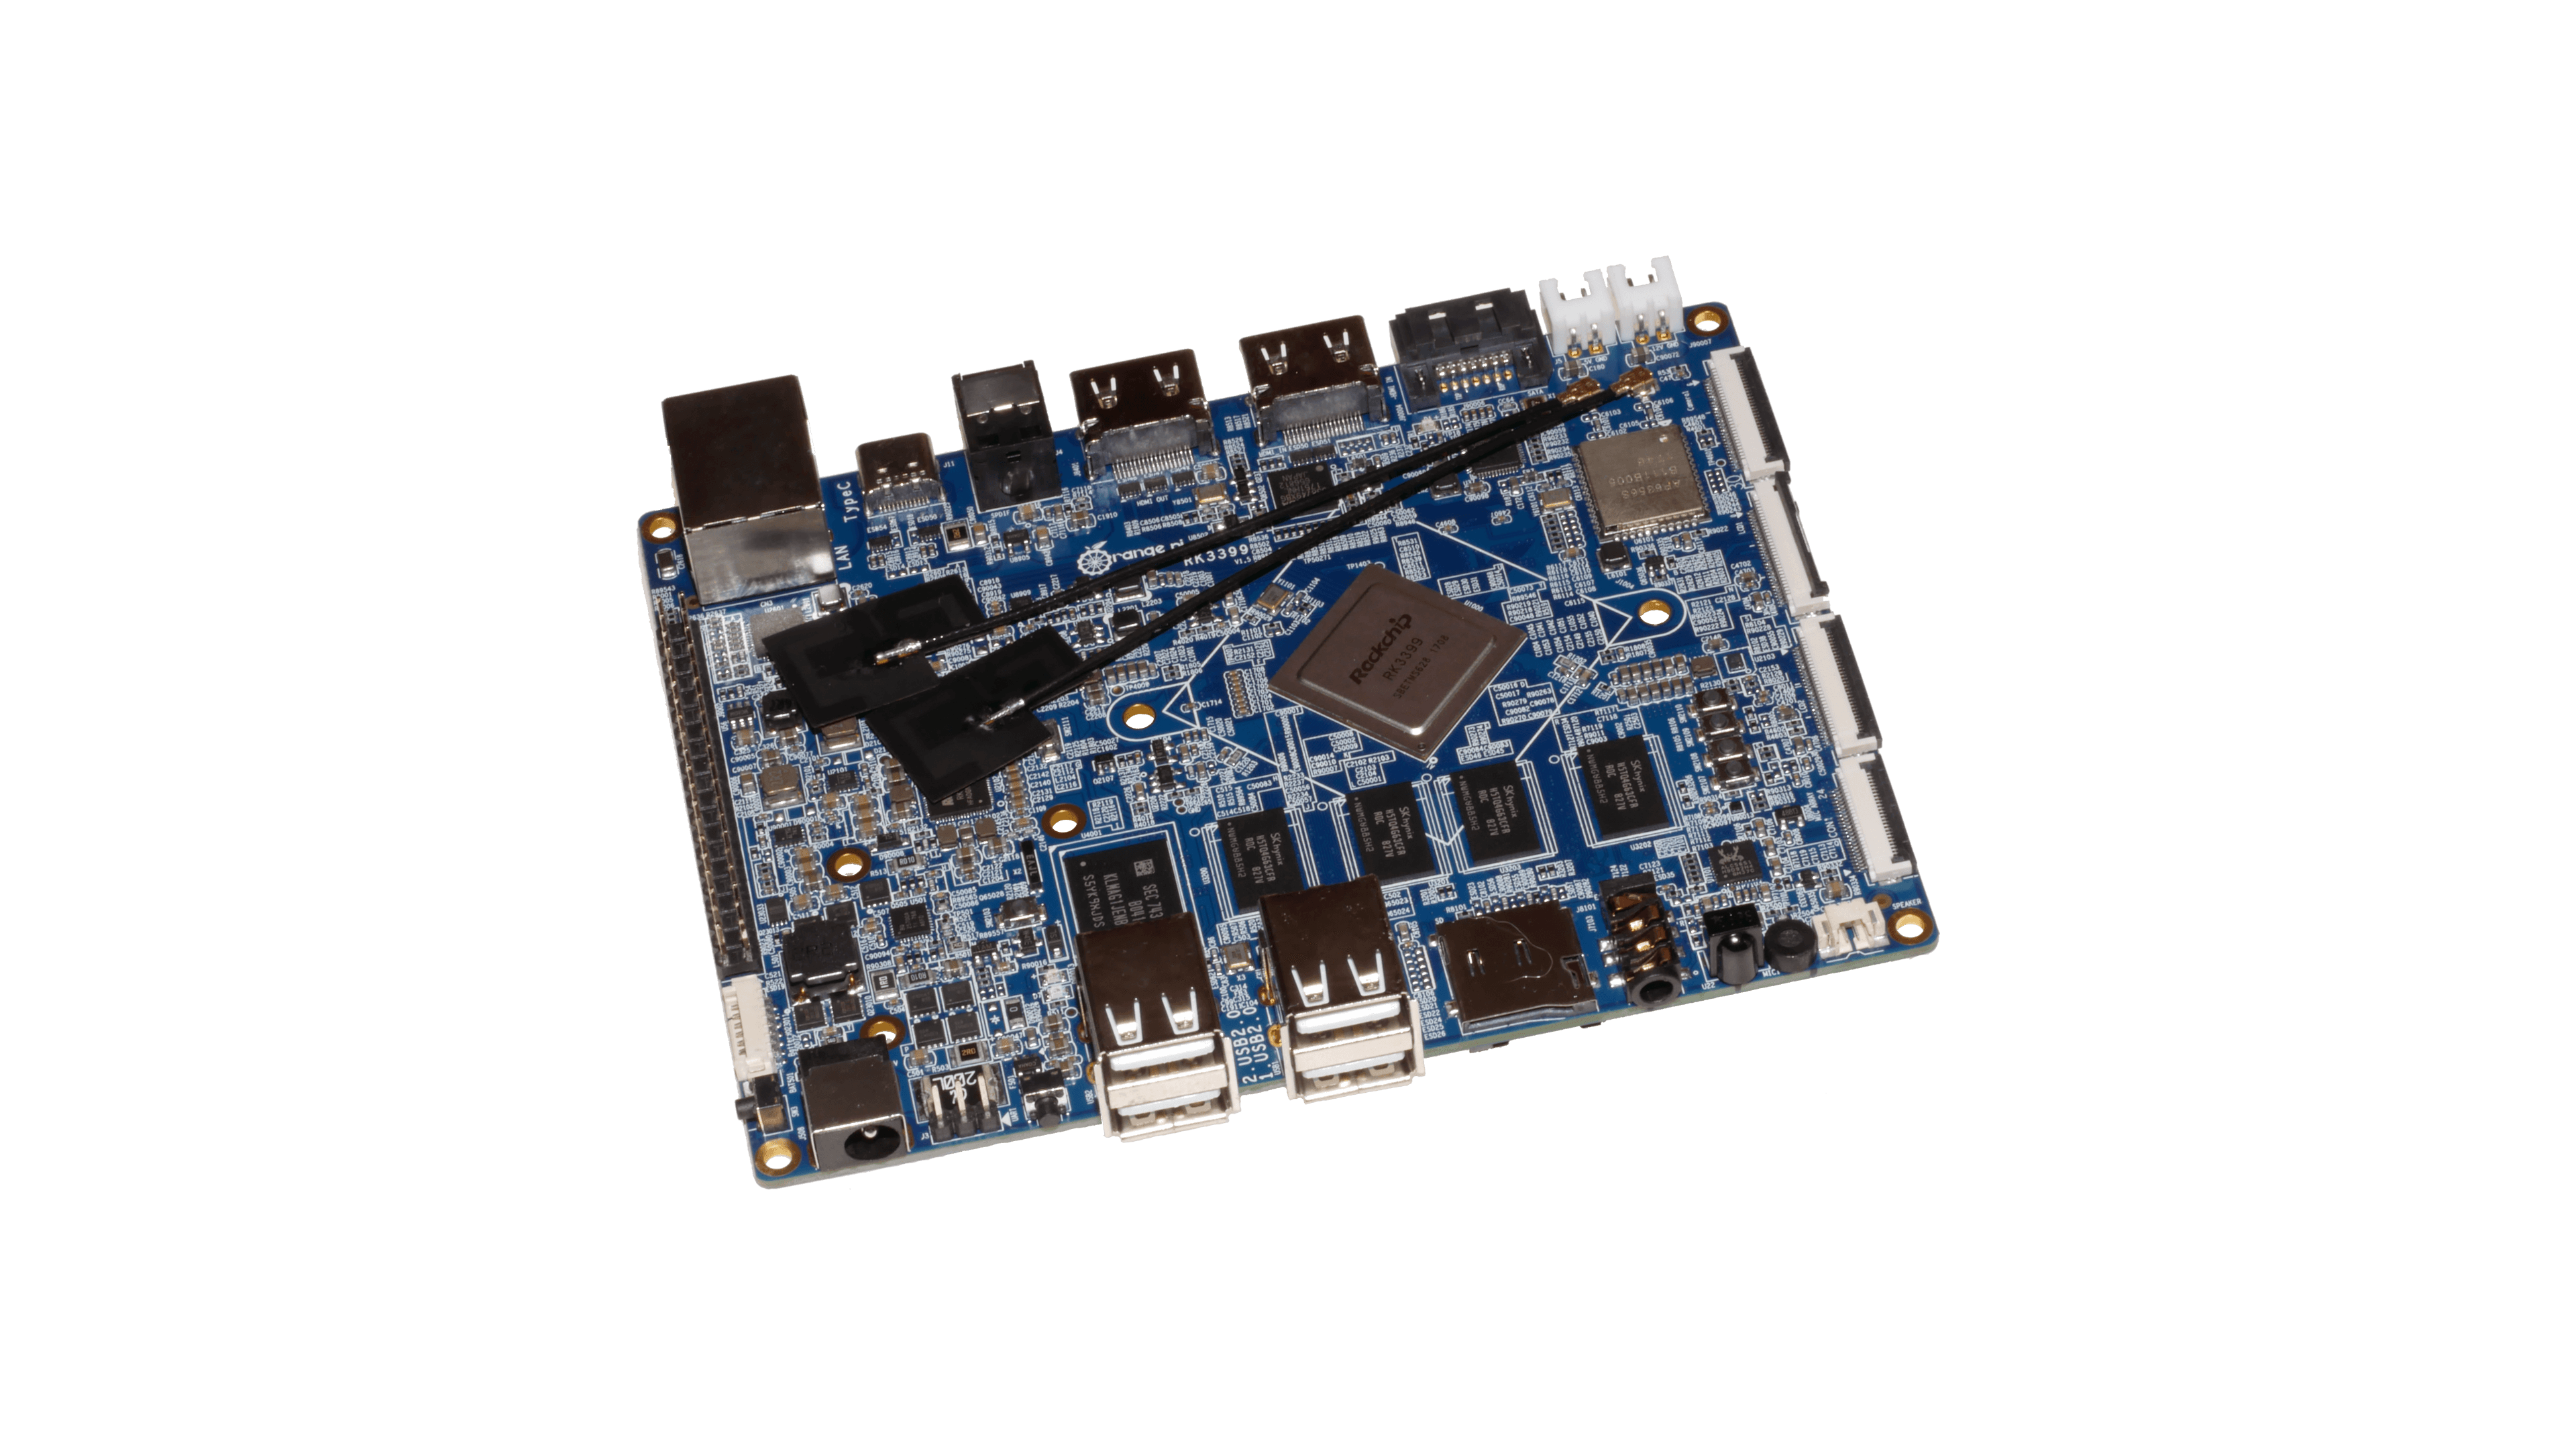
- UART is accessible on pin 6 (GND),8 (TX) and 10 (RX) and with unusual speed: 1500000
- flash the 128M SPI memory to also boot from USB or PXE (it if goes wrong, follow these instructions)
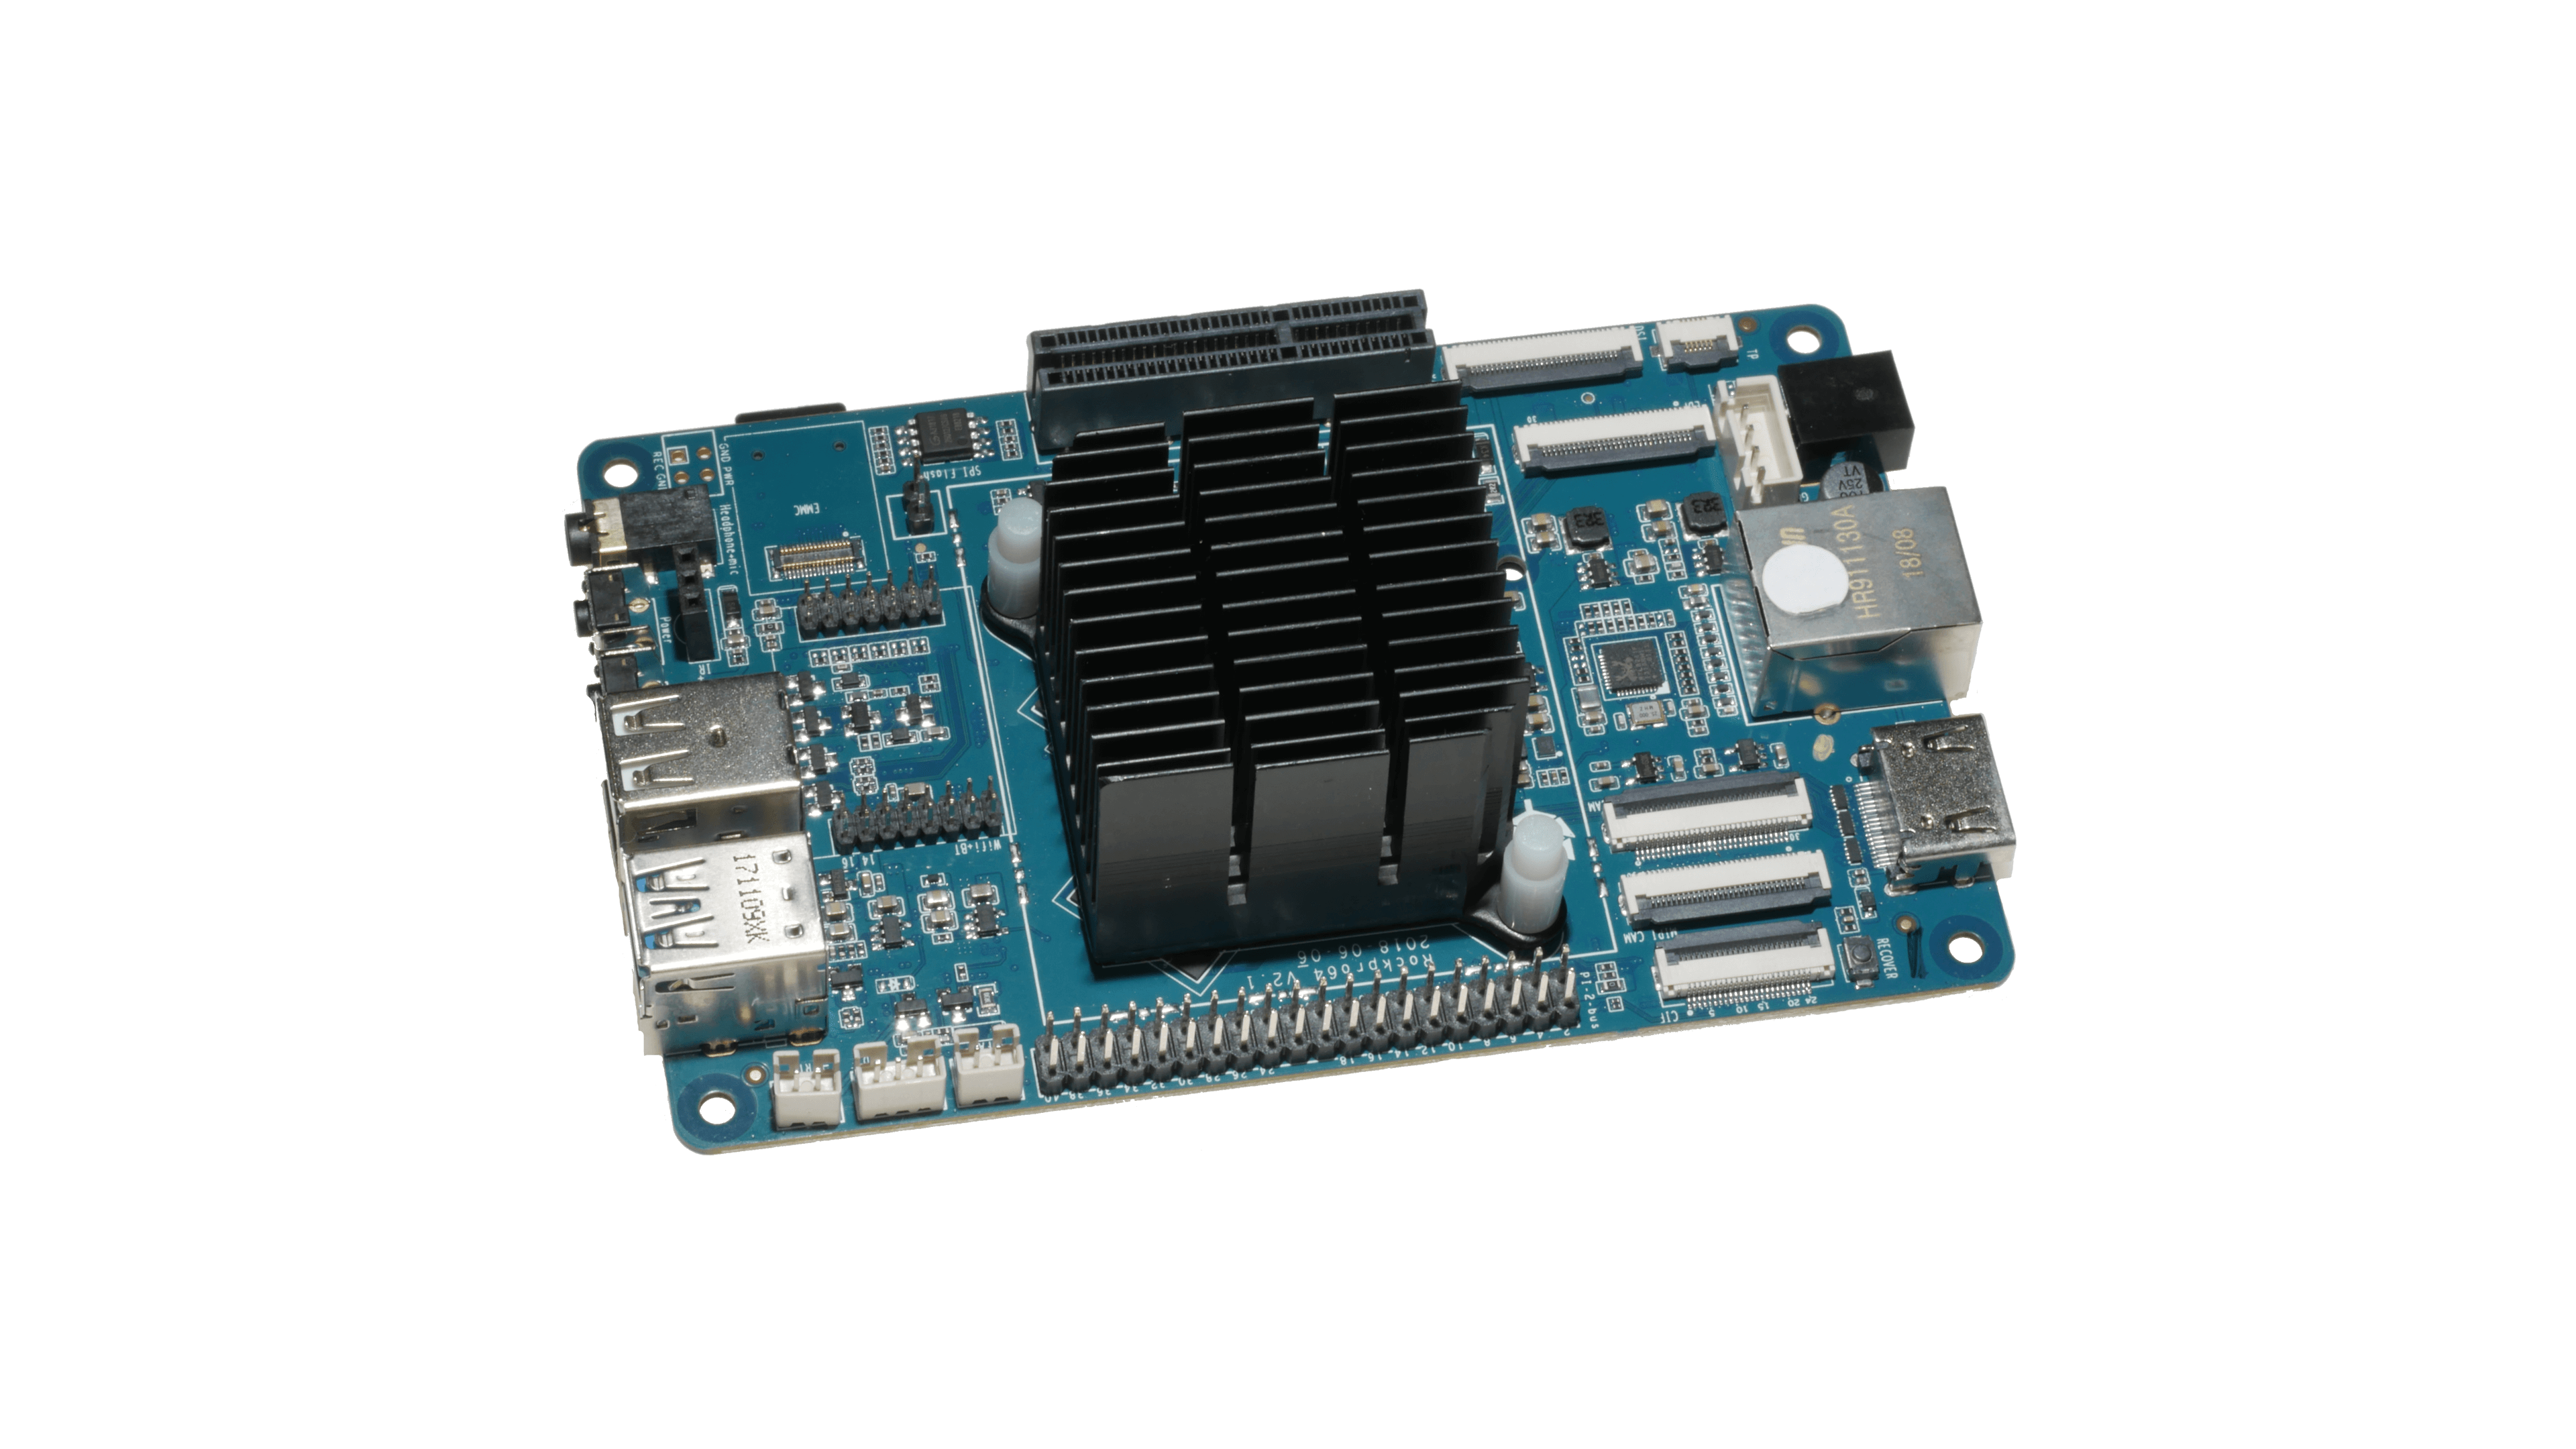
- short-pressing (~1s) the power button turns the board on, long-pressing it (~3s) turns it off. If it gets stuck while halting, press the reset button. If it does not boot (ie the white led does not come up), reset, then power on.
- if you experience USB3 storage lack of reliability (error messages followed by filesystem corruption), check your power supply, usb cable and connectors and disk/ssd. All these factors can lead to undervoltage issues (some ssd could produce power consumption spikes triggering undervoltage).