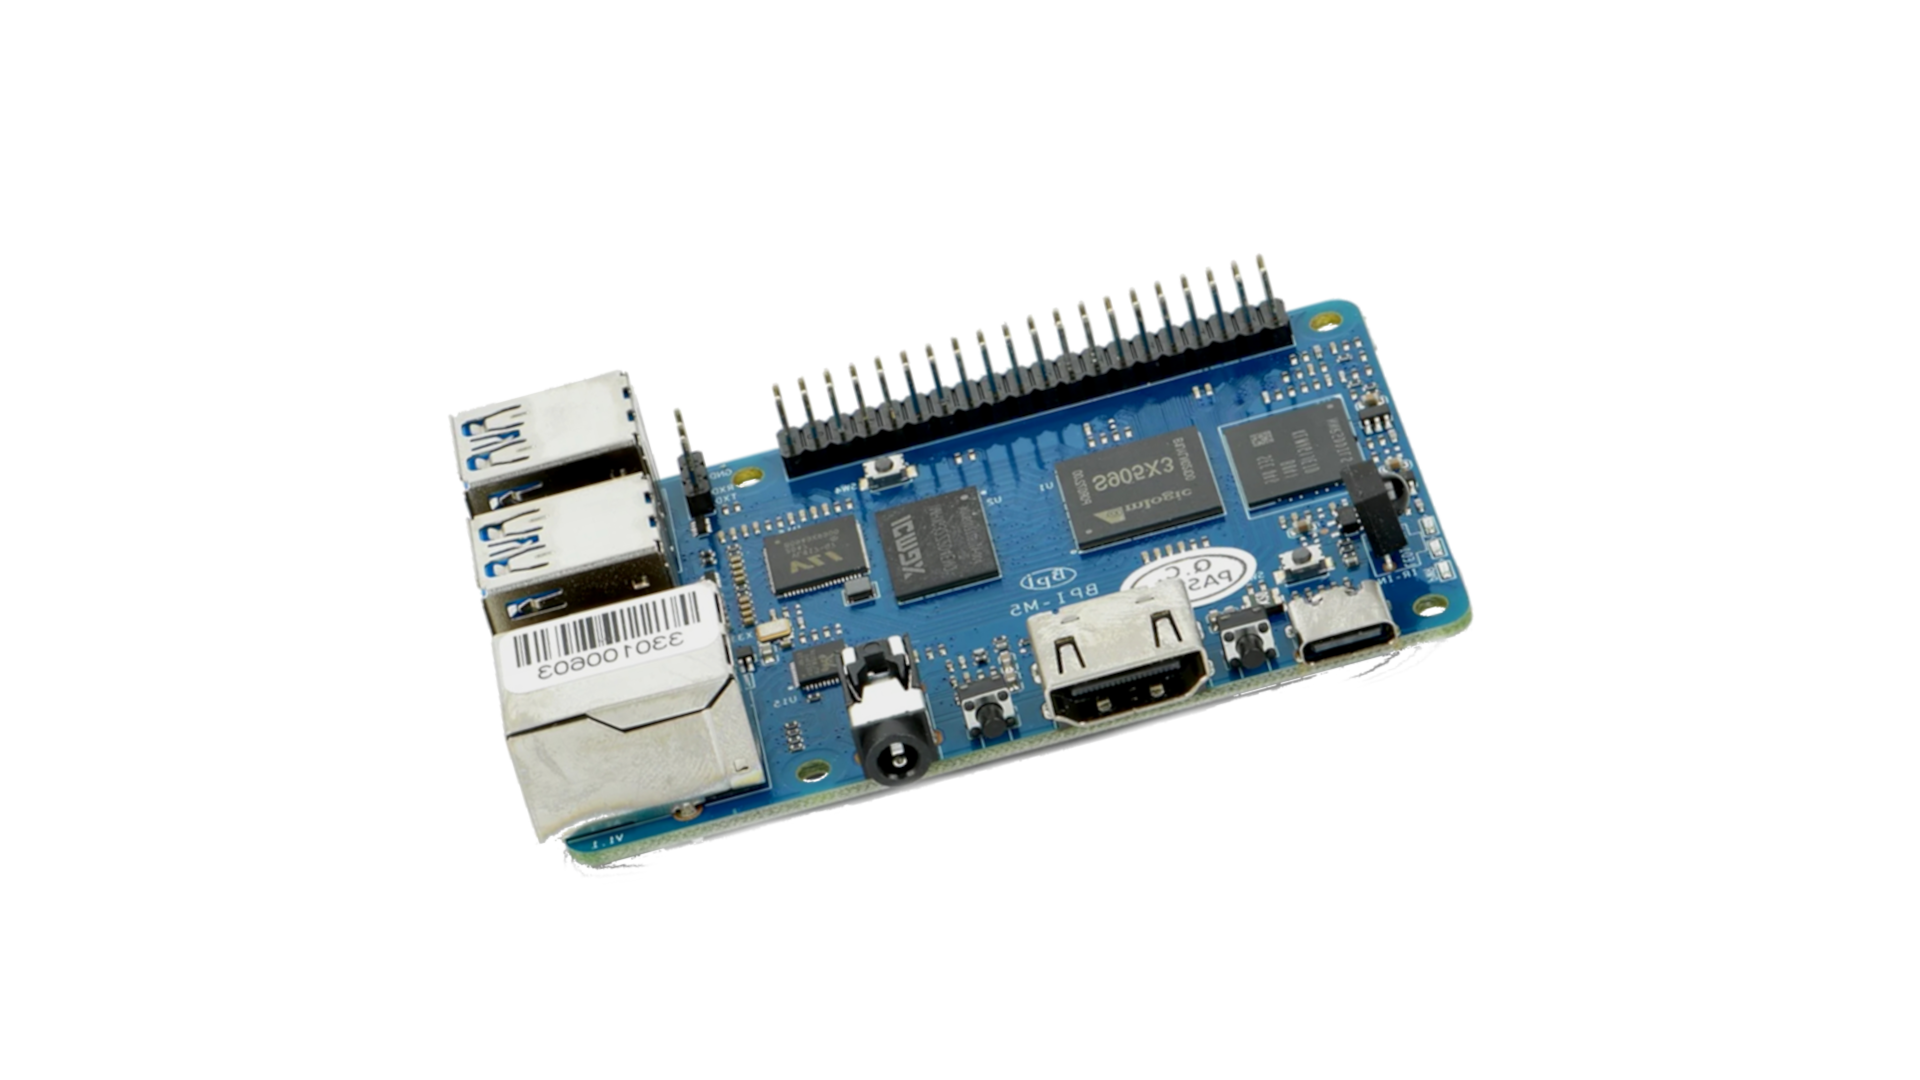
- powering with PD capable PSU is not possible. It has to be dumb 5V
- To change display resolution, add below to the /boot/armbianEnv.txt:
extraargs=video=HDMI-A-1:1920x1080M@60

extraargs=video=HDMI-A-1:1920x1080M@60
In order to boot Armbian from JetHub H1 with pre-flashed OS on eMMC you need USB-USB cable and do:
More instructions on https://wiki.jethome.ru/en/jethub_h1#controller_firmware
Now you can boot Armbian from eMMC.
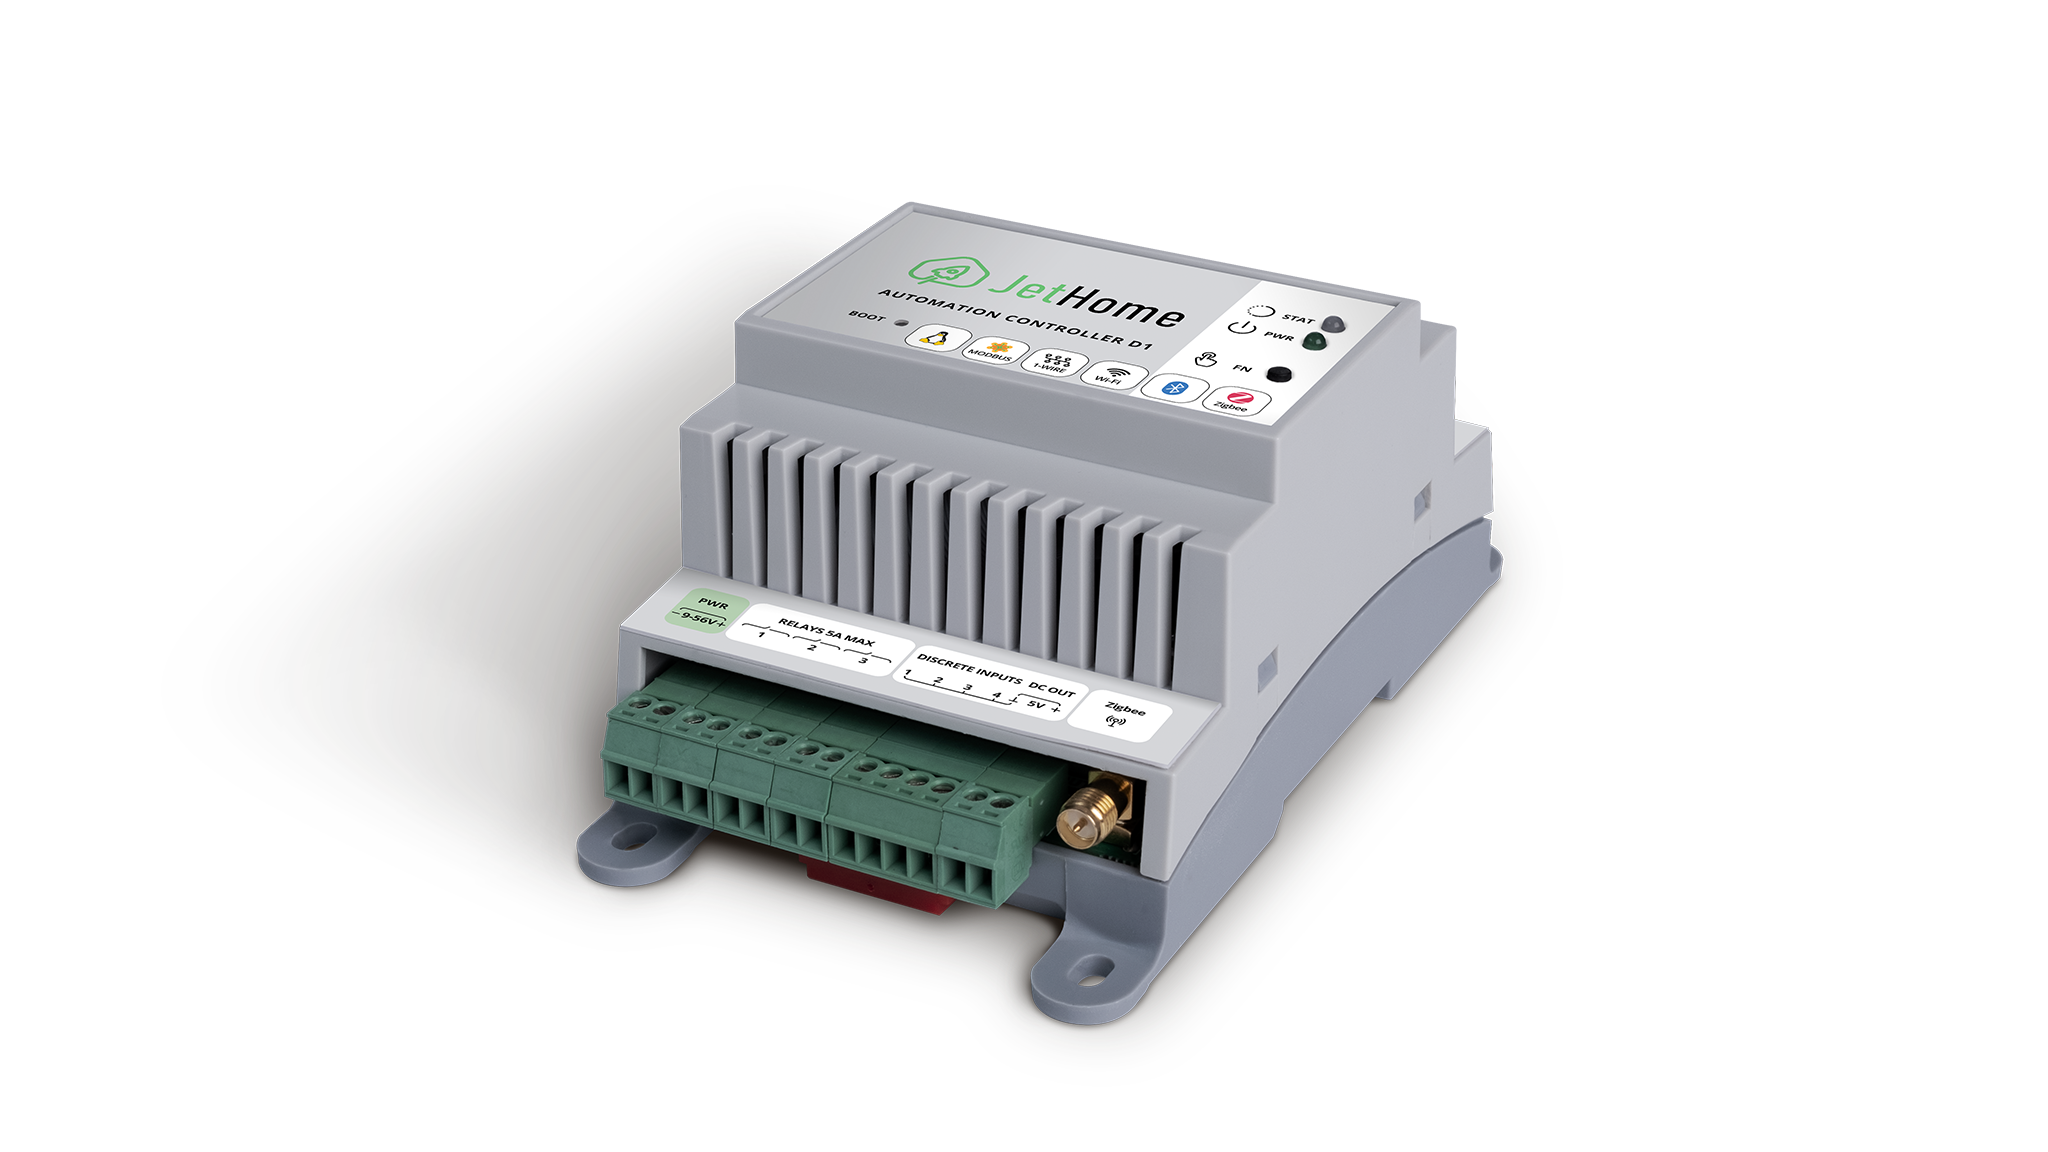
In order to boot Armbian from JetHub D1/D1+ with pre-flashed OS on eMMC you need USB-USB cable and do:
More instructions on https://docs.jethome.com/controllers/linux/din_rail/index.html
Now you can boot Armbian from eMMC.
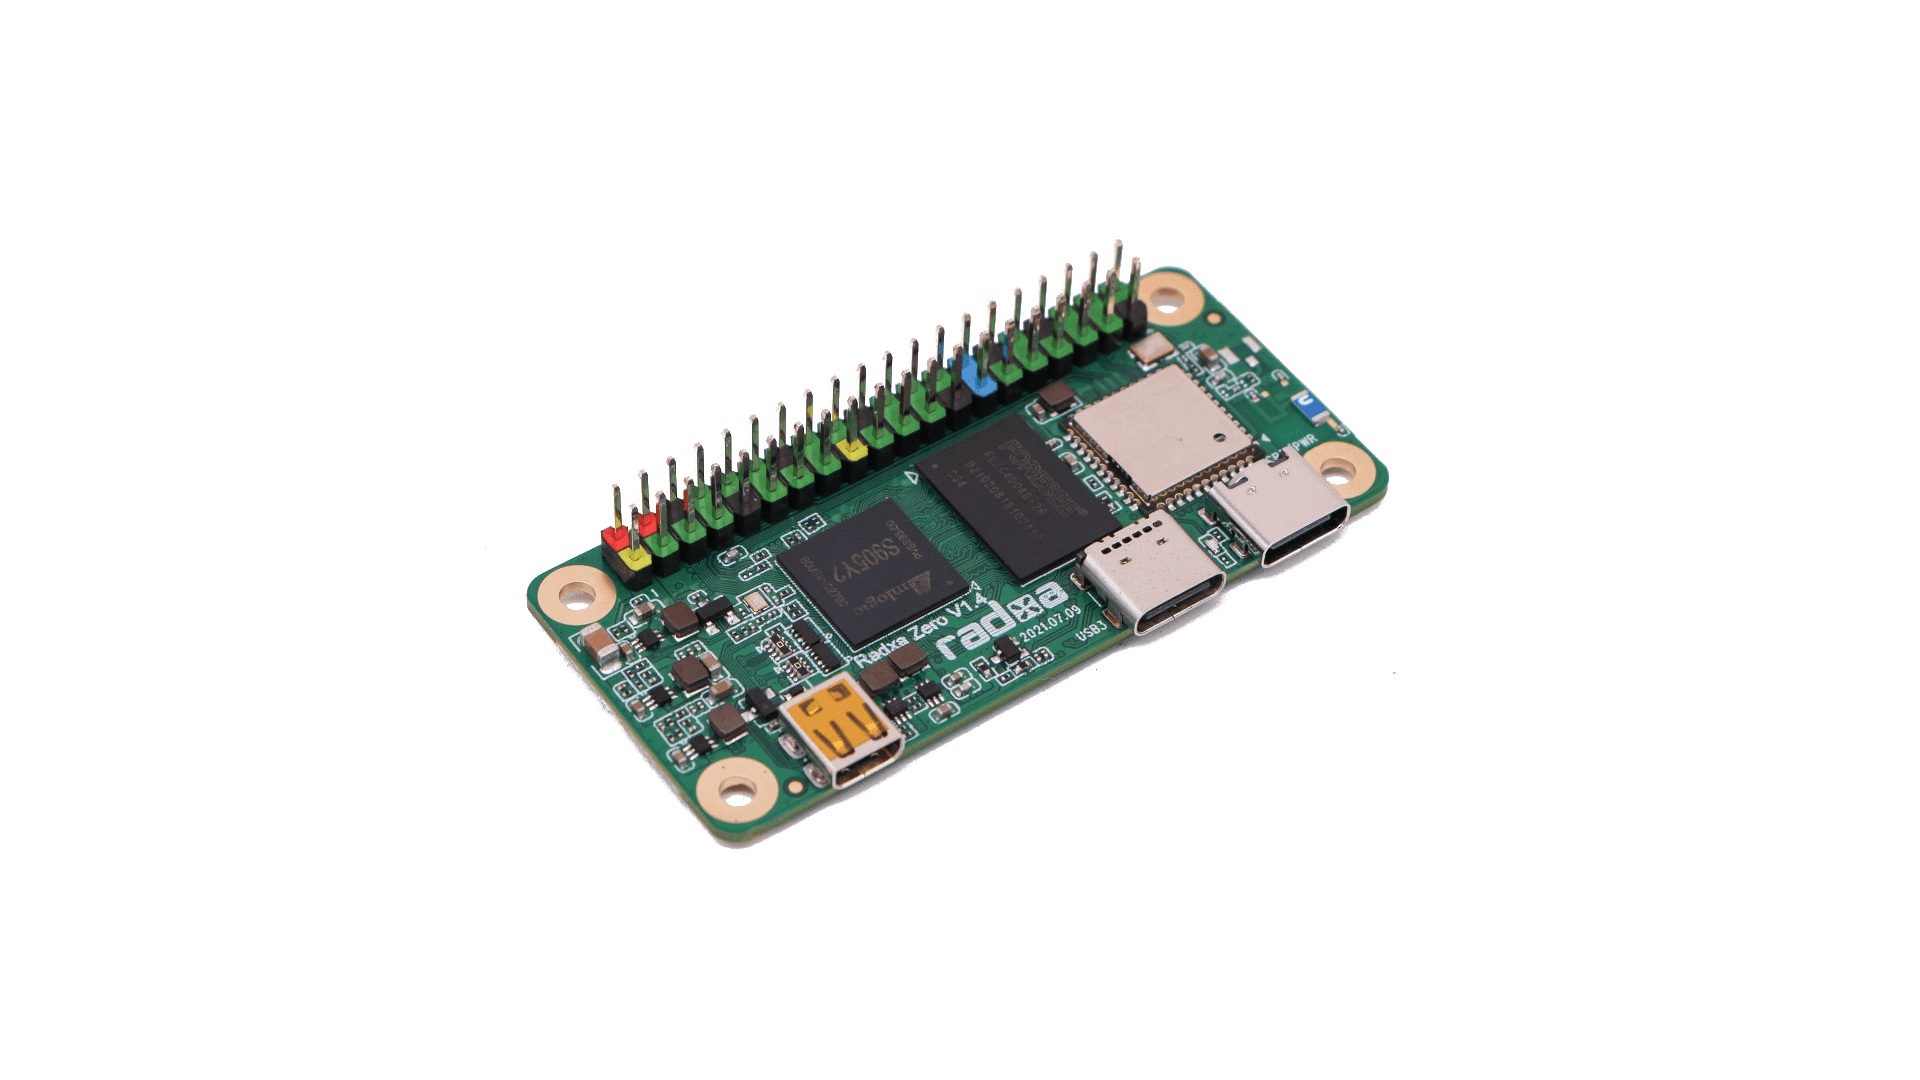
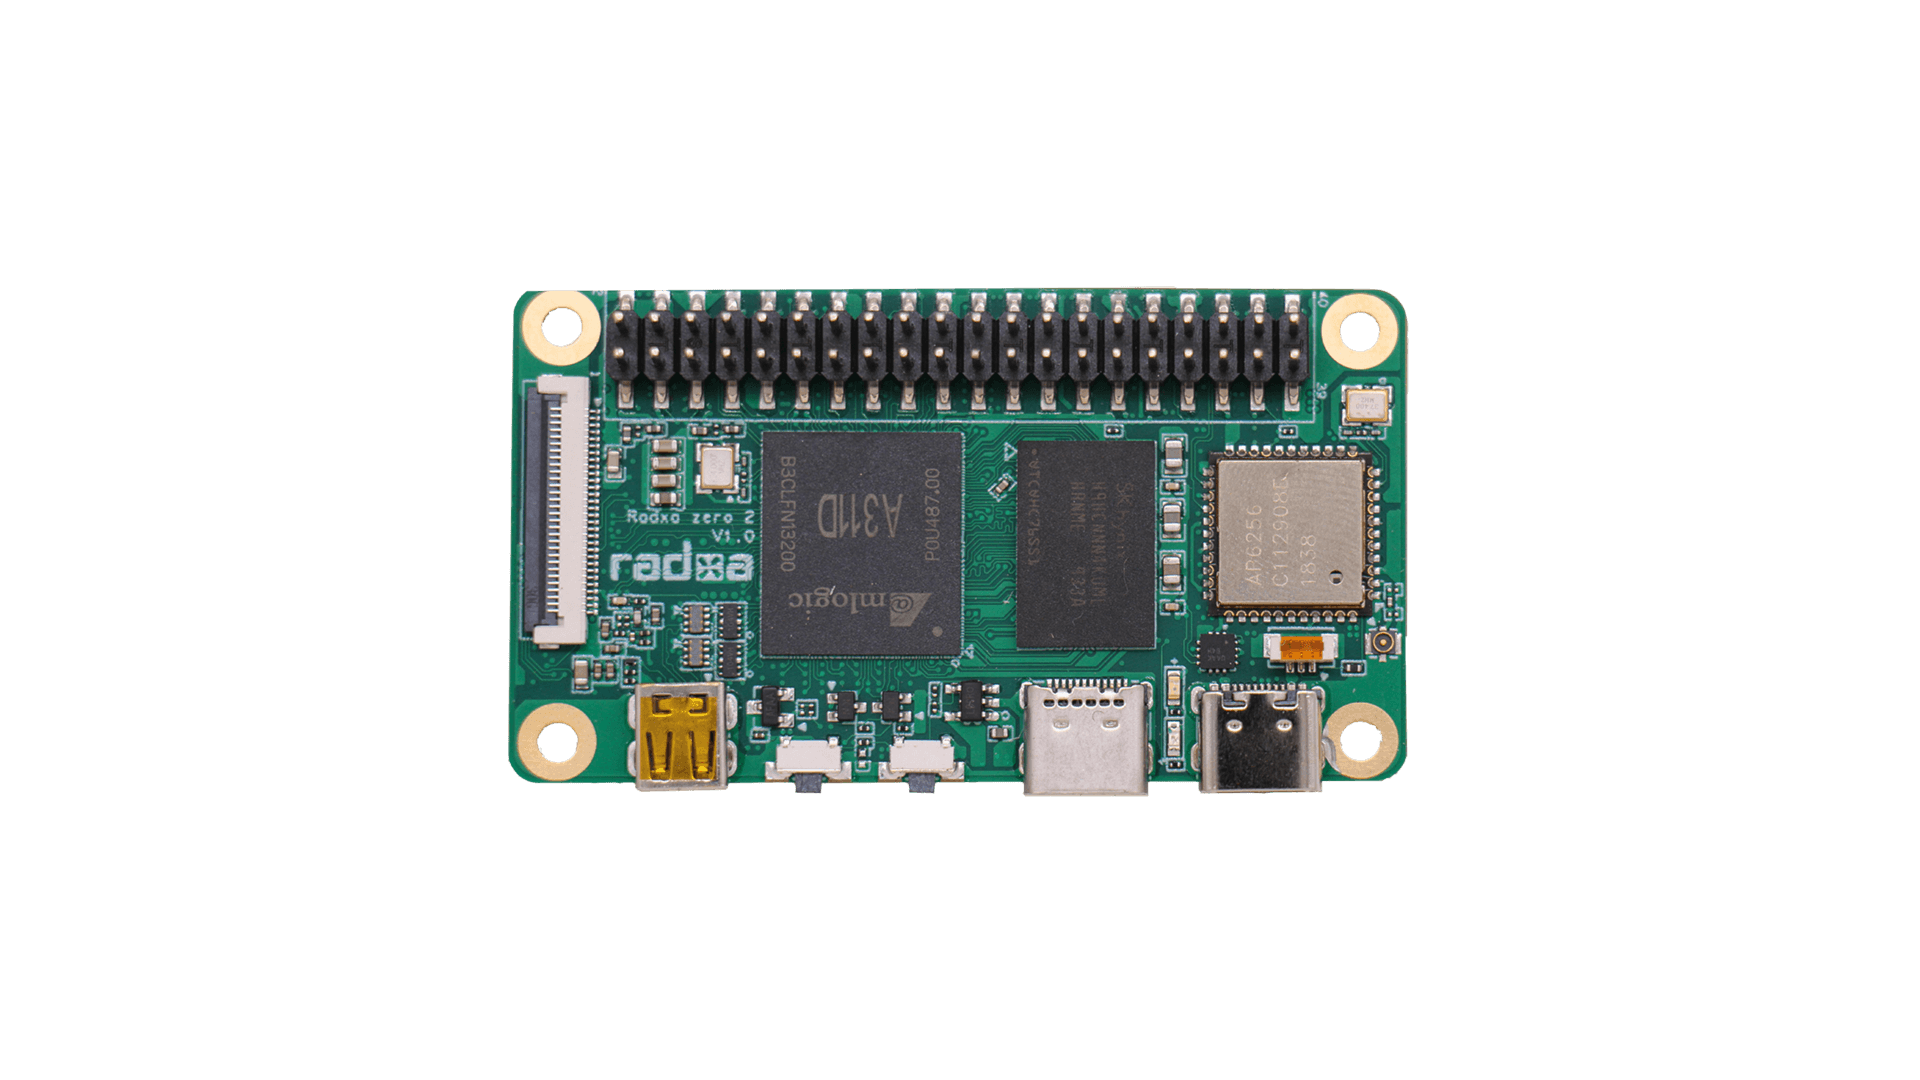
If you have a Radxa Zero with eMMC (any model with 2GB or 4GB of RAM), you’ll need to erase the eMMC before you can boot it from a microSD card and use Armbian. 1GB version is not supported.
Full instructions are available on the Radxa wiki, but here are some quick notes.
– Connect a USB cable to the Zero’s OTG port (the USB-C plug marked USB-PWR)
– Hold down the “USB BOOT” button on the Radxa Zero while connecting the USB cable to a USB port on the Linux host
– sudo pip3 install pyamlboot on the host
– curl -O https://dl.armbian.com/radxa-zero/loader/radxa-zero-erase-emmc.bin
– sudo boot-g12.py radxa-zero-erase-emmc.bin
You may have to run the sudo boot-g12.py command a second time to fully clear the eMMC. In case you encounter boot issues, try this hint and report there.
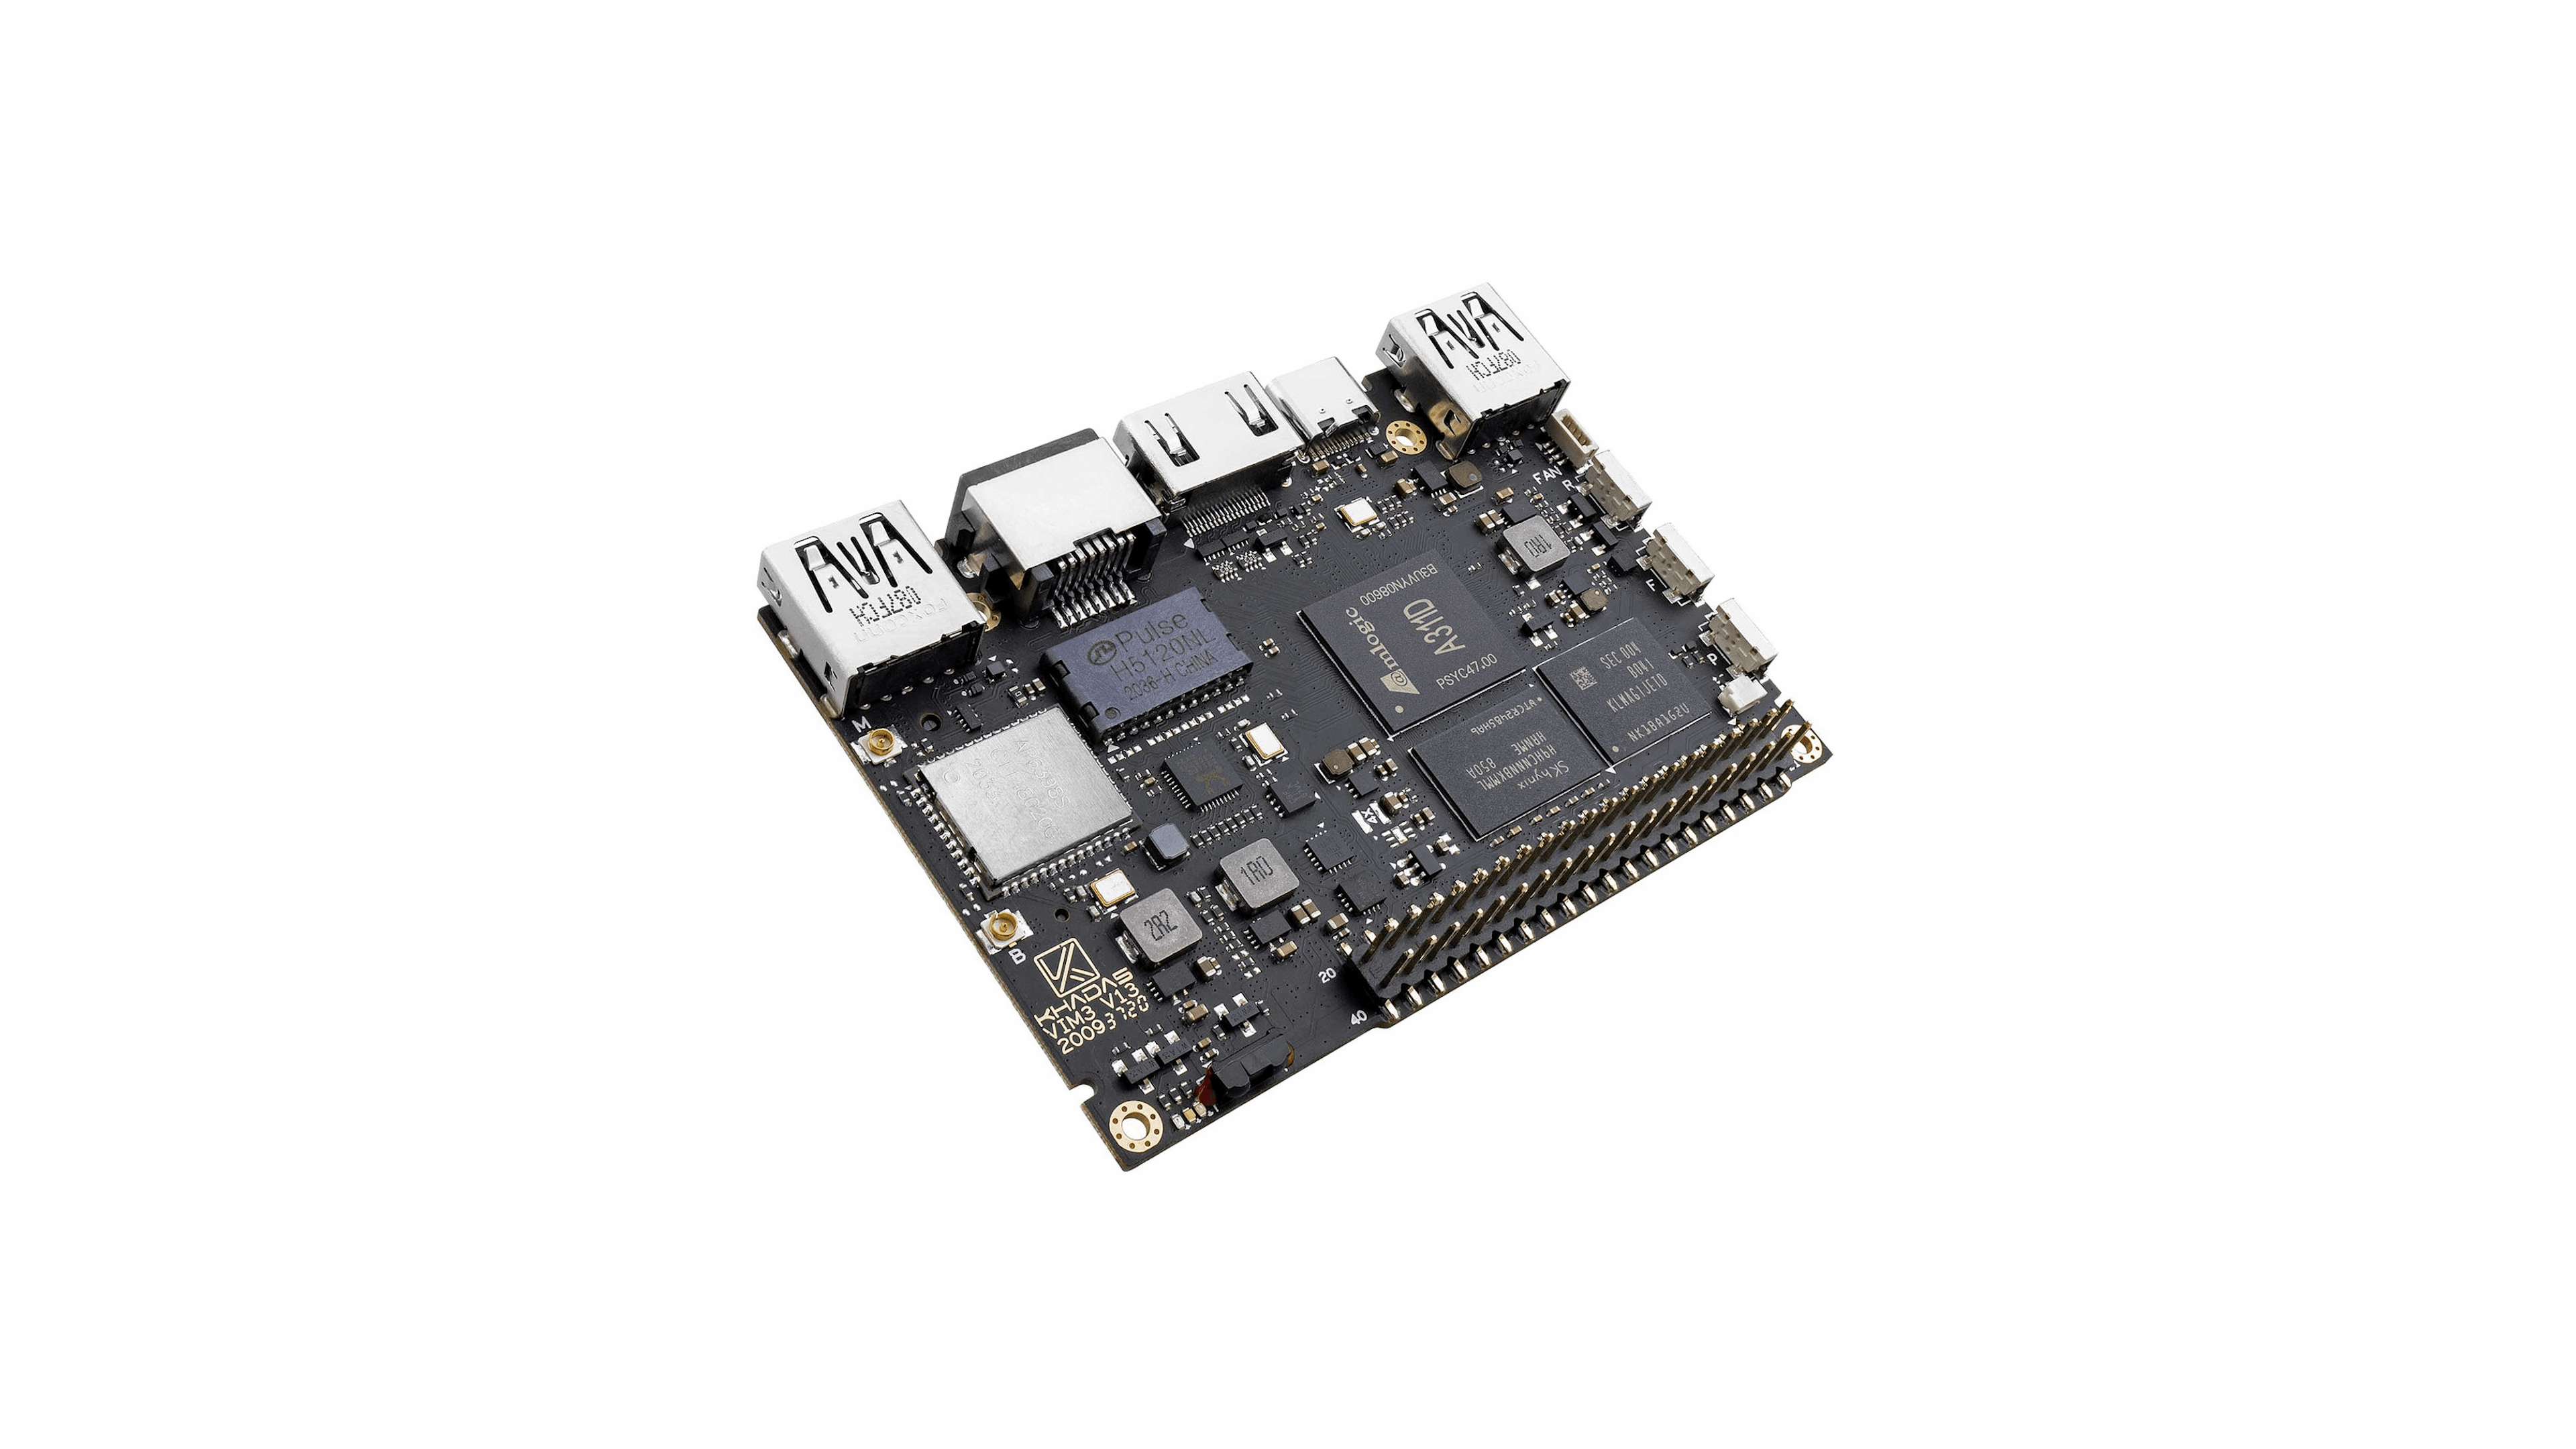
If you have variant with LCD display – here you can download driver.
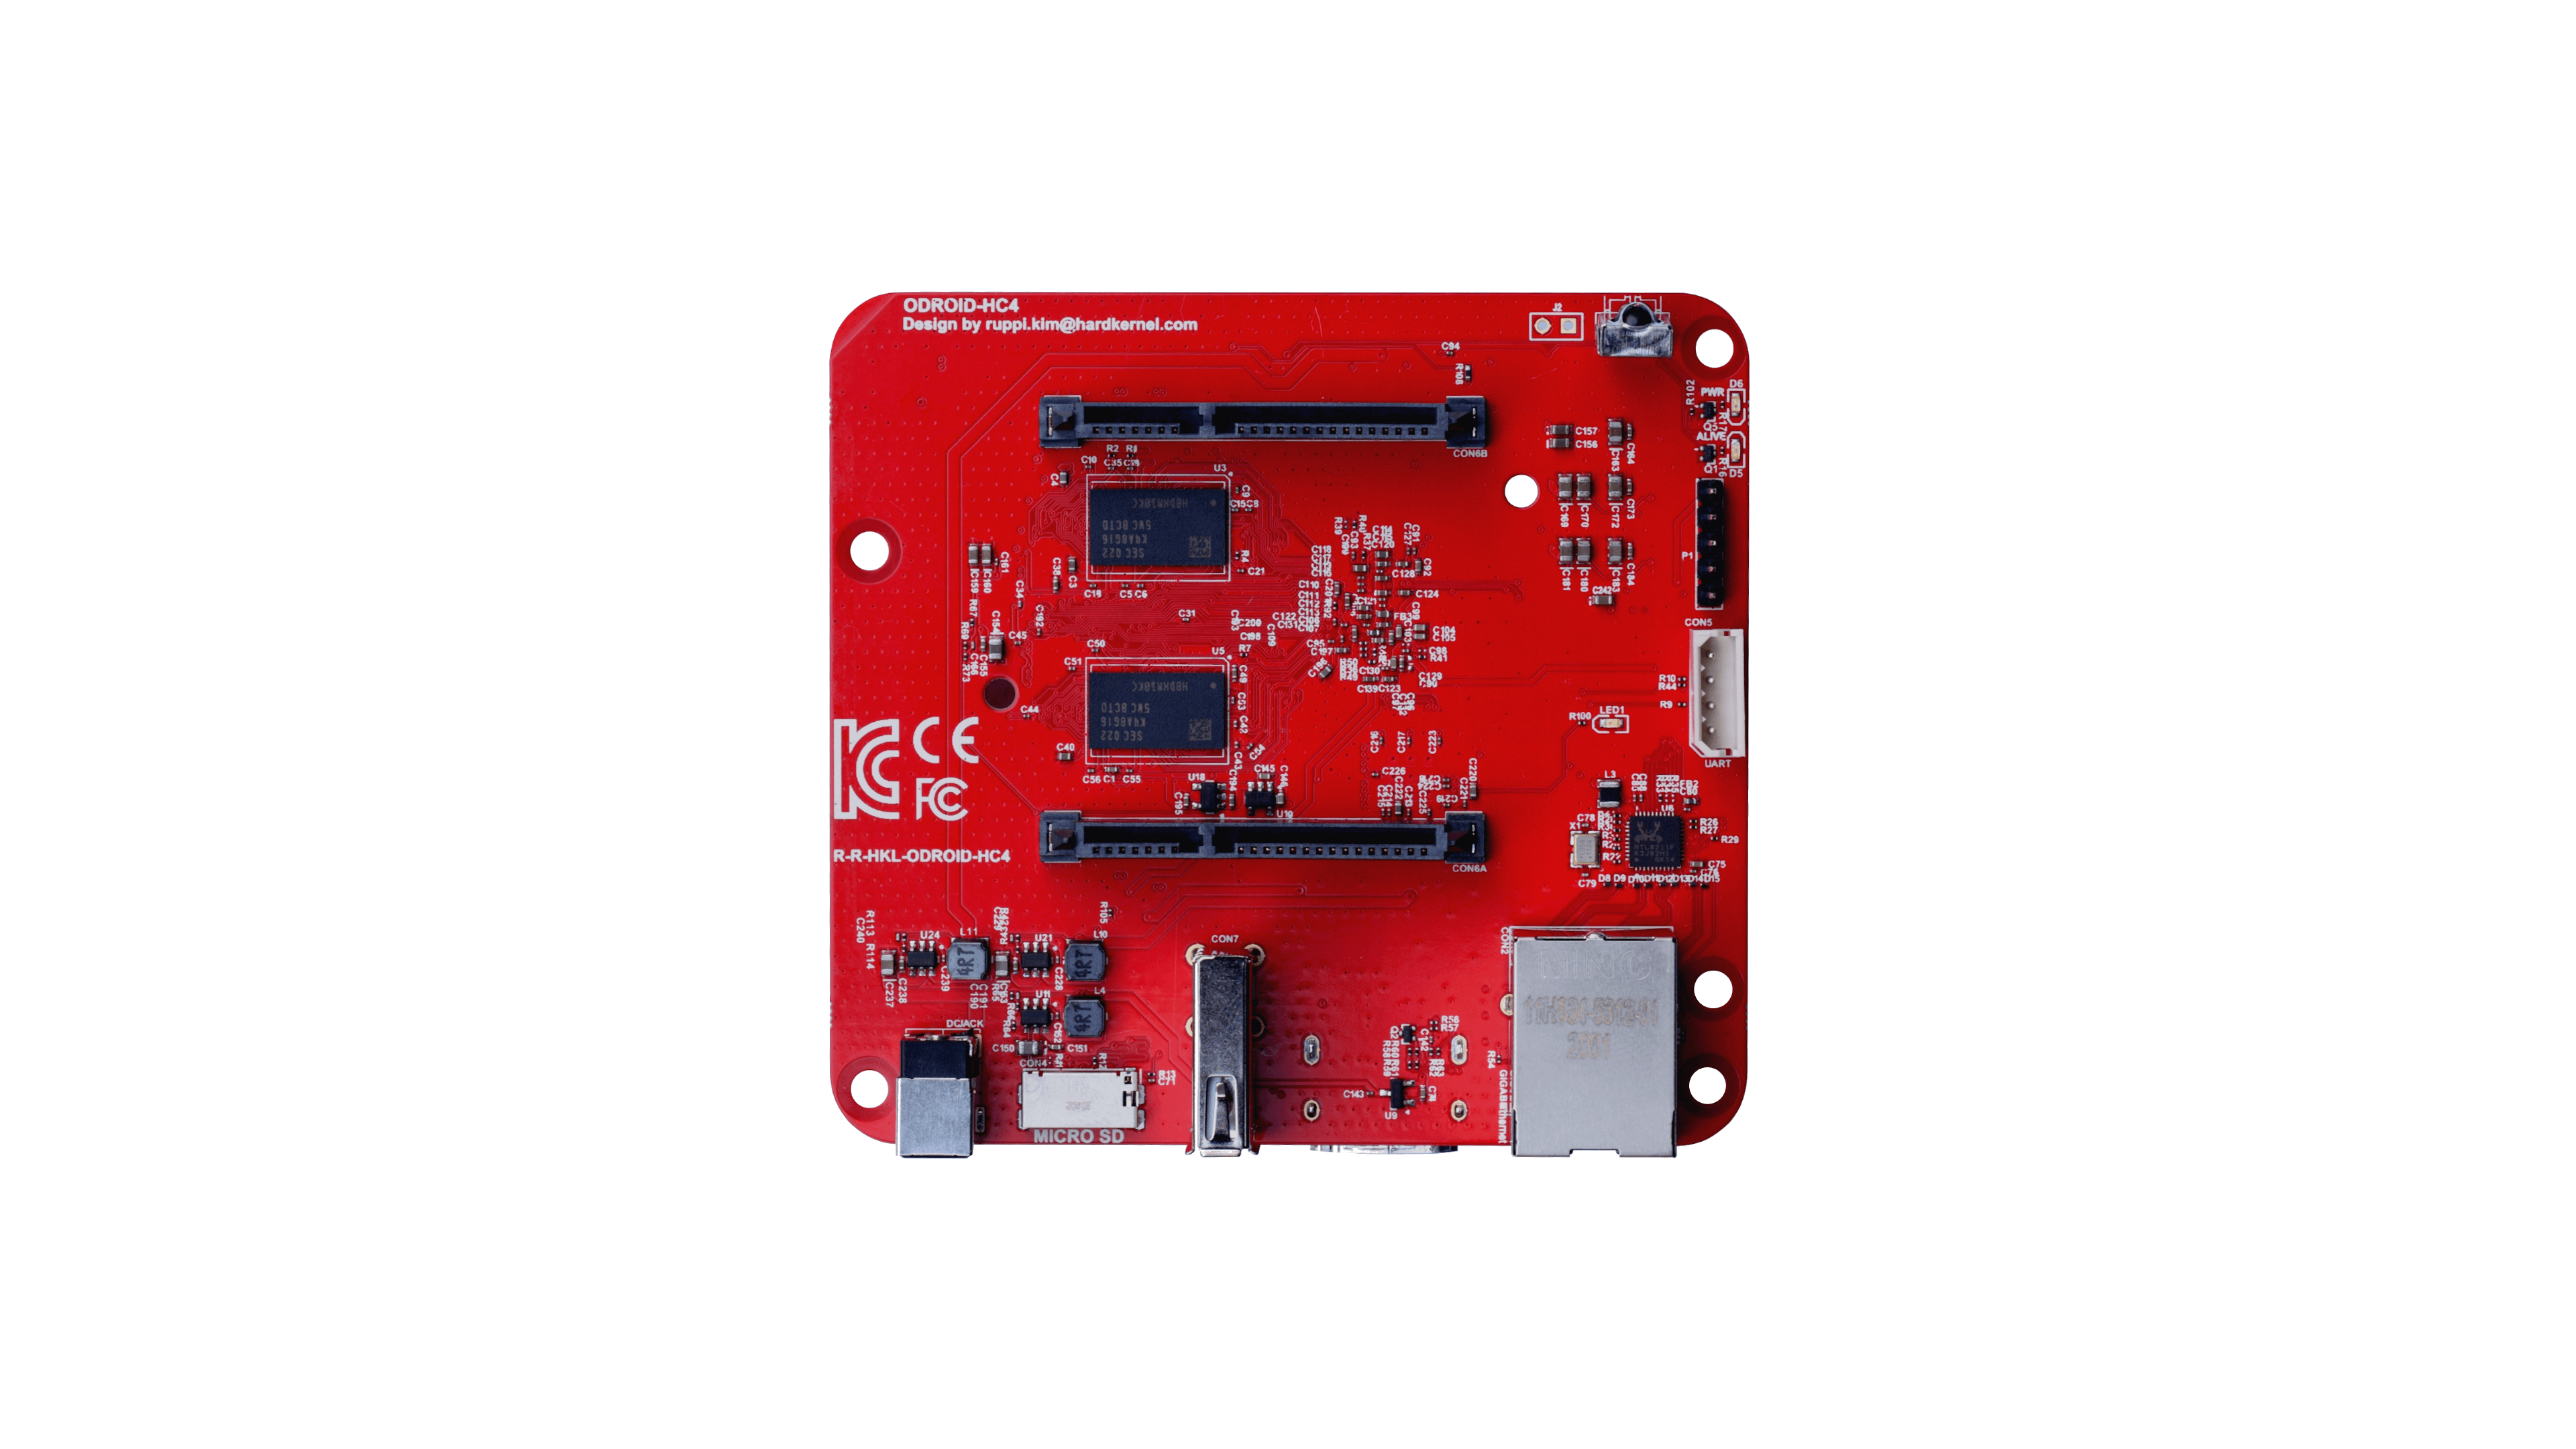
Important: To be able to boot clean Armbian mainline based u-boot / kernel experiences, you need to remove incompatible Petitboot loader that is shipped with the board.
Attach the device to a display and keyboard. Power on. Petitboot will load
From the Petitboot menu, go for “Exit to shell” and these commands to remove the Petitboot:
# flash_eraseall /dev/mtd0
# flash_eraseall /dev/mtd1
# flash_eraseall /dev/mtd2
# flash_eraseall /dev/mtd3
These commands can also be executed via a serial console, if you have an Odroid UART cable
This will make your SPI flash memory empty and would start from SD on next boot.
In case you want to put Petitboot back to the board, user these instructions.
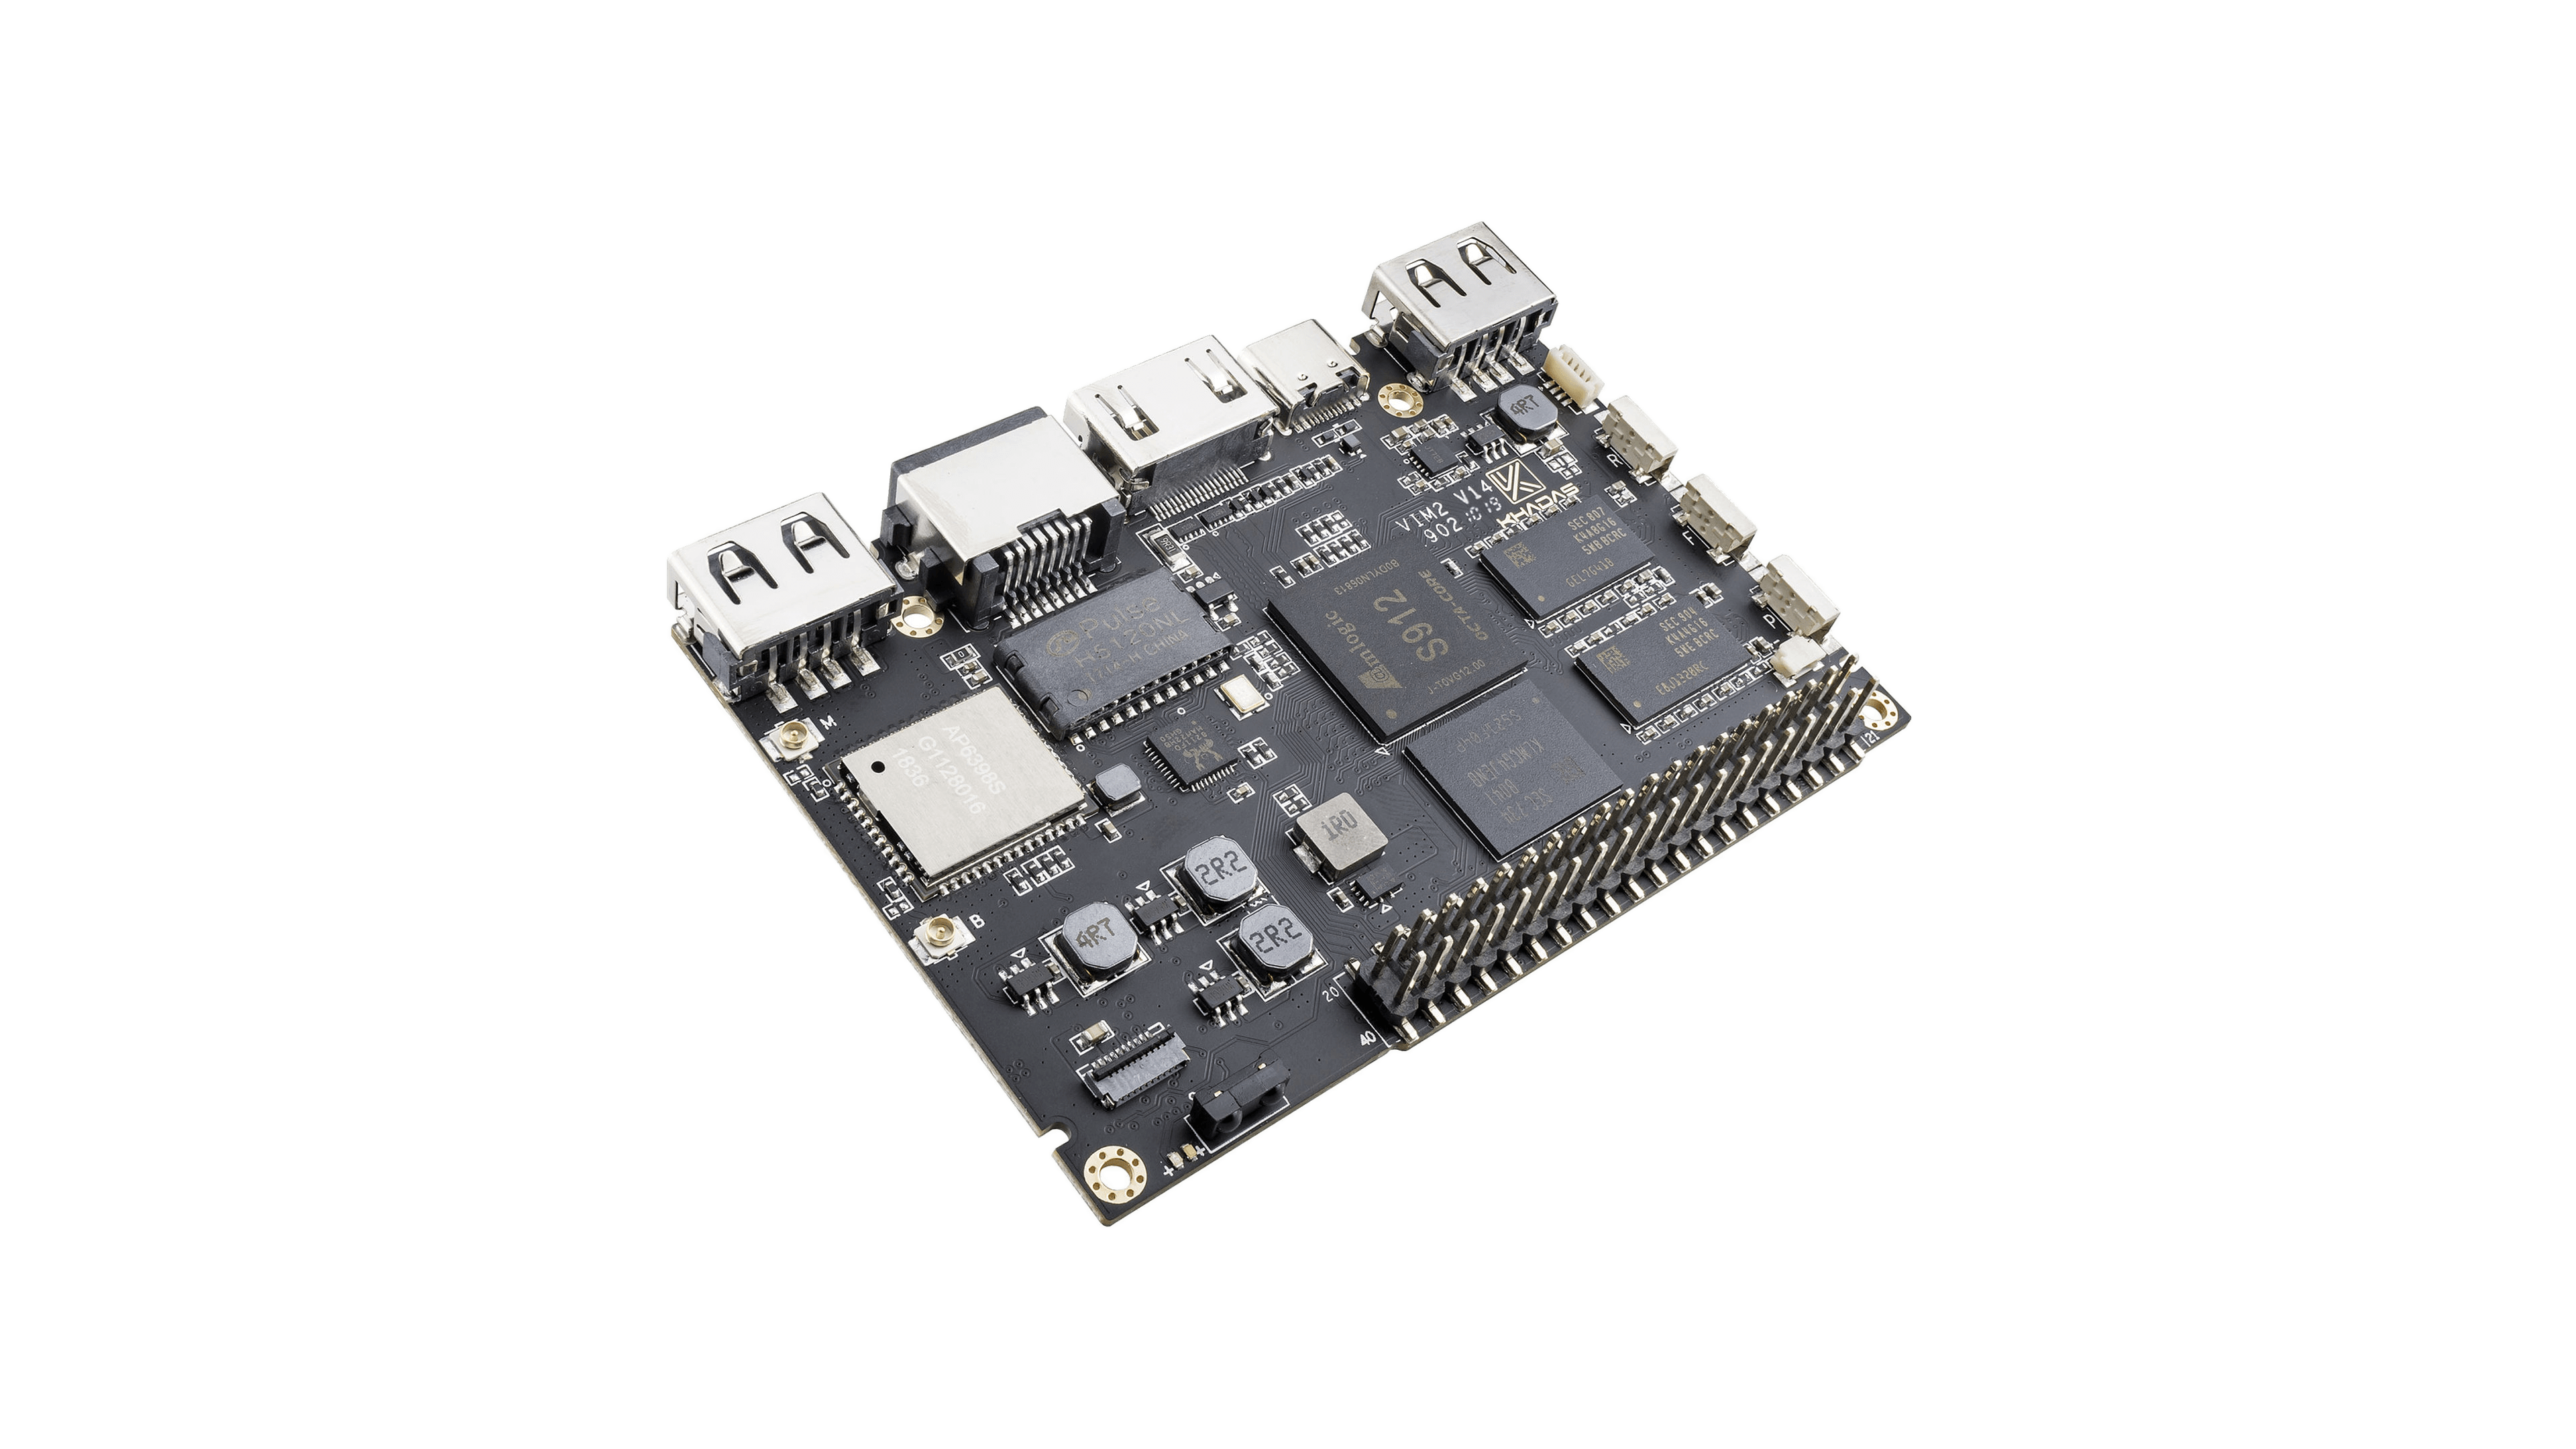
Serial console:
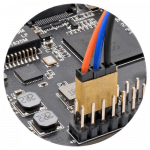
Blue color line: Tool Pin TXD, orange color: Tool Pin RXD, black: Tool Pin GND
How to boot from SD card? After power on, quickly press the Function key 3 times in 2 seconds, then release the key. More at official manual.
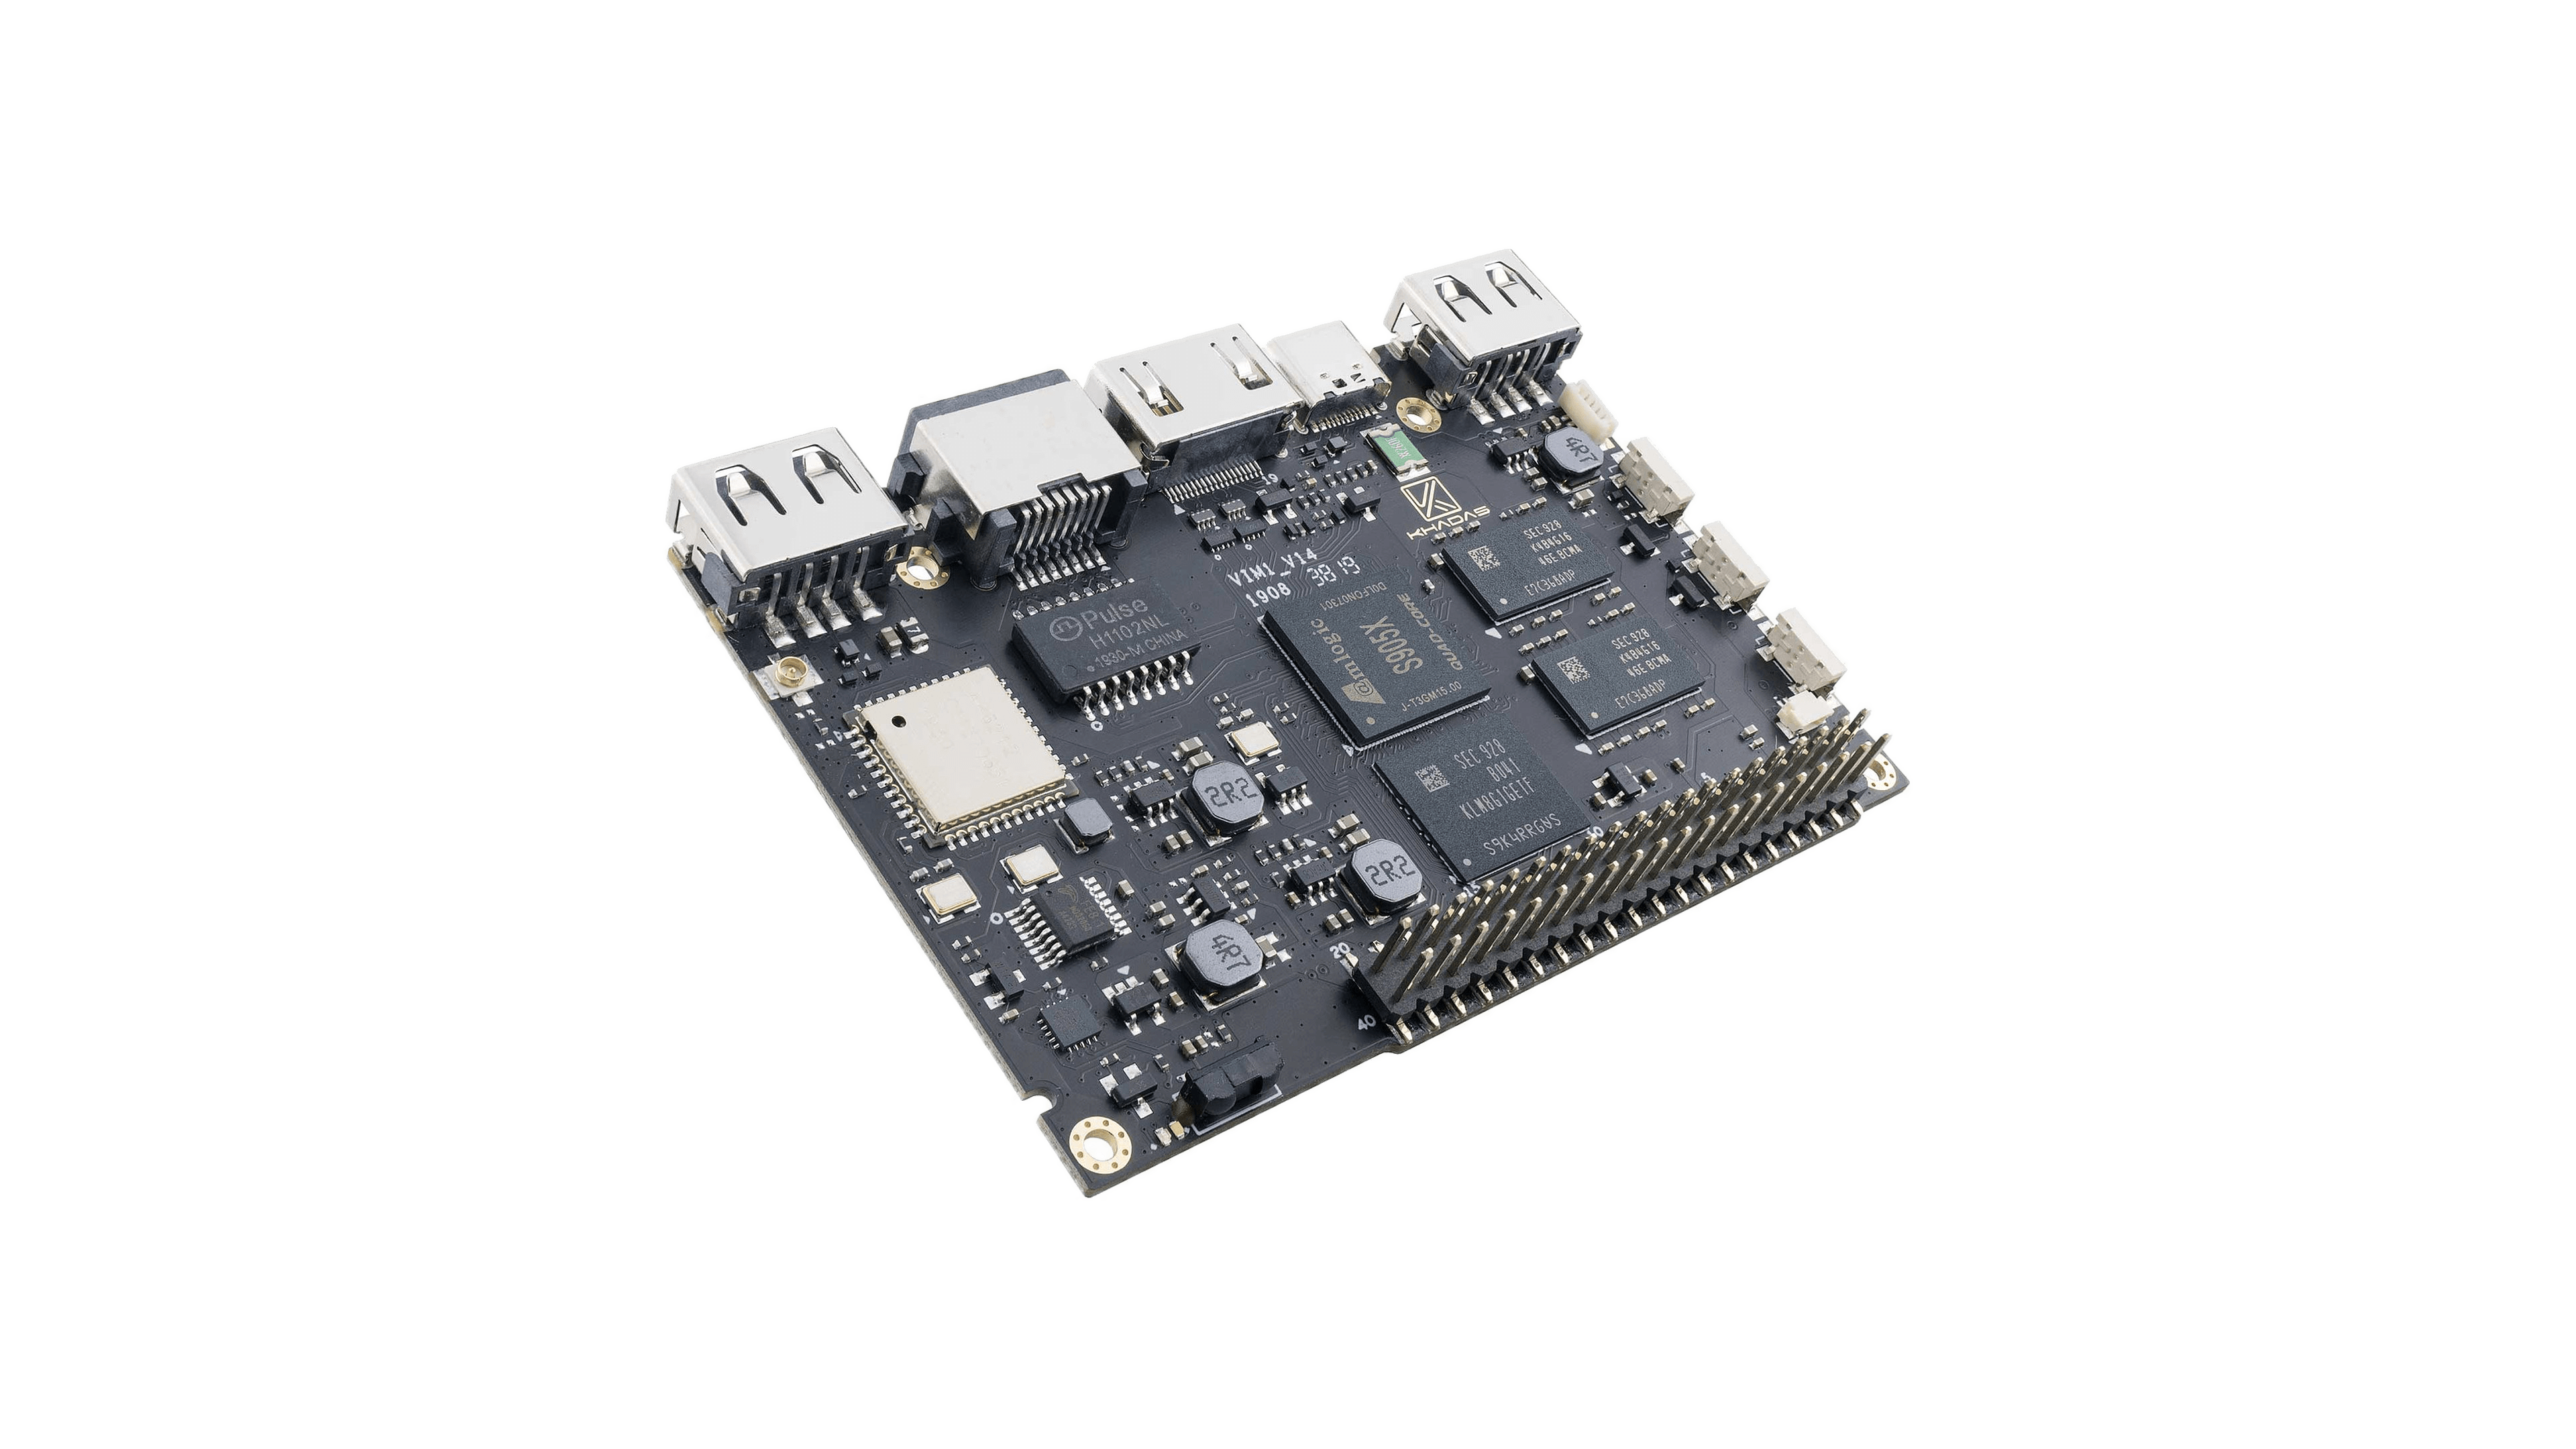
To be able to boot Armbian SD card image and install Armbian to eMMC, use one of the methods to boot into upgrade mode. If you have most recent board revision (1.4 ->) then you only need to quickly press the function key (middle) 3 times in 2 seconds. Release and boot will proceed from SD card. Then use nand-sata-install utility to flash to eMMC.
Serial console:

Blue color line: Tool Pin TXD, orange color: Tool Pin RXD, black: Tool Pin GND
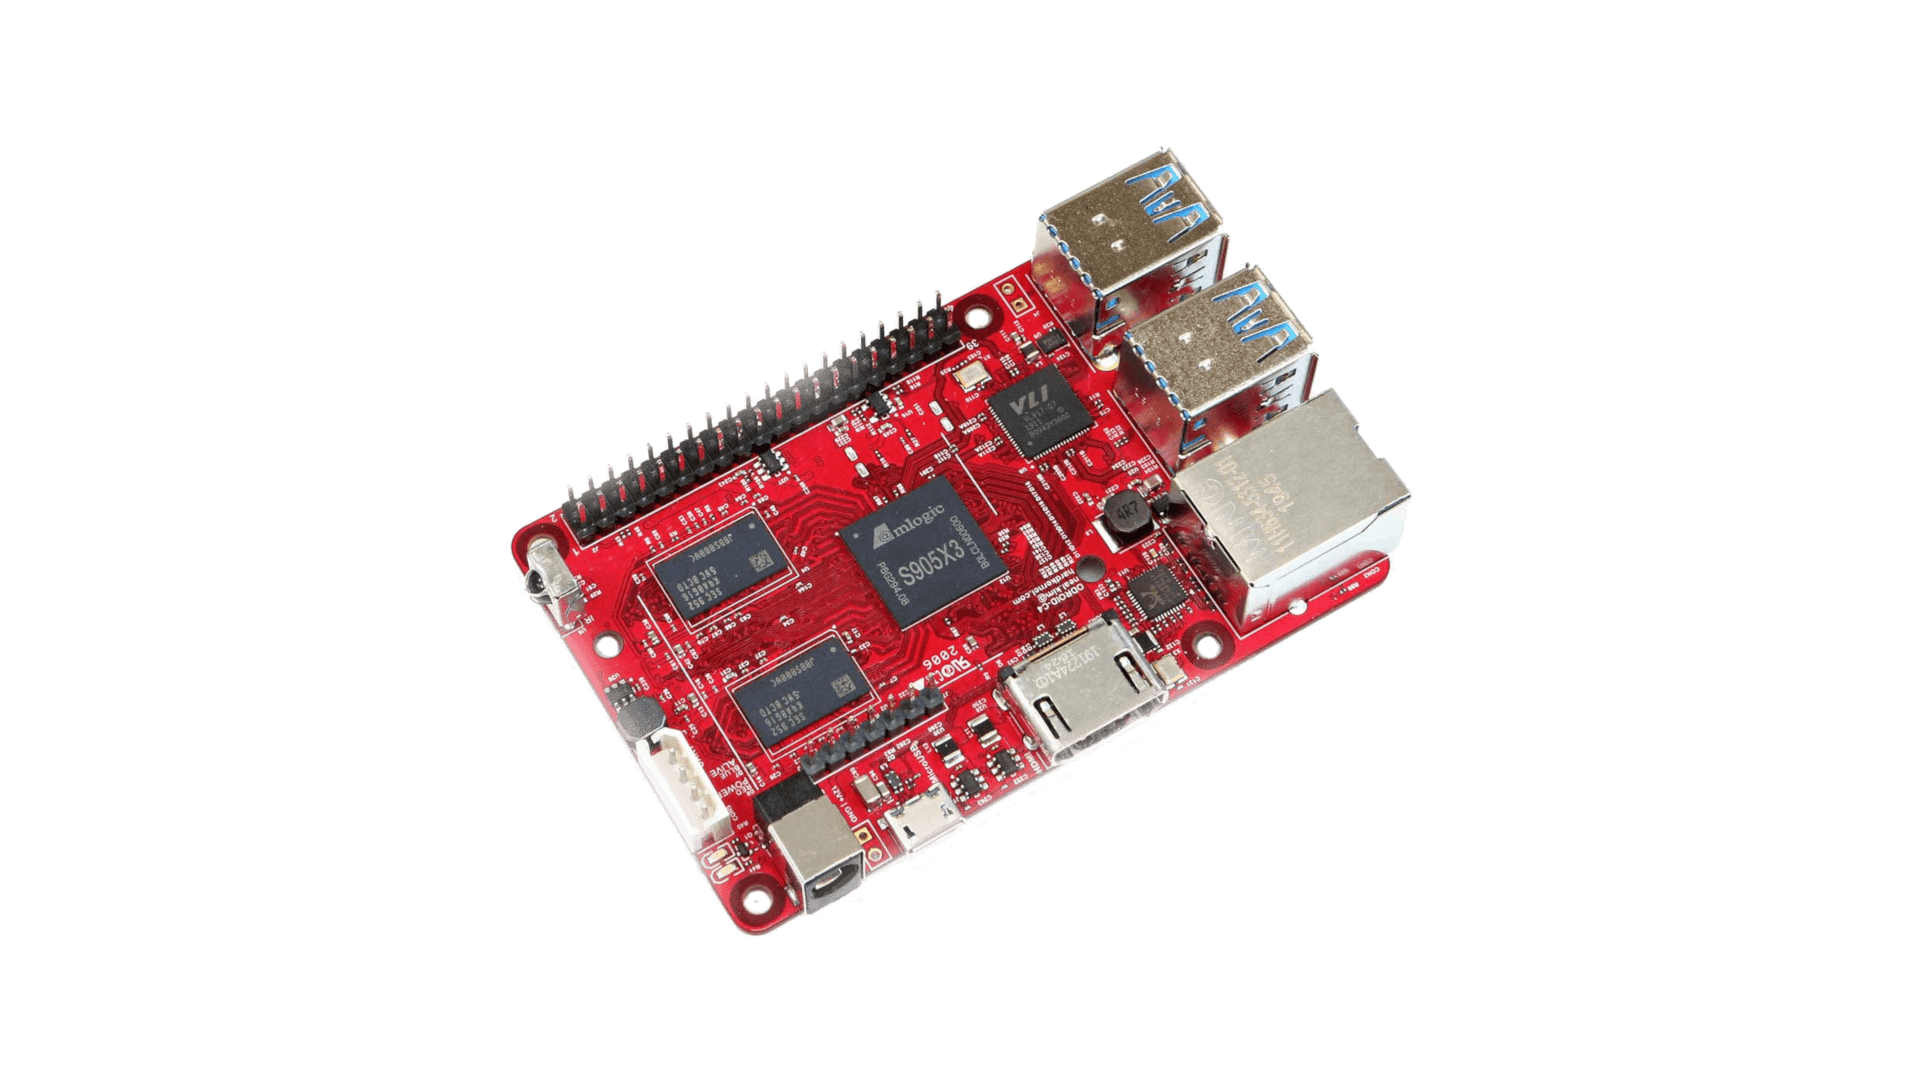
In case you are experiencing reboot troubles, make sure to update u-boot. How? Run this command as root:
armbian-install -> "Update bootloader"