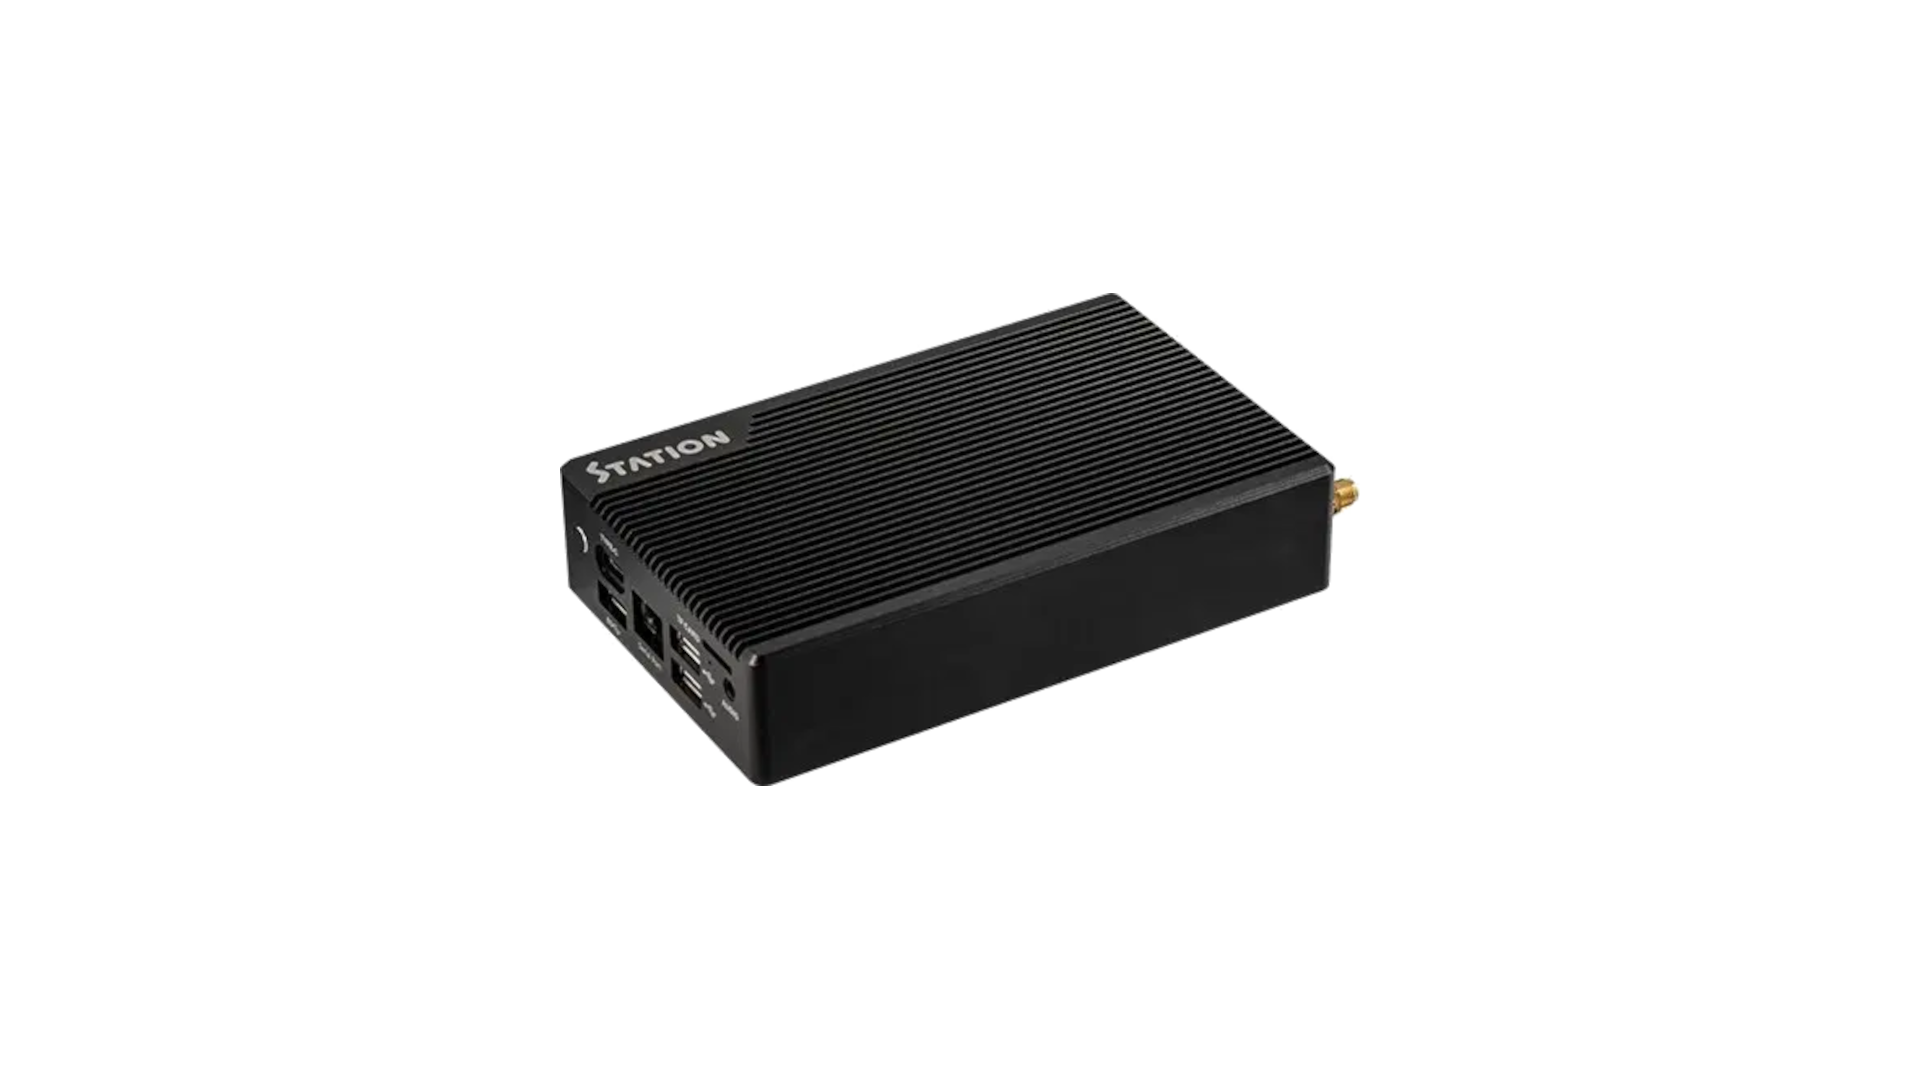
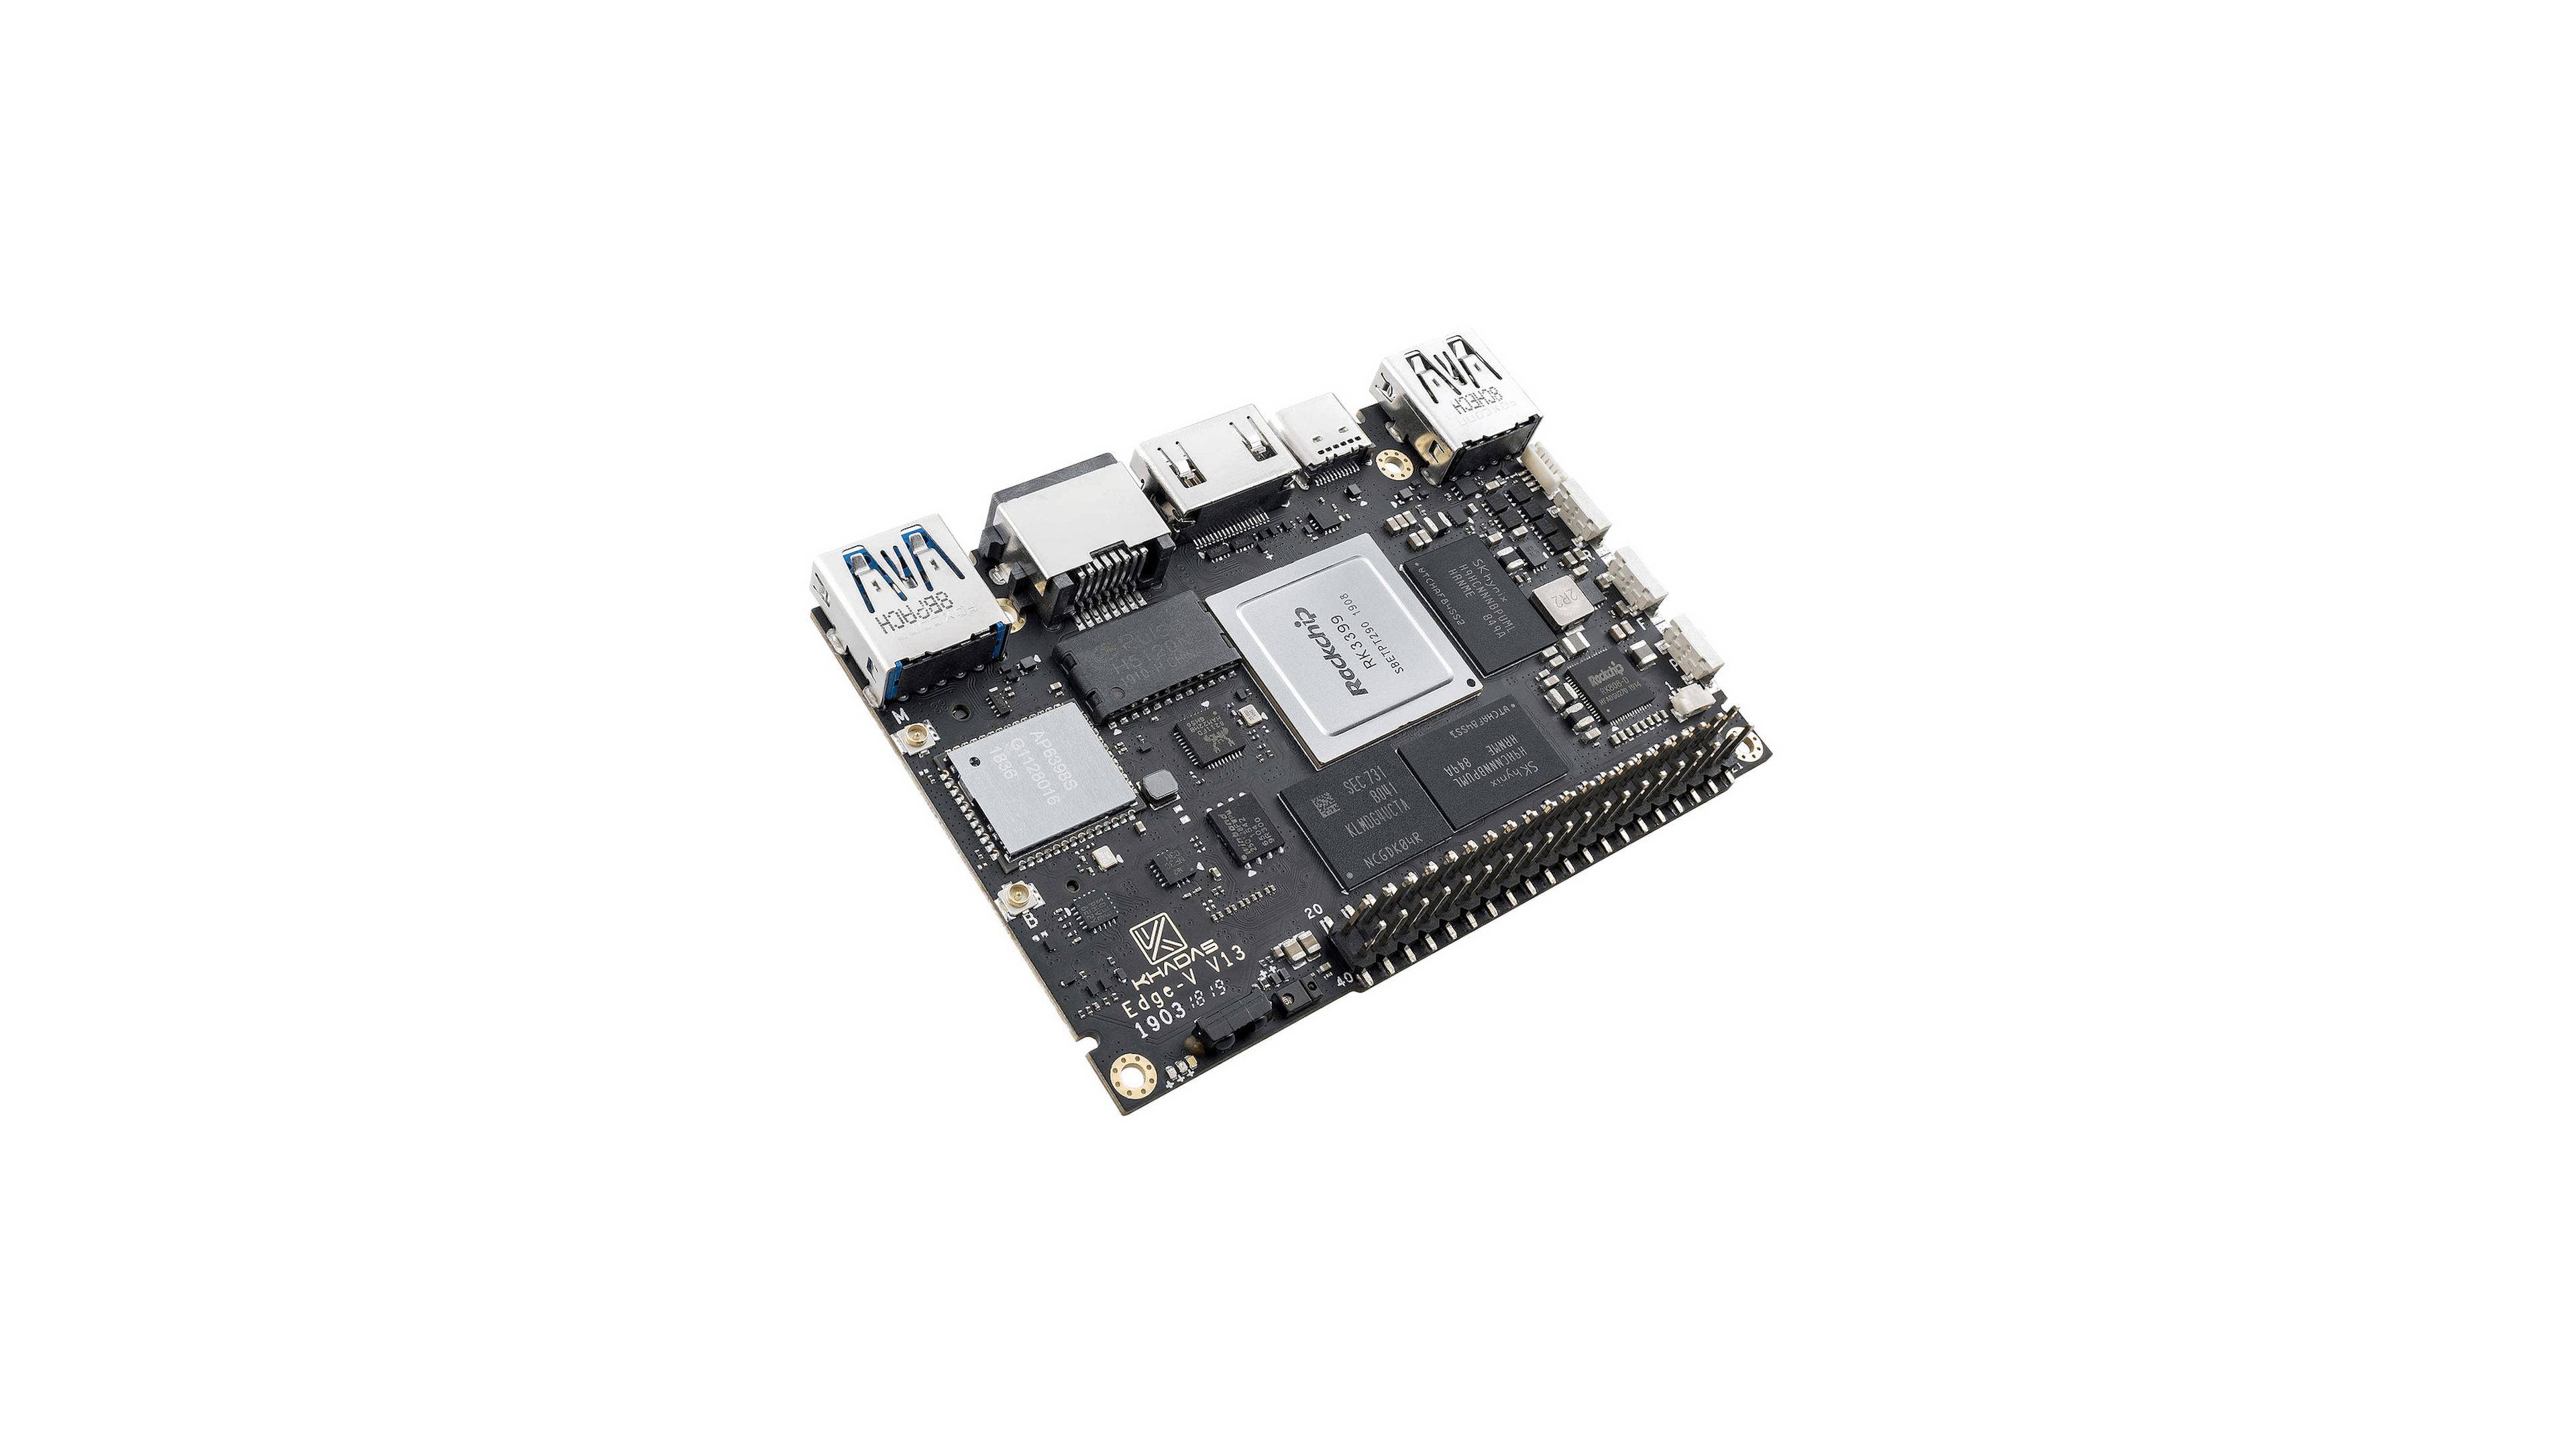
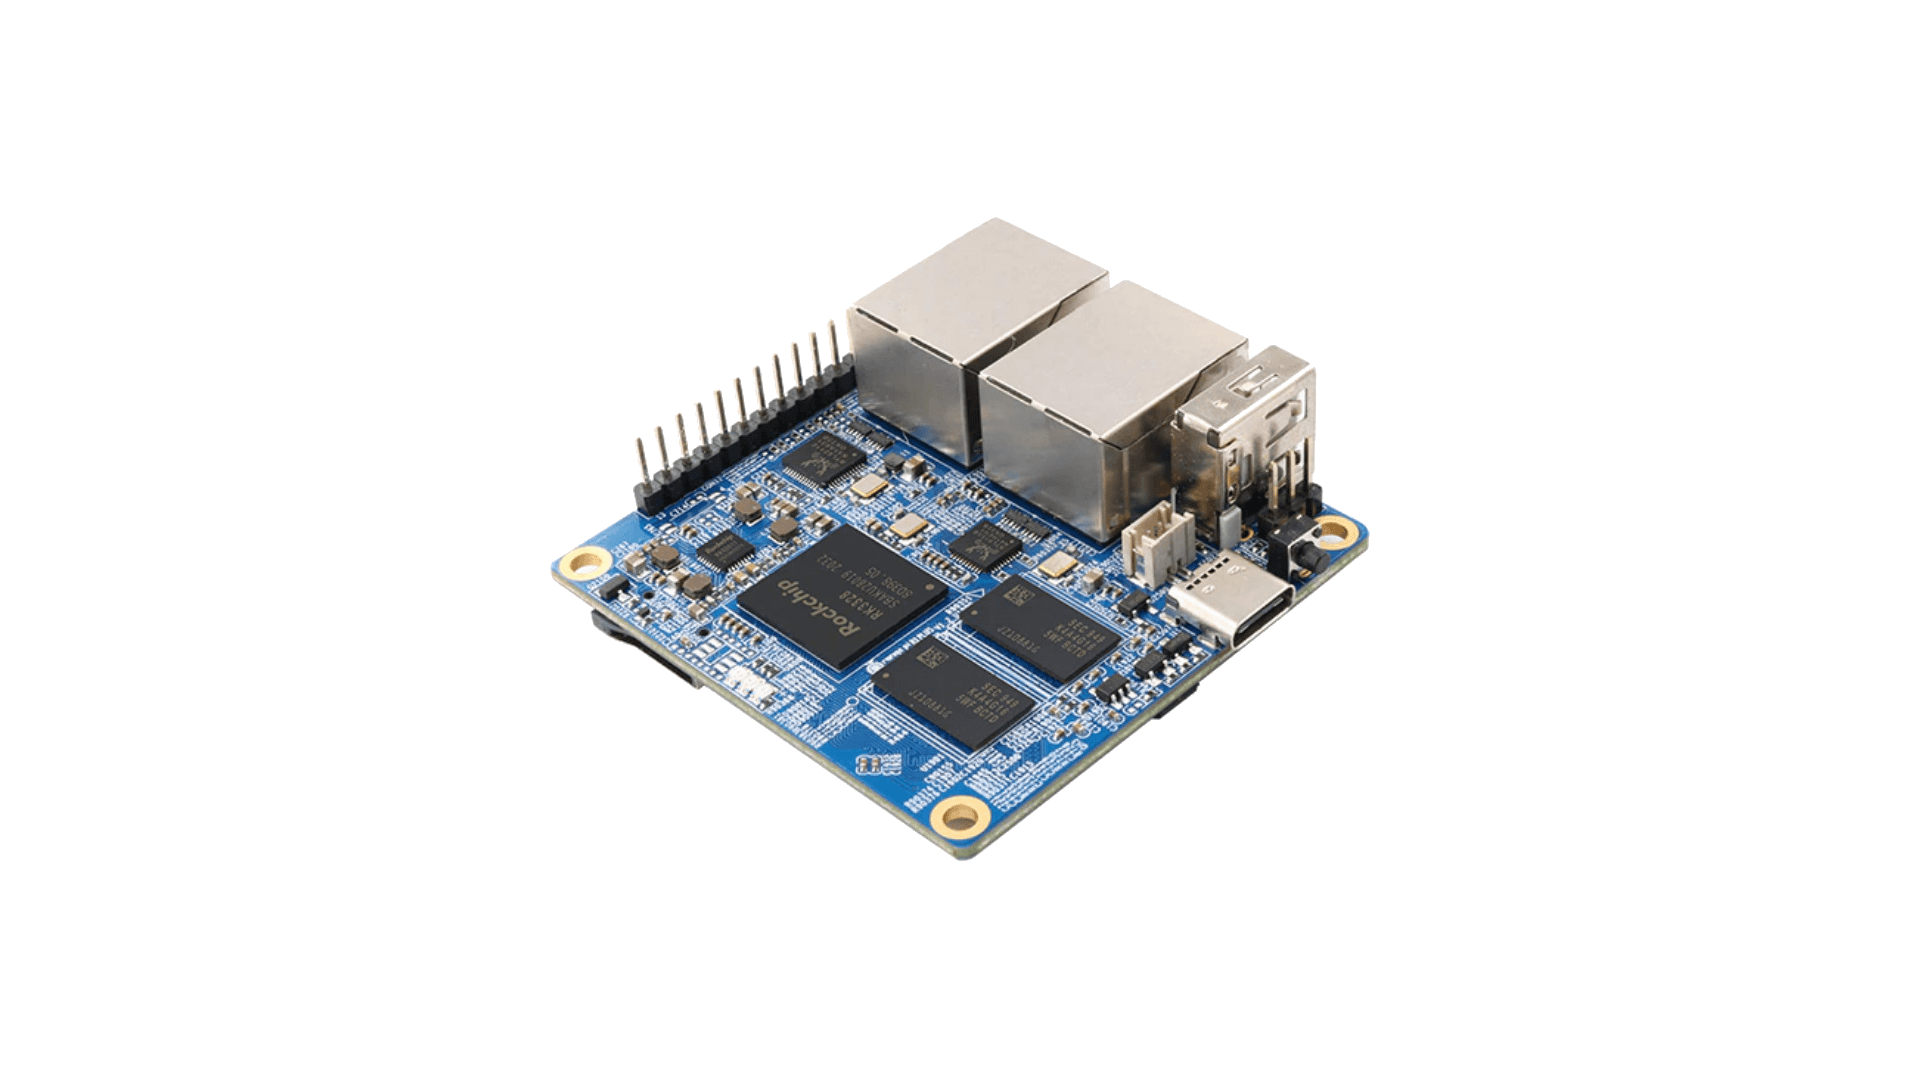
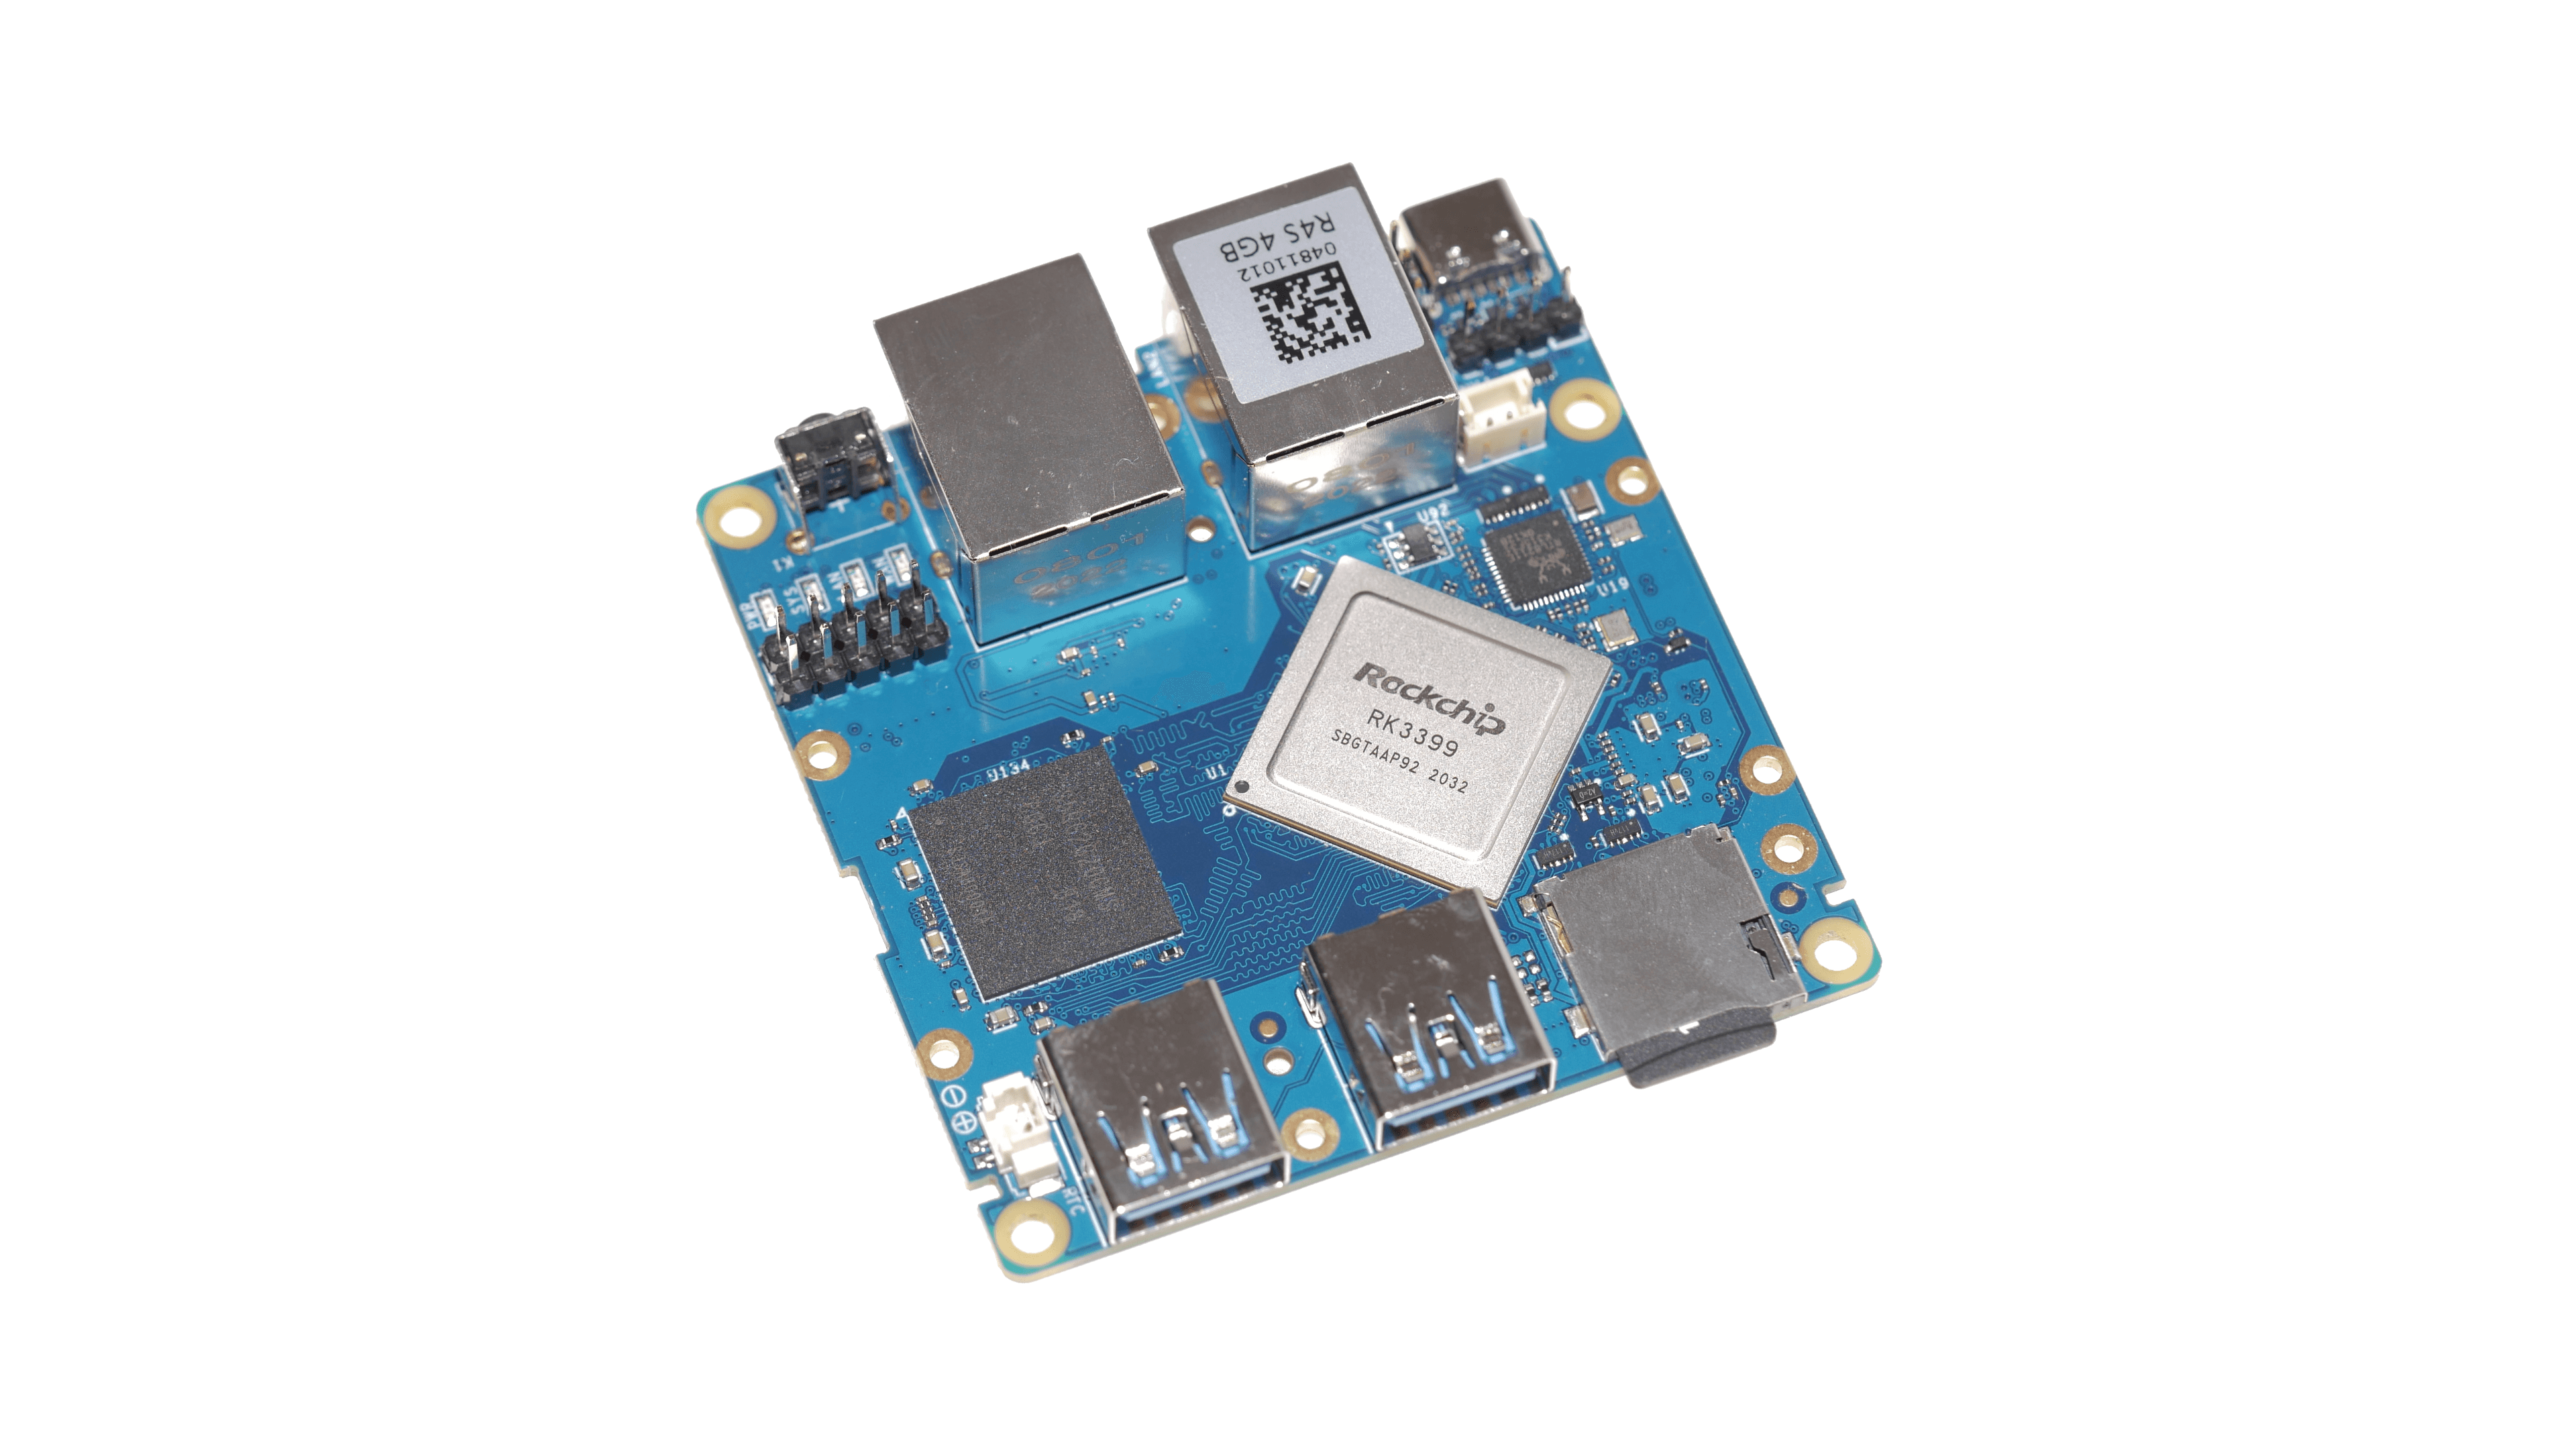
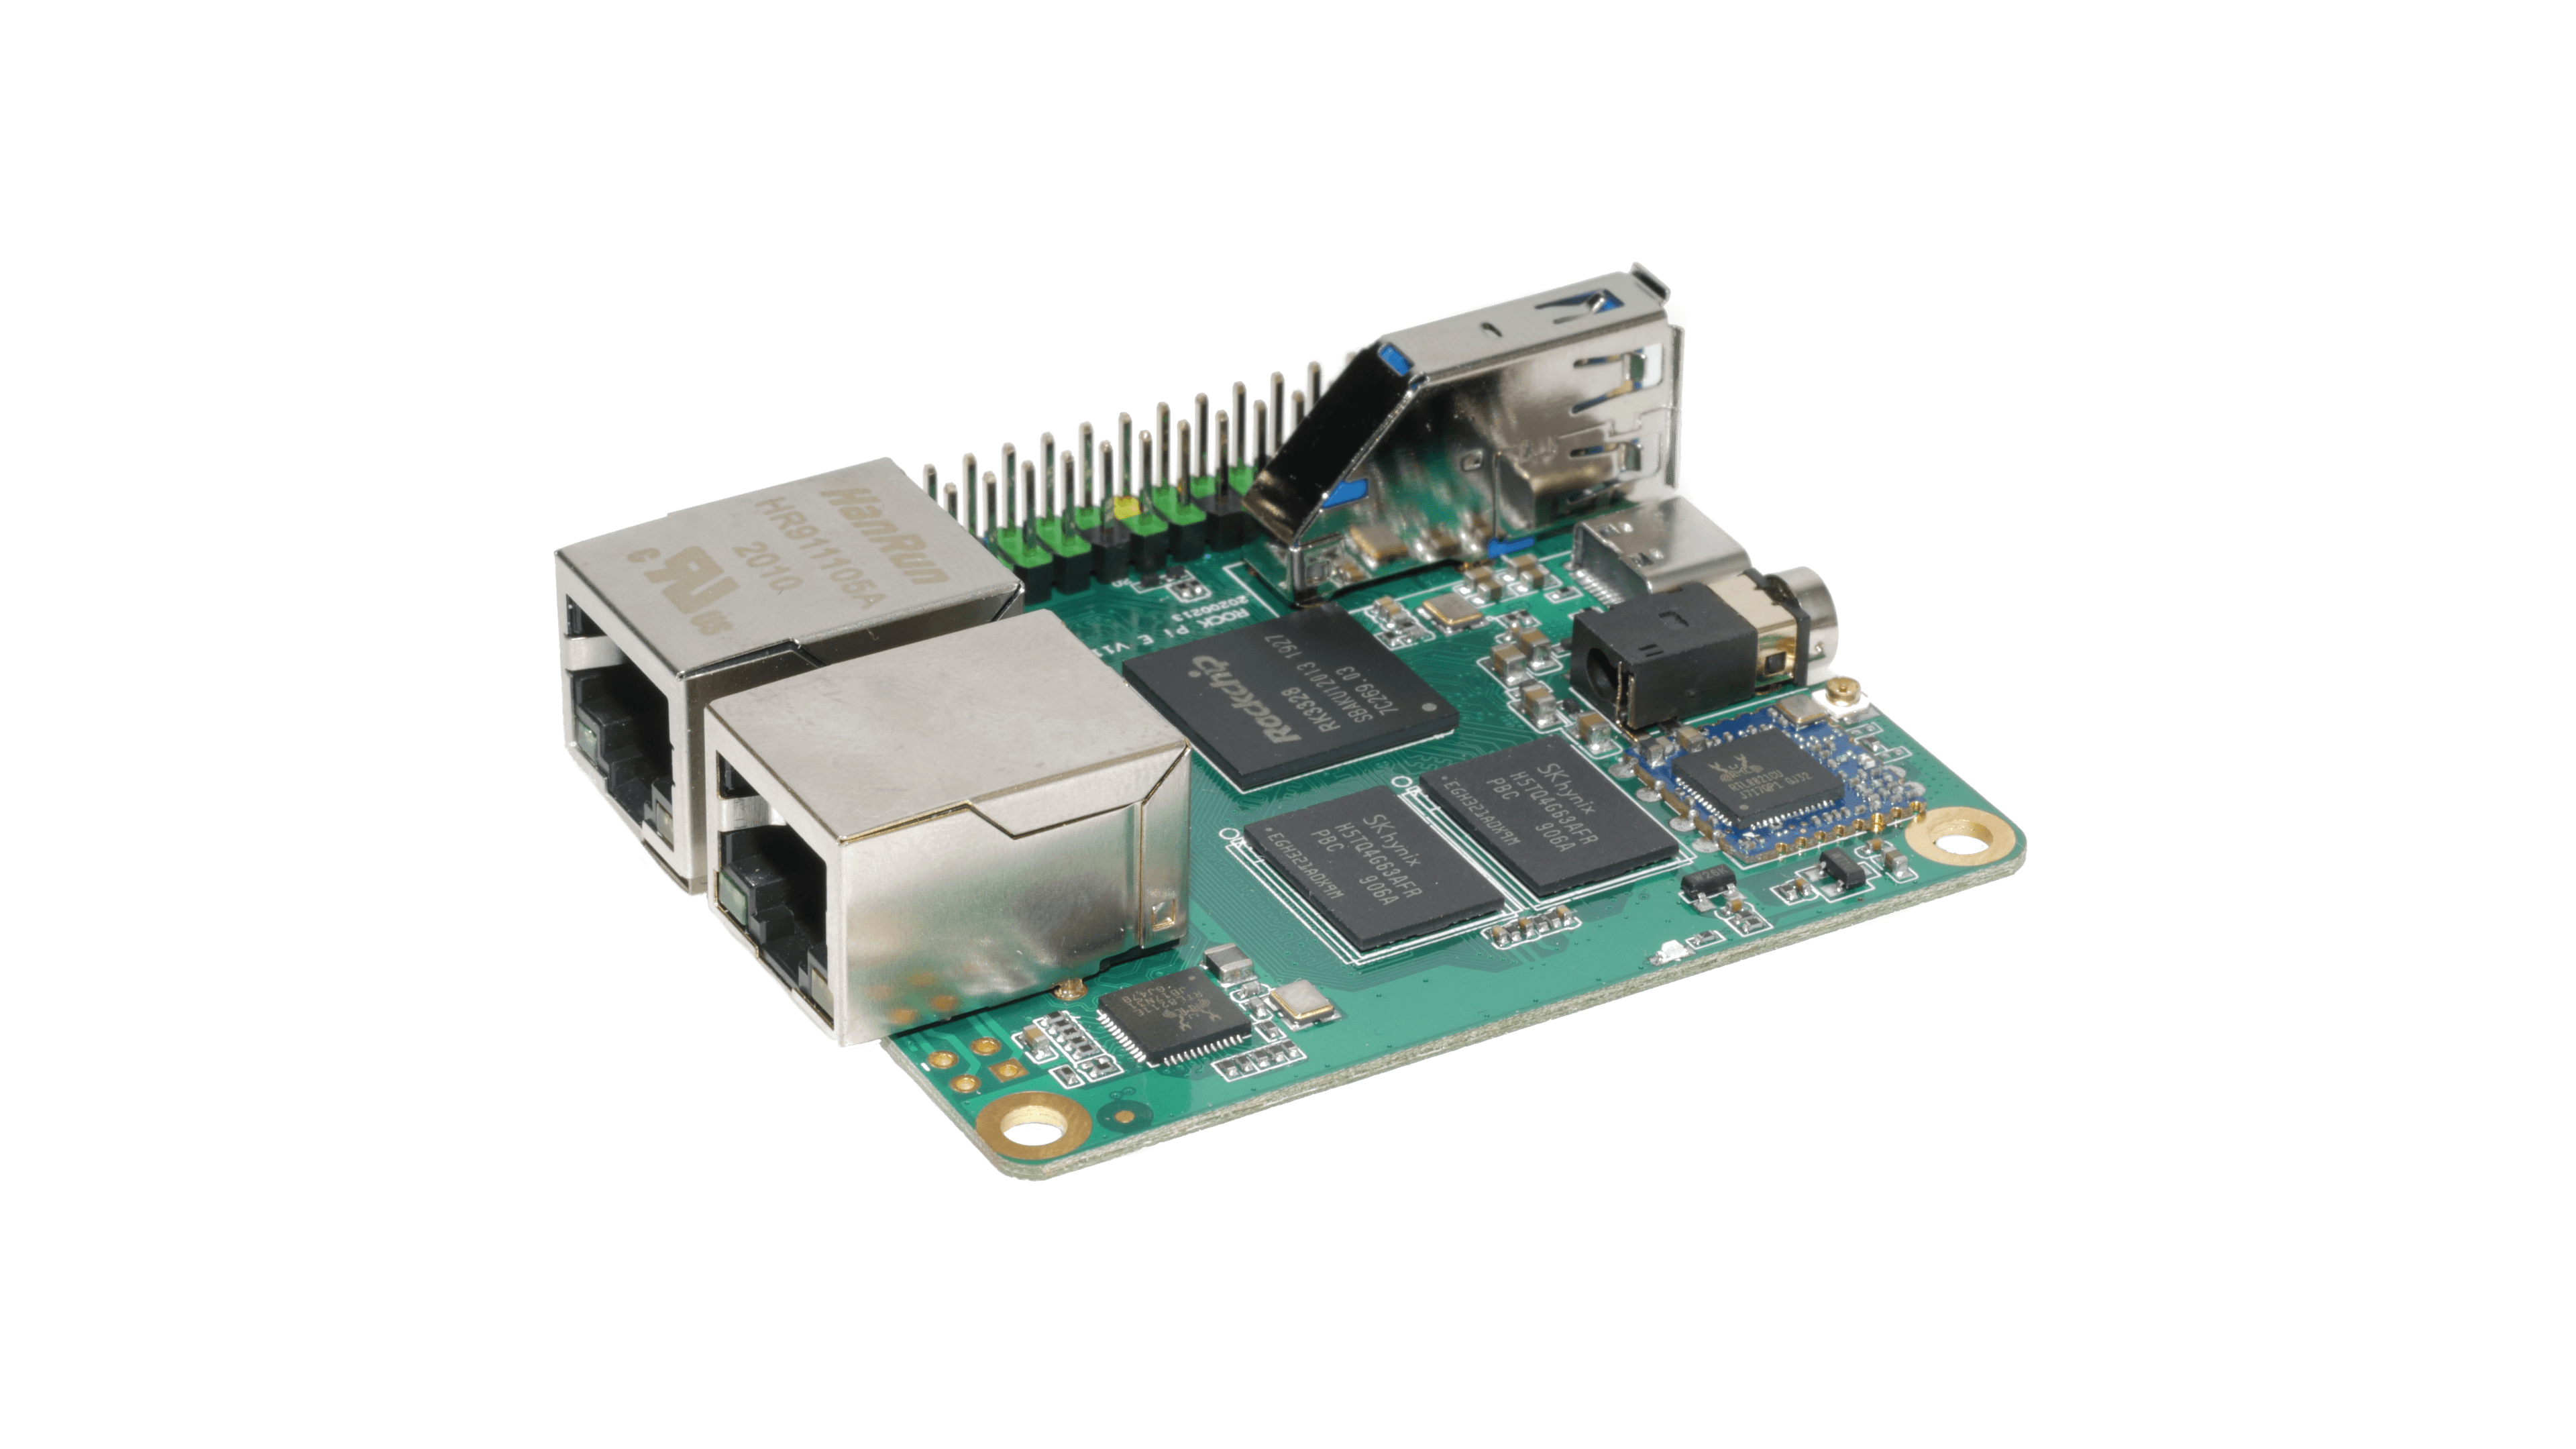
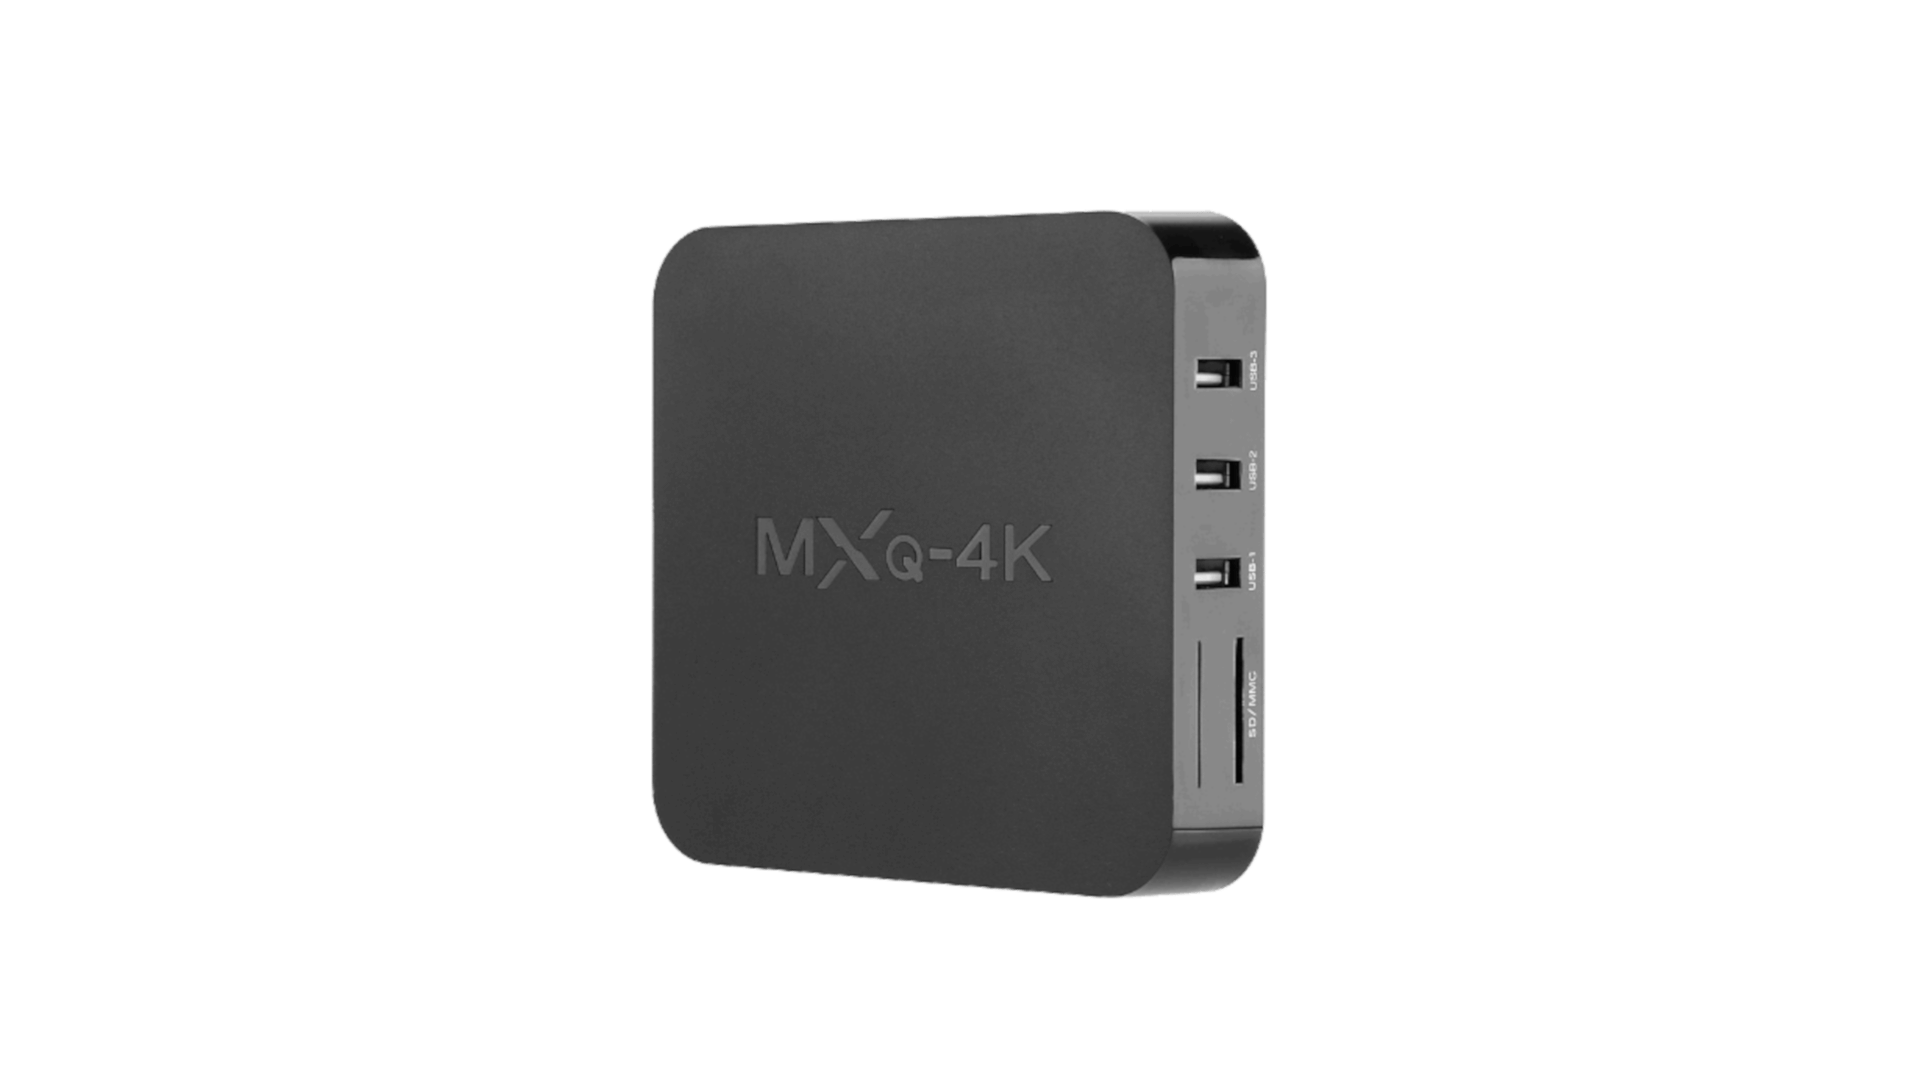
Support for generic RK3228A, RK3228B and RK3229 TV boxes, with various commercial names and manufacturers (MXQ 4k, MXQ Pro 4k, V88 Mars, A8, Model X, etc…)
Due to the really large hardware variety, there is the rare chance that the images proposed here may not boot. If a bad image is burned in eMMC, the box may not boot anymore forcing you to follow the unbrick section at the bottom of this post.
Forum thread with guides, suggestions, support, hardware acceleration multimedia support: https://forum.armbian.com/topic/12656-wip-armbian-for-rk322x-devices/
Quick installation instructions on eMMC:
- Build or download your preferred Armbian image and a copy of the Multitool;
- Burn the Multitool on an SD card; once done, place the Armbian image in images folder of the SD card FAT partition;
- Plug the SD card in the TV box and plug in the power cord. After some seconds the blue led starts blinking and the Multitool appears;
- OPTIONAL: you can do a backup of the existing firmware with “Backup flash” menu option;
- Choose “Burn image to flash” from the menu, then select the destination device (usually mmcblk2) and the image to burn;
- Wait for the process to complete, then choose “Shutdown” from main menu;
- Unplug the power cord and the SD card, then replug the power cord;
- Wait for 10 seconds, then the led should start blinking and HDMI will turn on. The first time the boot process will take a couple of minutes or more because the filesystem is going to be resized, so be patient and wait for the login prompt.
- On first boot you will be asked for entering a password for root user of your choice and the name and password for a regular user
- Run sudo rk322x-config and select your board characteristics to enable leds, wifi chips, high-speed eMMC, etc…
- Run armbian-config to configure timezone, locales and other personal options
- Congratulations, Armbian is now installed!
Quick installation instructions on NAND:
- Build or download your preferred Armbian image and a copy of the Multitool;
- Burn the Multitool on an SD card; once done, place the Armbian legacy kernel image in images folder of the SD card FAT partition;
- Plug the SD card in the TV box and plug in the power cord. After some seconds the blue led starts blinking and the Multitool appears;
- OPTIONAL: you can do a backup of the existing firmware with “Backup flash” menu option;
- Choose “Burn Armbian image via steP-nand” from the menu, then select the destination device (usually rknand0) and the image to burn;
- Wait for the process to complete, then choose “Shutdown” from main menu;
- Unplug the power cord and the SD card, then replug the power cord;
- Wait for 10 seconds, then the led should start blinking and HDMI will turn on. The first time the boot process will take a couple of minutes or more because the filesystem is going to be resized, so be patient and wait for the login prompt.
- On first boot you will be asked for entering a password for root user of your choice and the name and password for a regular user
- Run sudo rk322x-config and select your board characteristics to enable leds, wifi chips, etc…
- Run armbian-config to configure timezone, locales and other personal options
- Congratulations, Armbian is now installed!
Quick installation instructions to boot from SD Card:
- If you are already running Armbian from eMMC, skip to the next step. Instead if you are running the original firmware you need to first erase the internal eMMC; to do so download the Multitool, burn it on an SD Card, plug the SD Card and power the TV Box. Use “Backup flash” if you want to do a backup of the existing firmware, then choose “Erase flash” menu option.
- Build or download your preferred Armbian image;
- Uncompress and burn the Armbian image on the SD Card;
- Plug the SD Card in the TV Box and power it on;
- Wait for 10 seconds, then the led should start blinking and HDMI will turn on. The first time the boot process will take a couple of minutes or more because the filesystem is going to be resized, so be patient and wait for the login prompt;
- On first boot you will be asked for entering a password for root user of your choice and the name and password for a regular user
- Run sudo rk322x-config and select your board characteristics to enable leds, wifi chips, high-speed eMMC or NAND, etc…
- Run armbian-config to configure timezone, locales and other personal options, or also to transfer the SD Card installation to internal eMMC;
- Congratulations, Armbian is running from SD Card!
Boot device order:
With Armbian also comes mainline U-boot. If you install Armbian or just the bootloader in the eMMC or the Jump Start on internal NAND, the bootloader will look for valid bootable images in this order:
- External SD Card
- External USB Stick in OTG Port
- Internal eMMC
Unbrick:
Rockchip devices cannot be bricked. If the internal flash does not contain a bootable system, they will always boot from the sdcard. If, for a reason, the bootable system on the internal flash is corrupted or is unable to boot correctly, you can always force the maskrom mode shorting the eMMC clock pin on the PCB. Here there is the procedure, but you can also google around if you get stuck on a faulty bootloader, the technique is pretty simple and requires a simple screwdriver.

