- Images for non LTS version can be downloaded here
Ubuntu Noble 24.8.1 XFCE testing:
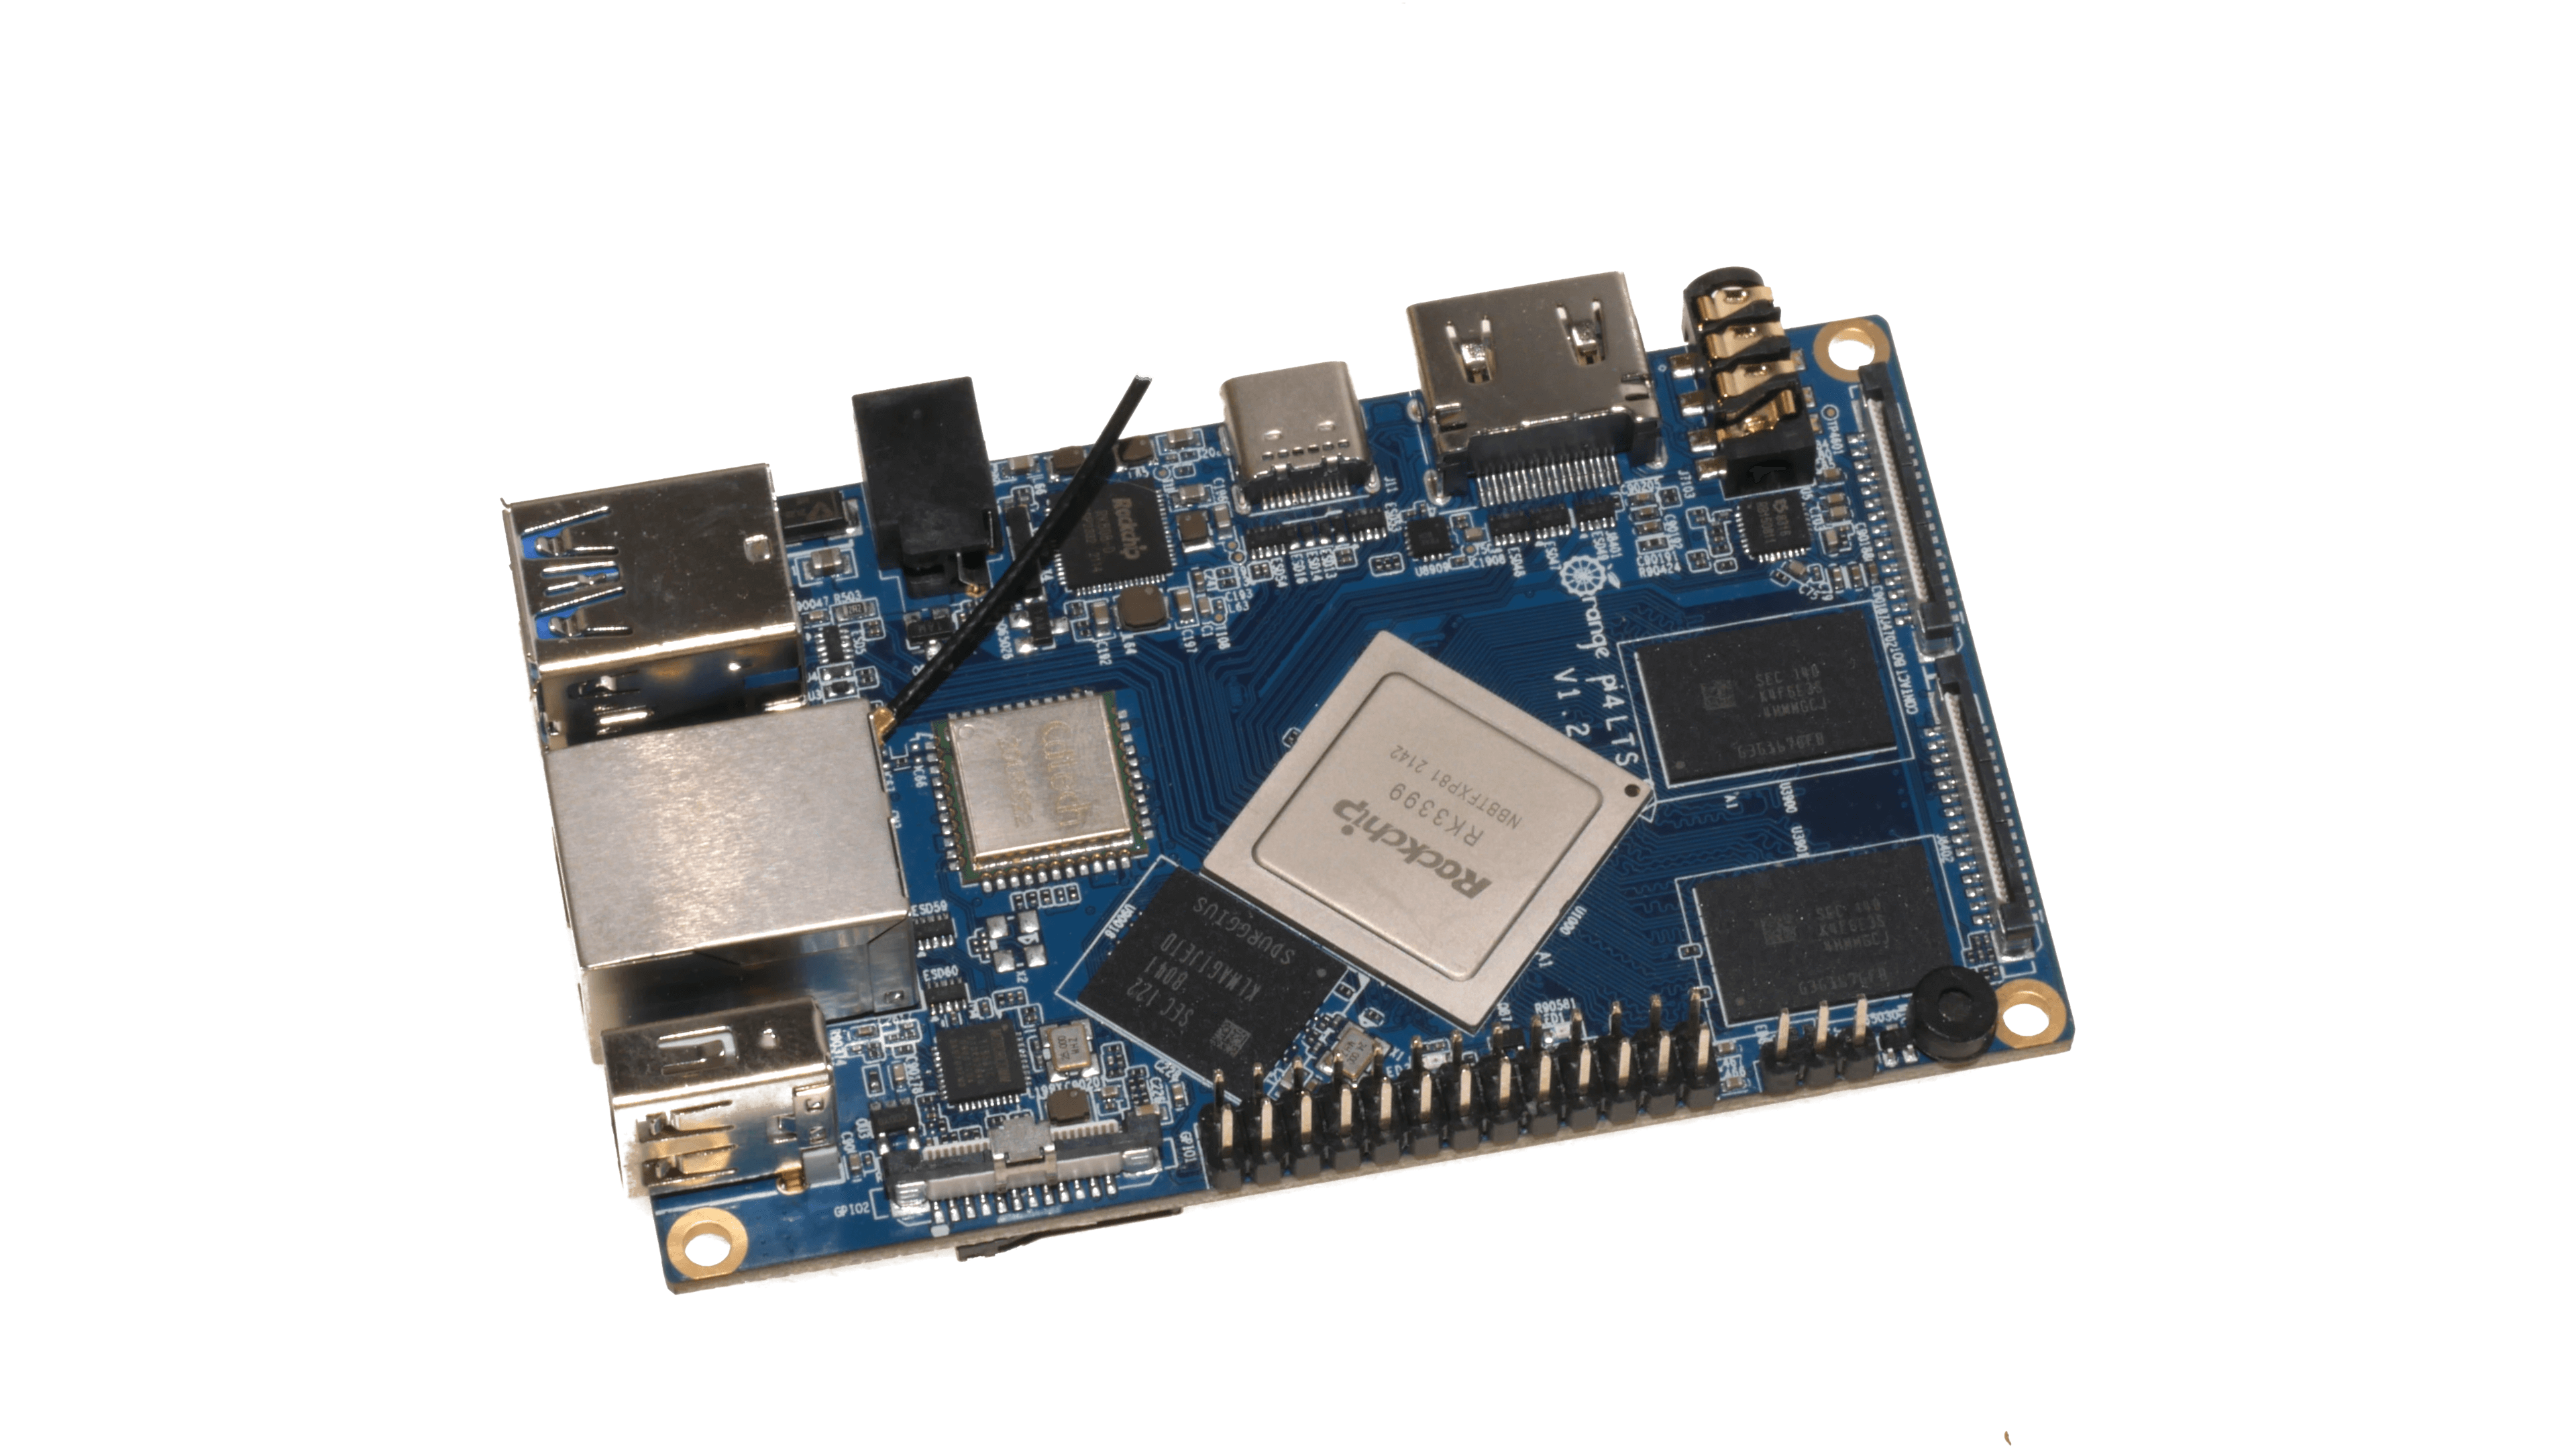
- Boot ok, from both sdcard and emmc
- HDMI ok, boot splash screen shows up
- USB2 and USB3 ok
- Gigabit ethernet ok
- Wireless ok
- Bluetooth ok (although a bit spotty and usual cohabitation issues with wifi)
- Analog audio codec is ok
- Reboot and shutdown work as intended
Debian Bookworm 24.8.1 minimal testing:
- Boot ok, from both sdcard and emmc
- HDMI ok
- USB2 and USB3 ok
- Gigabit ethernet ok, throughput is fine (~960mbps)
- Wireless ok, throughput ok (~50mbps at 2.4ghz, but far from router)
- Analog audio codec is ok
- Reboot and shutdown work as intended